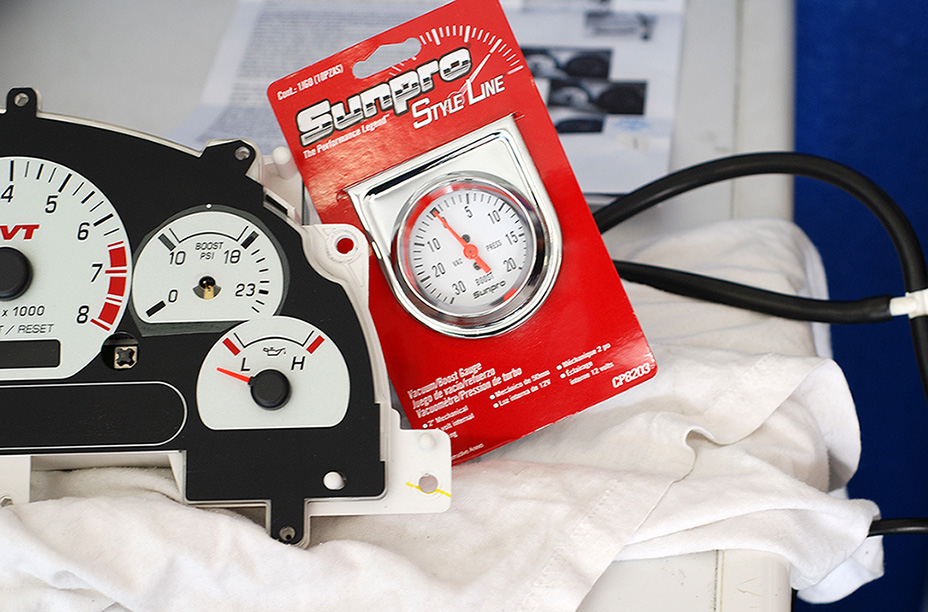
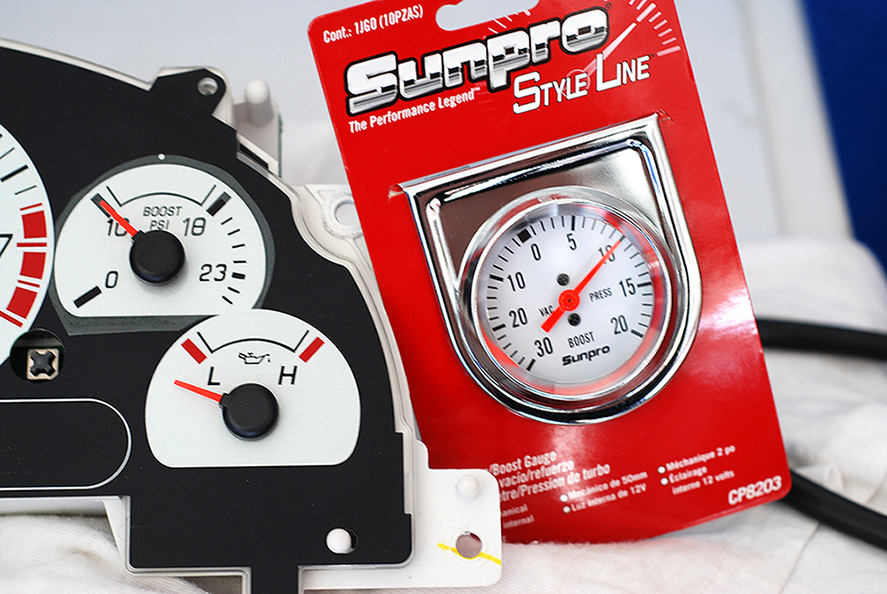
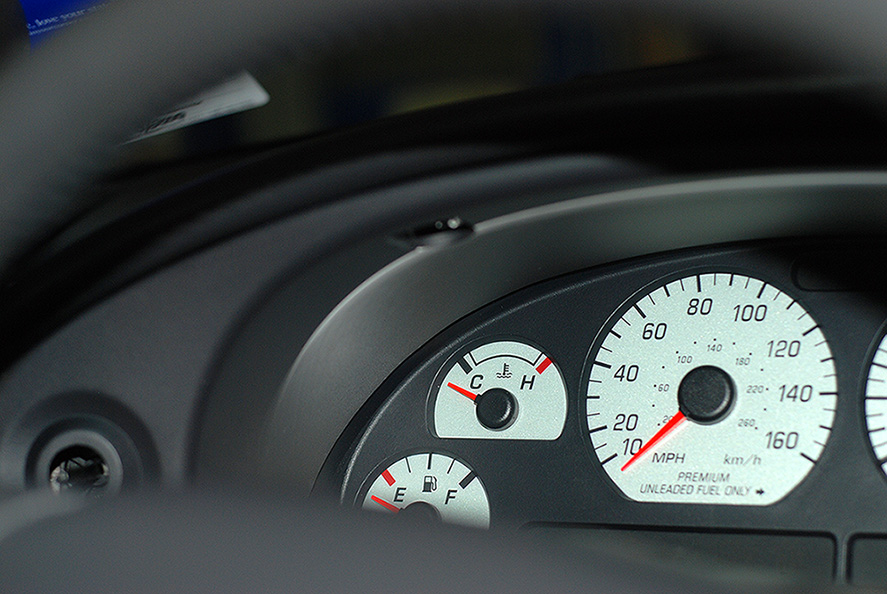
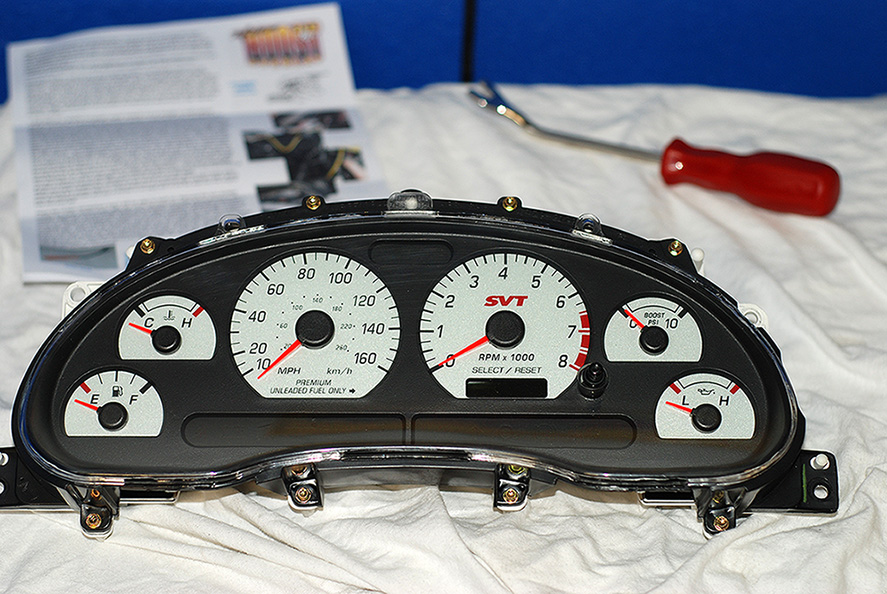
Well, I finally got around to installing Ray's "High Boost" Overlay and thought I would share with some pics.
I just want to say thanks to Ray for great customer service and a great product! :beer:
It came in a personally written envelope with detailed instructions.
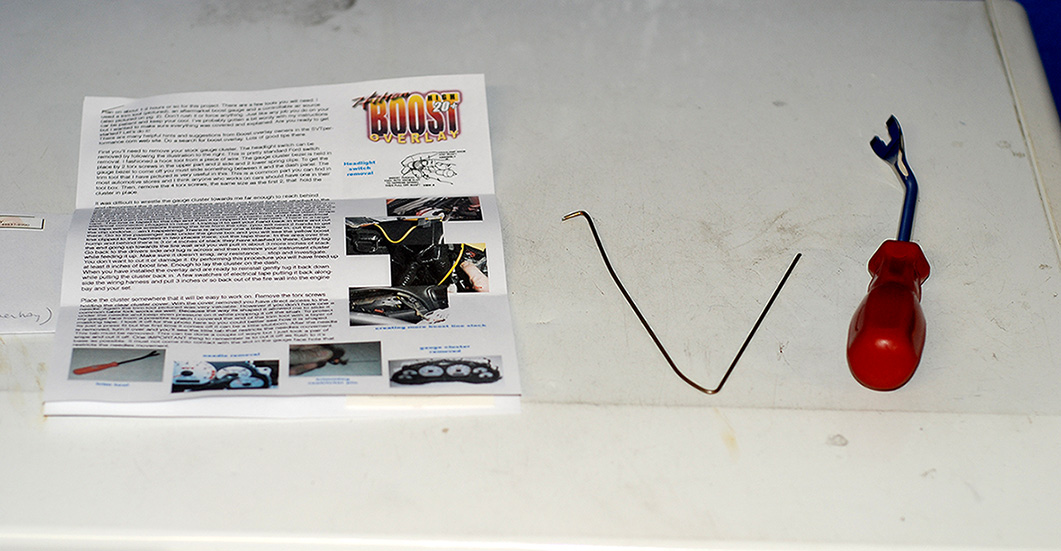
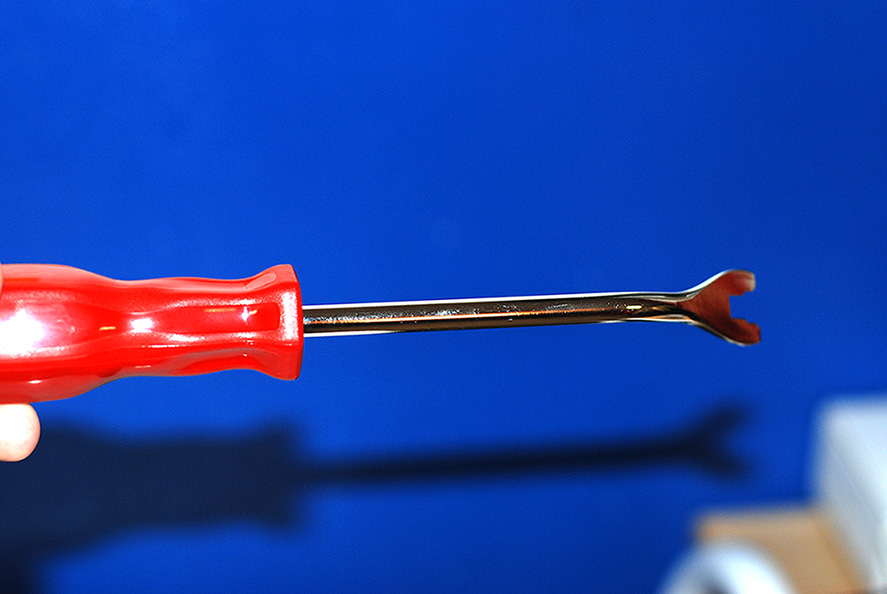
I went ahead and purchased a "Trim Removal Tool" Like Ray suggested.
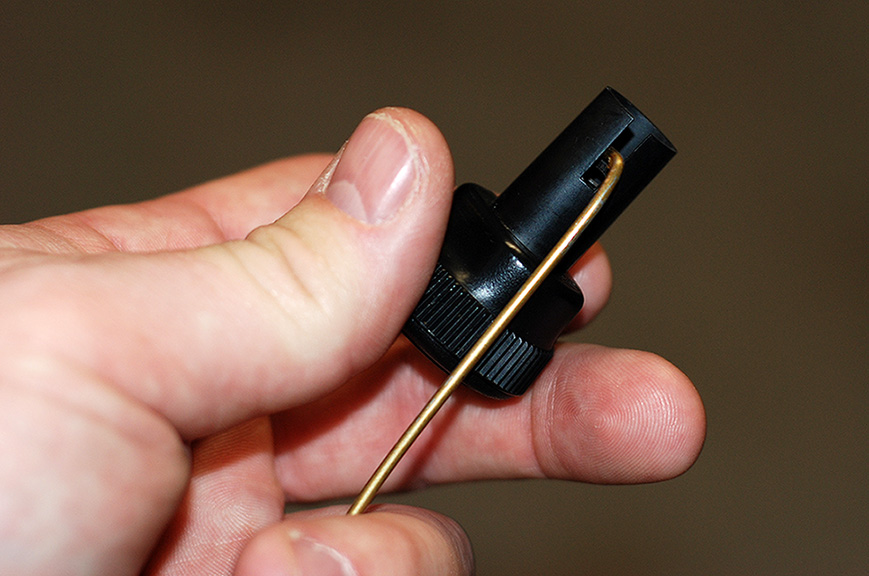
For the "Pick" I made my own like Ray did. I used a coat hanger and bent it this way.
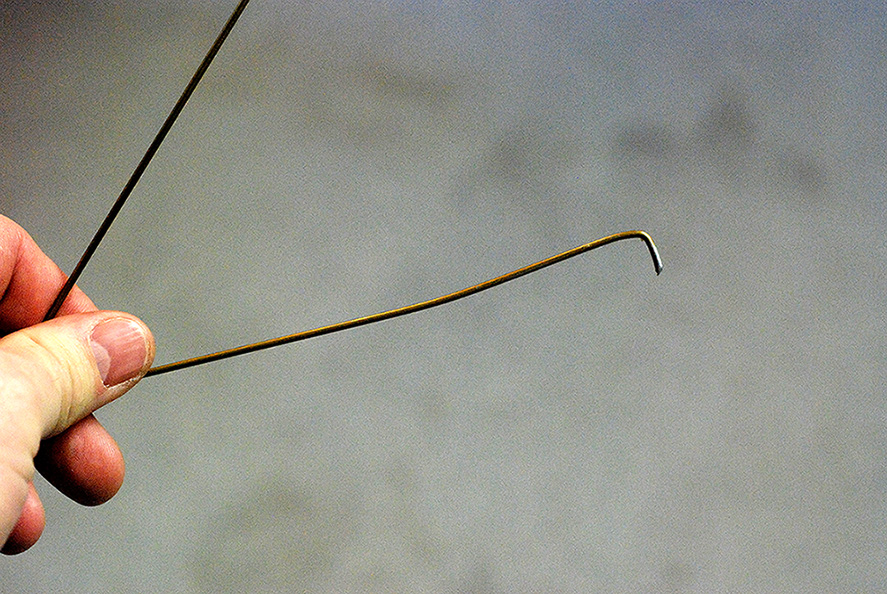
I left enough material on the other side so I had a good handle for pulling.
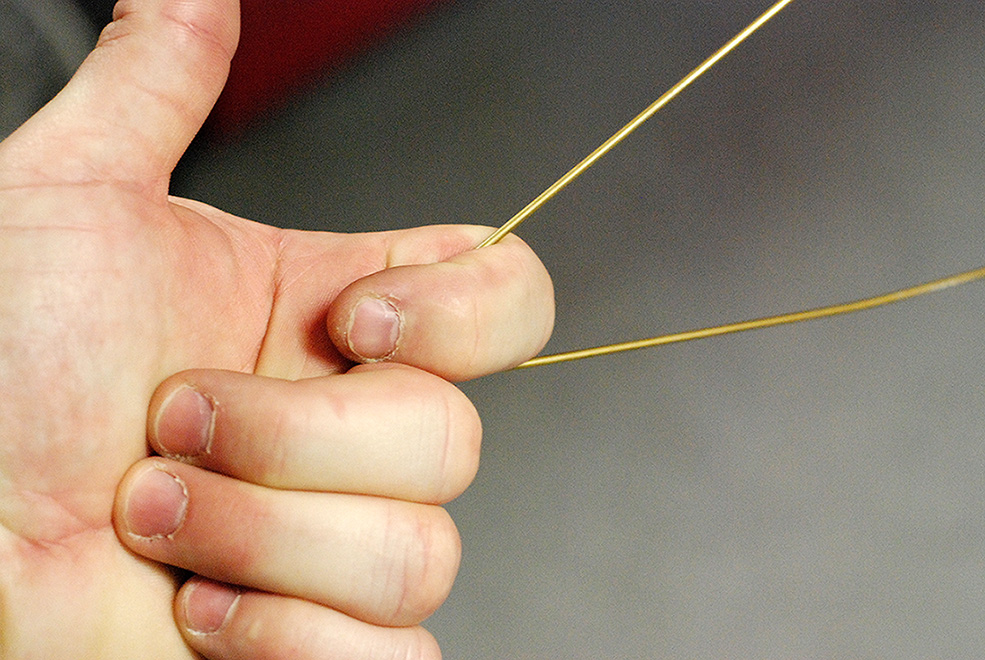
As you can see, it worked like a champ! :thumbsup:
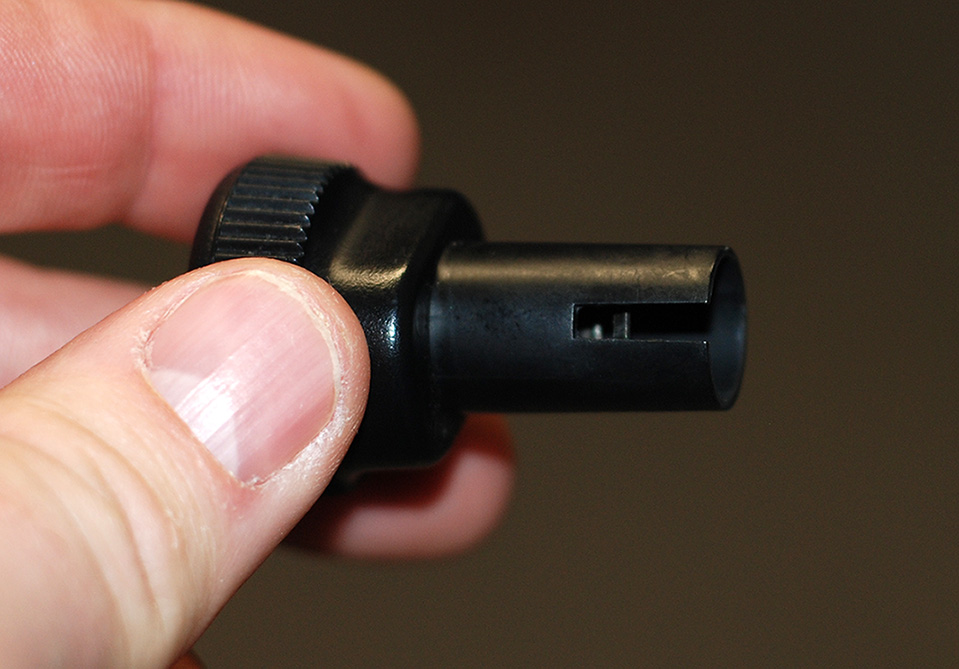
The headlight knob has a small clip that needs to be pulled back on to release it from the headlight switch shaft.
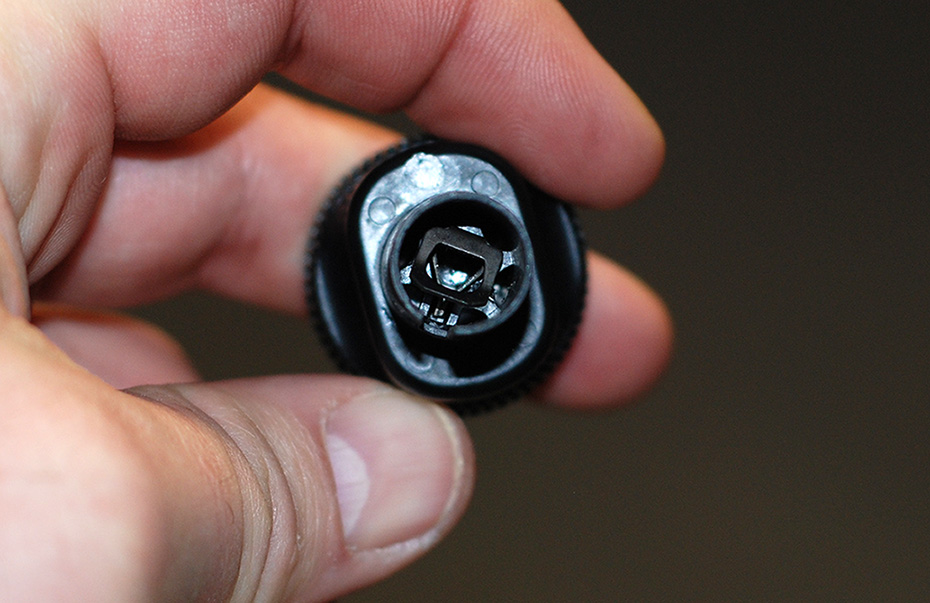
Here you can see it from the side as to what needs to be pulled back with the pick.
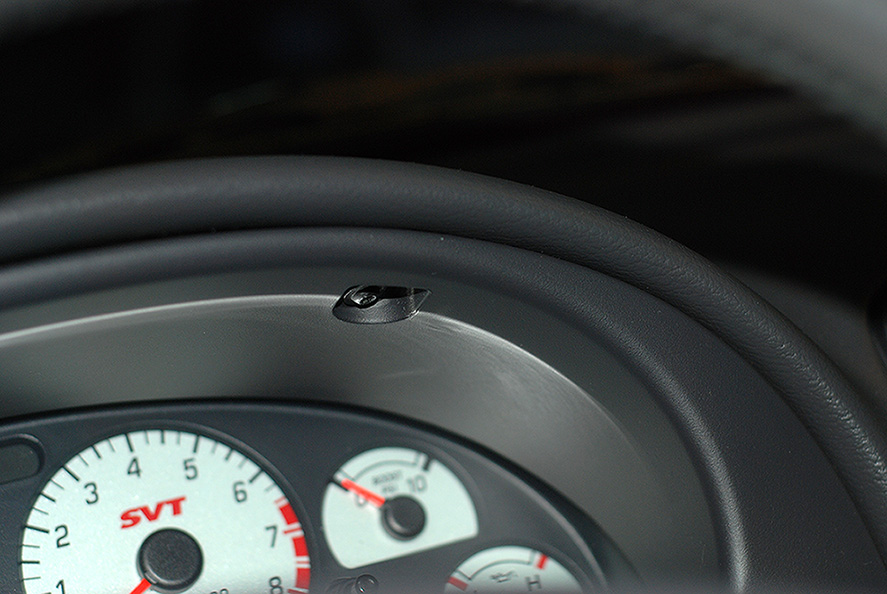
Headlight knob removed.
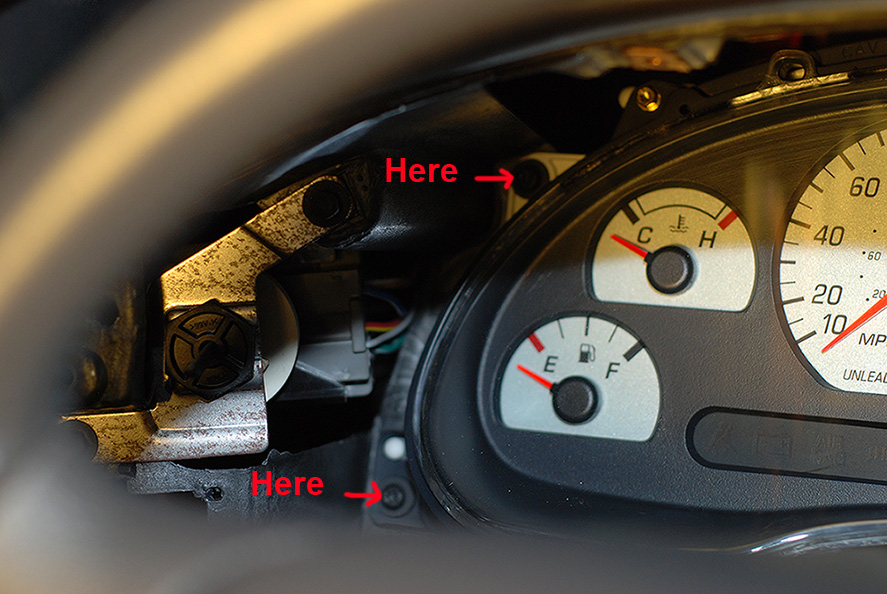
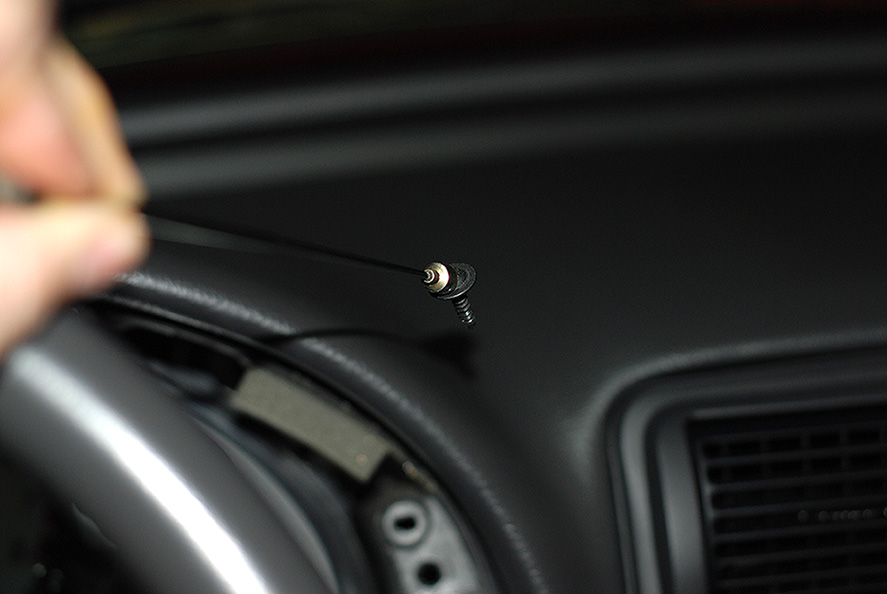
Next up are to remove the 2 (T20 Torx) bolts from he cluster cover. You can see them here.
With the "Trim Removal Tool" I popped out the cover.
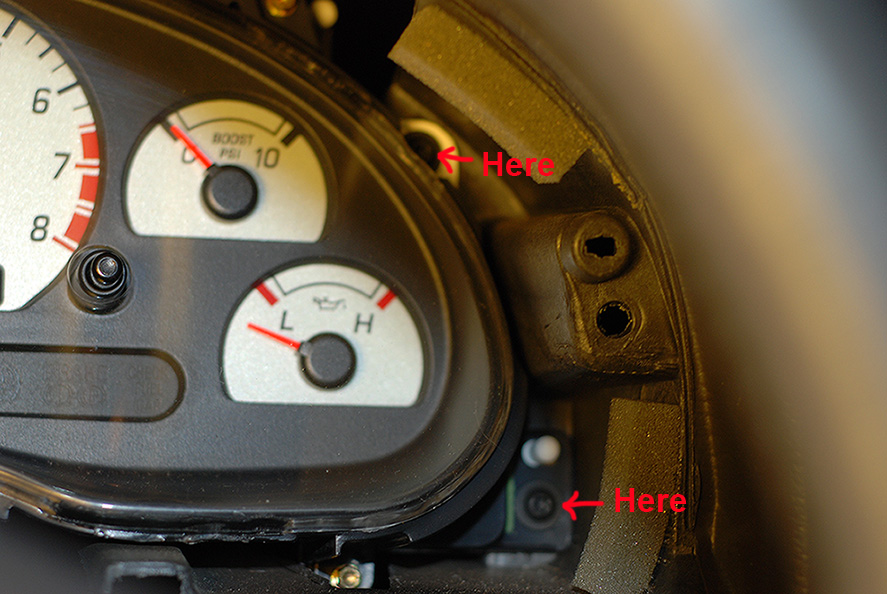
Next up was to remove the 4 (T20 Torx) bolts from the cluster itself.
Since the bolts were a little hard to grab I opted to use a telescopic magnet to hold the bolts as I loosened them up so I didn't drop any in the dash. (This tool should be in every tool box! Worth it's weight in Gold!)

Then I flipped my glovebox door down to access the "Boost Hose" to give it more slack to pull the cluster out.
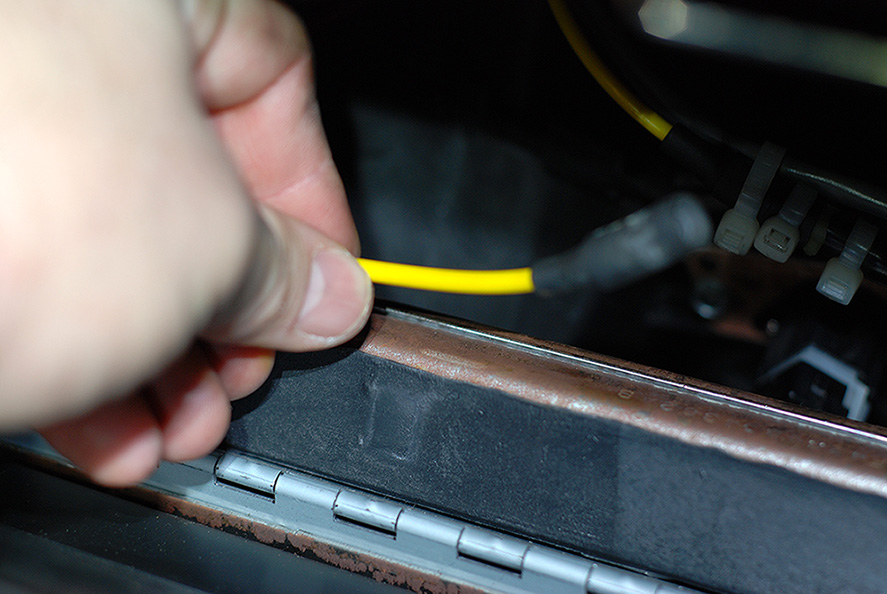
If you follow along where the hose is routed behind the center console it has 4 places with clips and electrical tape holding the hose in place. I carefully cut the tape away to release he hose from the clips.
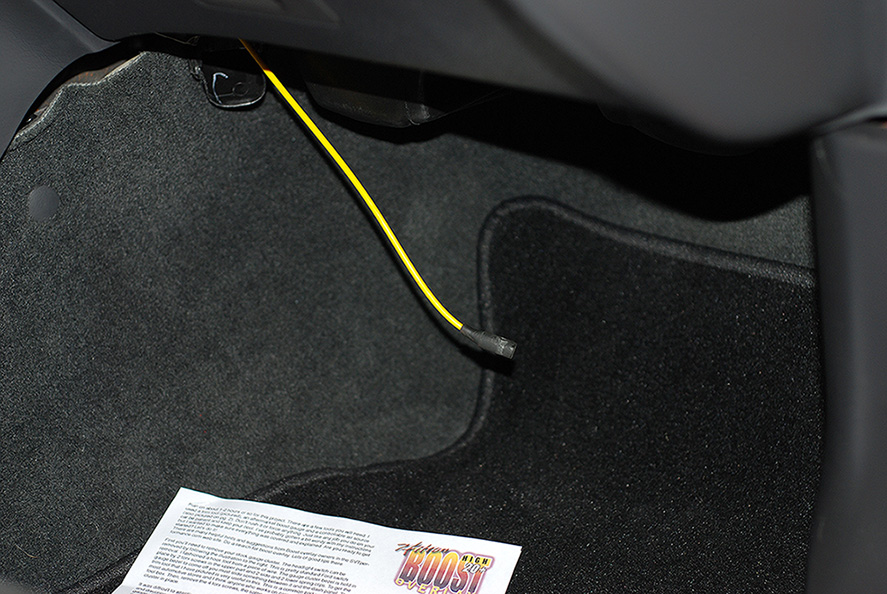
Passenger side.
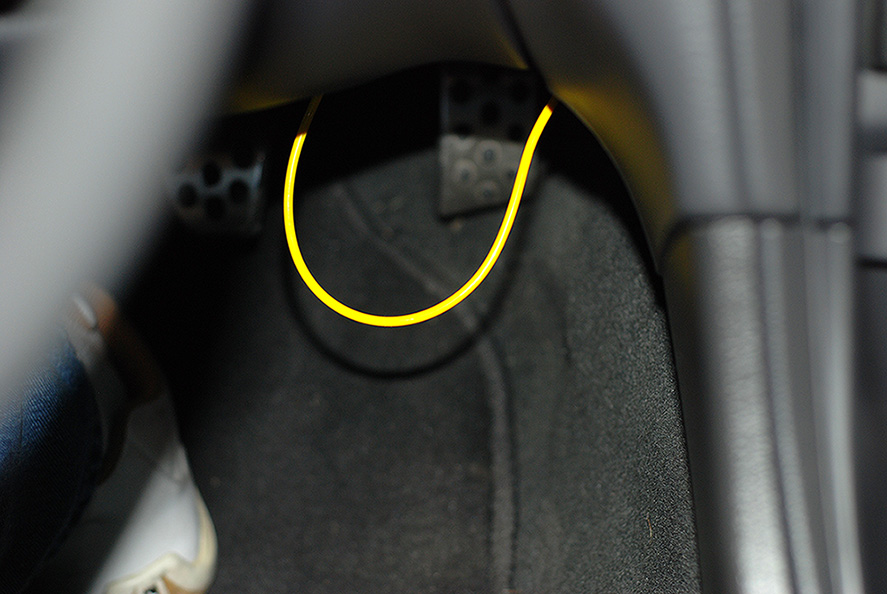
Drivers side. (See the slack)
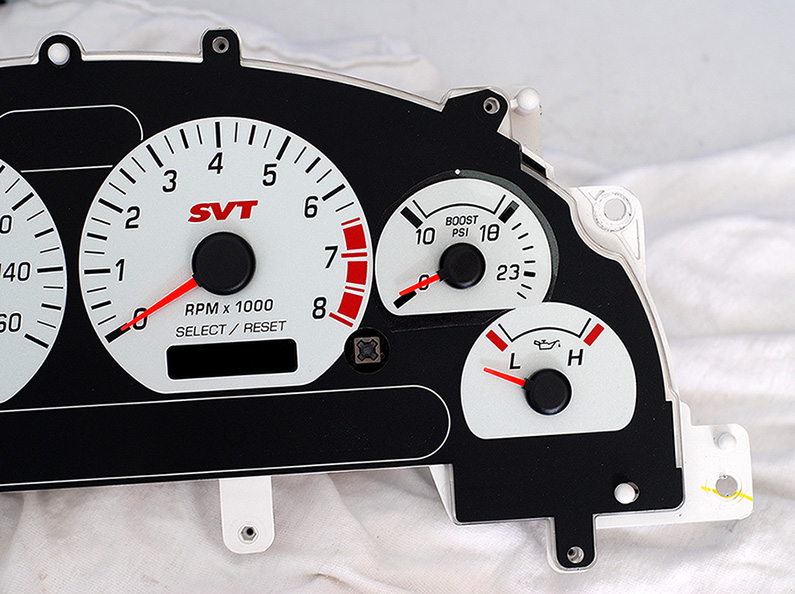
With the bolts out I removed the cluster. There are 2 electical plugs and the boost line to unhook.
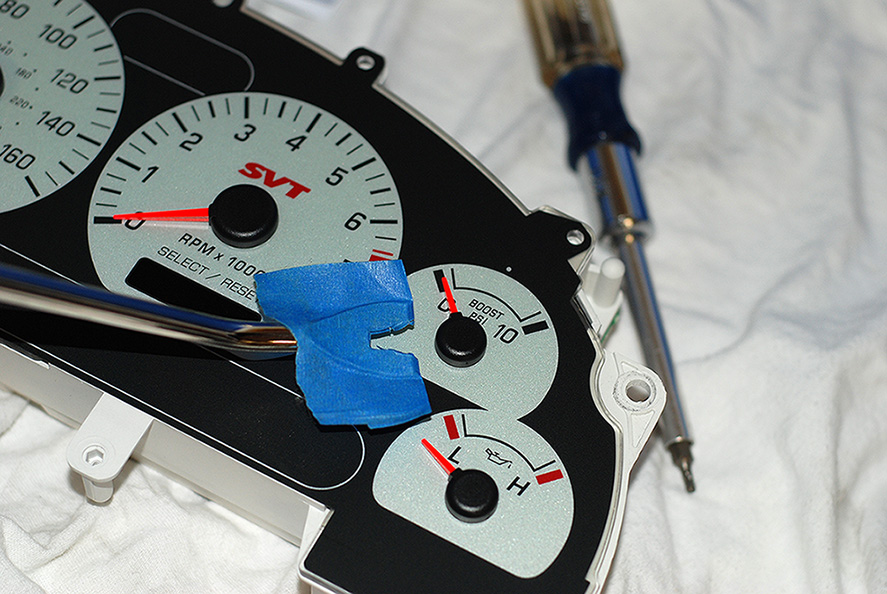
Here you can see the 8 (T15 Torx) bolts that have to be removed to access the needle.
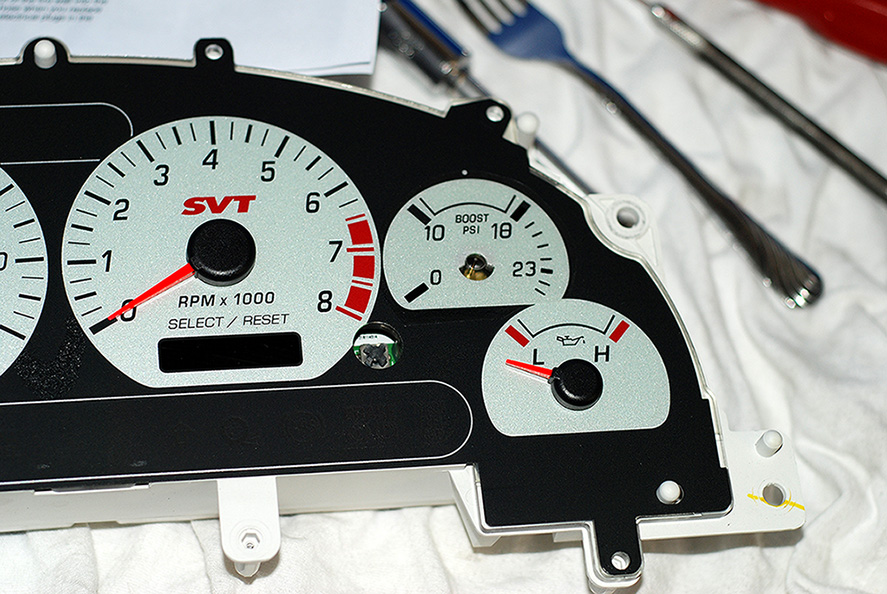
I tried to use the masking tape method that Ray recommended but the tool was too thick to get under the needle so I ended up using a fork.
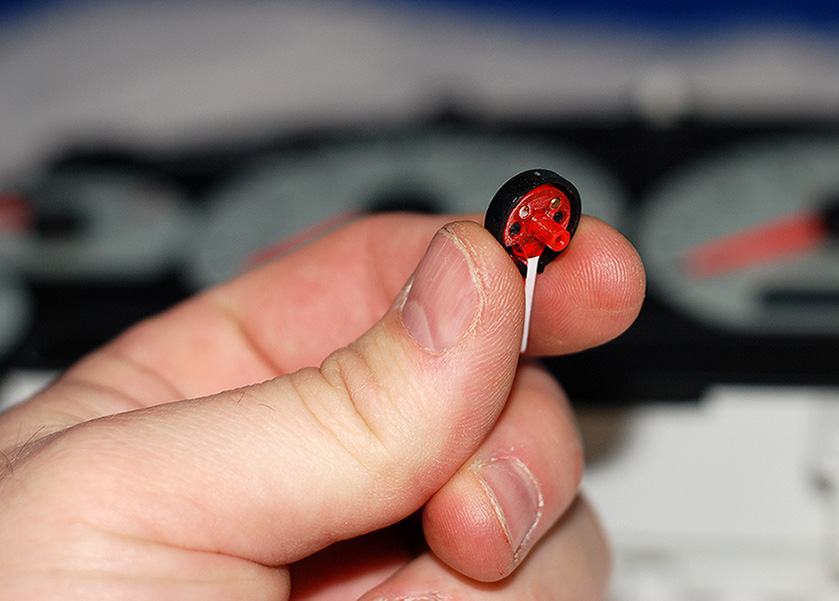
Then you have to trim off the "Needle Limiter". I chose to CAREFULLY use a dremel with a cut off wheel.
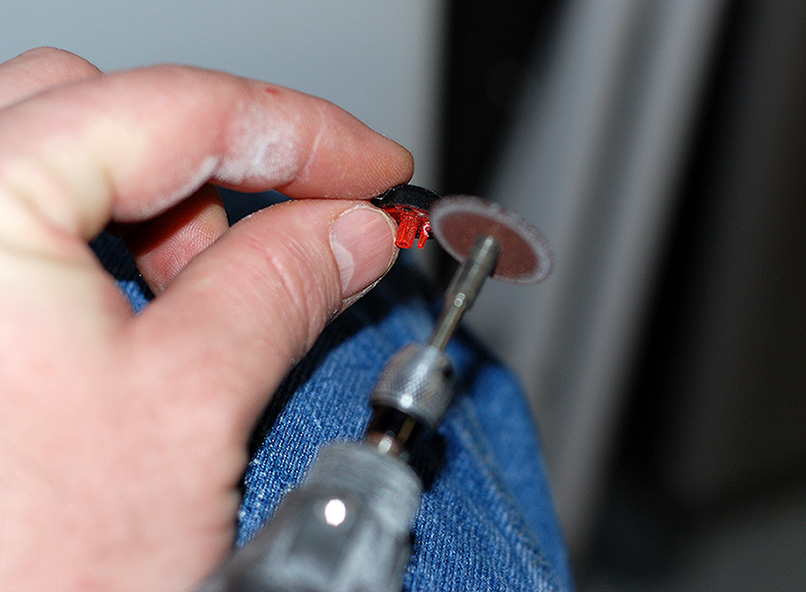
You have to trim the limiter off as much as possible so it doesn't interfere with face of the gauge when moving. The dremel worked perfect for trimming it down!
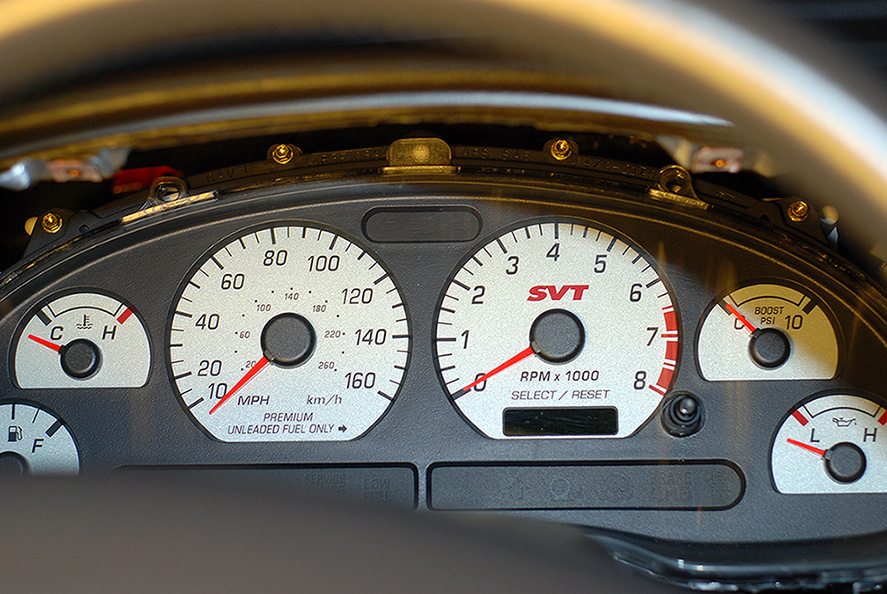
Then I finally applied the overlay.
I will finish up my install today and take more pictures so stay tuned! op:
op:
I just want to say thanks to Ray for great customer service and a great product! :beer:
It came in a personally written envelope with detailed instructions.
I went ahead and purchased a "Trim Removal Tool" Like Ray suggested.
For the "Pick" I made my own like Ray did. I used a coat hanger and bent it this way.
I left enough material on the other side so I had a good handle for pulling.
As you can see, it worked like a champ! :thumbsup:
The headlight knob has a small clip that needs to be pulled back on to release it from the headlight switch shaft.
Here you can see it from the side as to what needs to be pulled back with the pick.
Headlight knob removed.
Next up are to remove the 2 (T20 Torx) bolts from he cluster cover. You can see them here.
With the "Trim Removal Tool" I popped out the cover.
Next up was to remove the 4 (T20 Torx) bolts from the cluster itself.
Since the bolts were a little hard to grab I opted to use a telescopic magnet to hold the bolts as I loosened them up so I didn't drop any in the dash. (This tool should be in every tool box! Worth it's weight in Gold!)
Then I flipped my glovebox door down to access the "Boost Hose" to give it more slack to pull the cluster out.
If you follow along where the hose is routed behind the center console it has 4 places with clips and electrical tape holding the hose in place. I carefully cut the tape away to release he hose from the clips.
Passenger side.
Drivers side. (See the slack)
With the bolts out I removed the cluster. There are 2 electical plugs and the boost line to unhook.
Here you can see the 8 (T15 Torx) bolts that have to be removed to access the needle.
I tried to use the masking tape method that Ray recommended but the tool was too thick to get under the needle so I ended up using a fork.
Then you have to trim off the "Needle Limiter". I chose to CAREFULLY use a dremel with a cut off wheel.
You have to trim the limiter off as much as possible so it doesn't interfere with face of the gauge when moving. The dremel worked perfect for trimming it down!
Then I finally applied the overlay.
I will finish up my install today and take more pictures so stay tuned!
op:
Last edited: