You are using an out of date browser. It may not display this or other websites correctly.
You should upgrade or use an alternative browser.
You should upgrade or use an alternative browser.
Hellion Install
- Thread starter Doug1227
- Start date

So ****ING sick!
Good luck on the tune! Post some videos and results!")
EDIT:
Quick question. What is that "guard" on your driver side valve cover? Where did you get that? It's not part of the kit is it?
Good luck on the tune! Post some videos and results!
EDIT:
Quick question. What is that "guard" on your driver side valve cover? Where did you get that? It's not part of the kit is it?
Last edited:

Mine is all done as well, but i left those valve cover heat shields off. I am lucky enough i got a gase tune and can still run the car around town.
As for the issue I had with the pass side, we decided to say F Hellions instructions. I removed the PCM bracket, bent it backwards and bolted it to a free spot in the fender while having the pipe going underneath it. works fine for me.

As for the issue I had with the pass side, we decided to say F Hellions instructions. I removed the PCM bracket, bent it backwards and bolted it to a free spot in the fender while having the pipe going underneath it. works fine for me.
The gtcs fog lights can be used to fill the front valance holes just incase your wondering. It looks mean. Your build makes me miss mine dearly. Good luck with the rest of it!
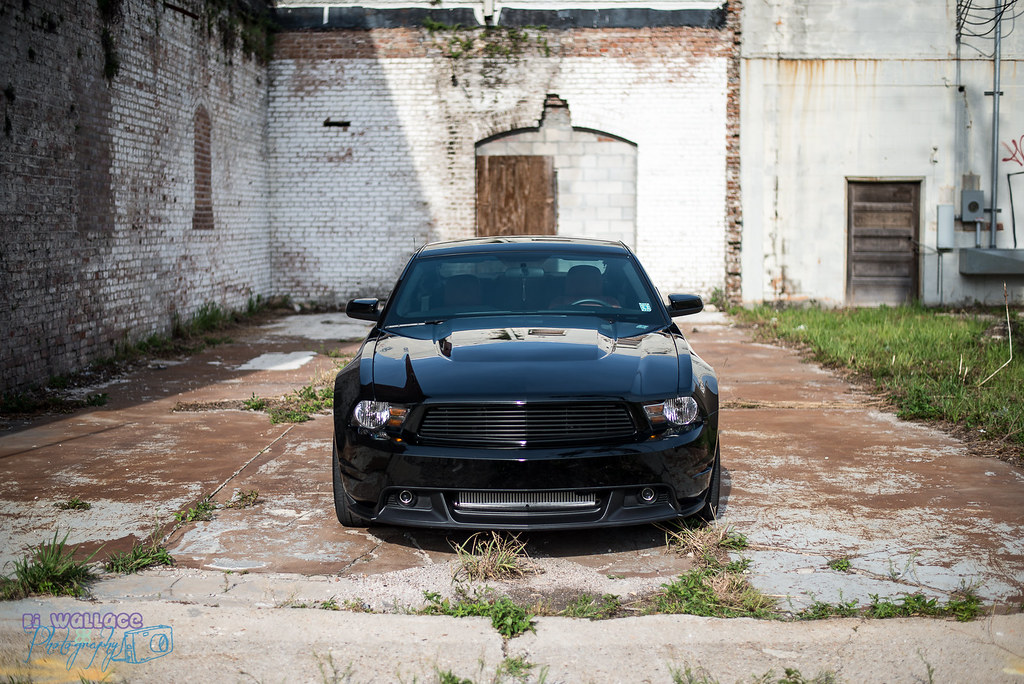 EJP_7947[1] by OveRBoreD302, on Flickr
EJP_7947[1] by OveRBoreD302, on FlickrYeah, sometimes you just have to make it work how you can! I had a few areas like that as well. It's a lot of stuff to fit in a small area!
I had a few areas like that as well. It's a lot of stuff to fit in a small area!Mine is all done as well, but i left those valve cover heat shields off. I am lucky enough i got a gase tune and can still run the car around town.
As for the issue I had with the pass side, we decided to say F Hellions instructions. I removed the PCM bracket, bent it backwards and bolted it to a free spot in the fender while having the pipe going underneath it. works fine for me.
Last edited:
Can you elaborate on how you did this? Once I removed the fogs and started hacking, I may have eliminated their mounting points. I'm assuming you mean that they're not functional, right?
The gtcs fog lights can be used to fill the front valance holes just incase your wondering. It looks mean. Your build makes me miss mine dearly. Good luck with the rest of it!
Can you elaborate on how you did this? Once I removed the fogs and started hacking, I may have eliminated their mounting points. I'm assuming you mean that they're not functional, right?
I used a dremel and did lots of test fits. Also, I did all the fittings with the lights in the valance. There is enough wiggle room with the pipes and most of the lights bracket had to be cut but they will fit. The drivers side required less shaving than the pass side if I remember correctly, but I was able to keep enough of the mounting points. The lights are fully functional.
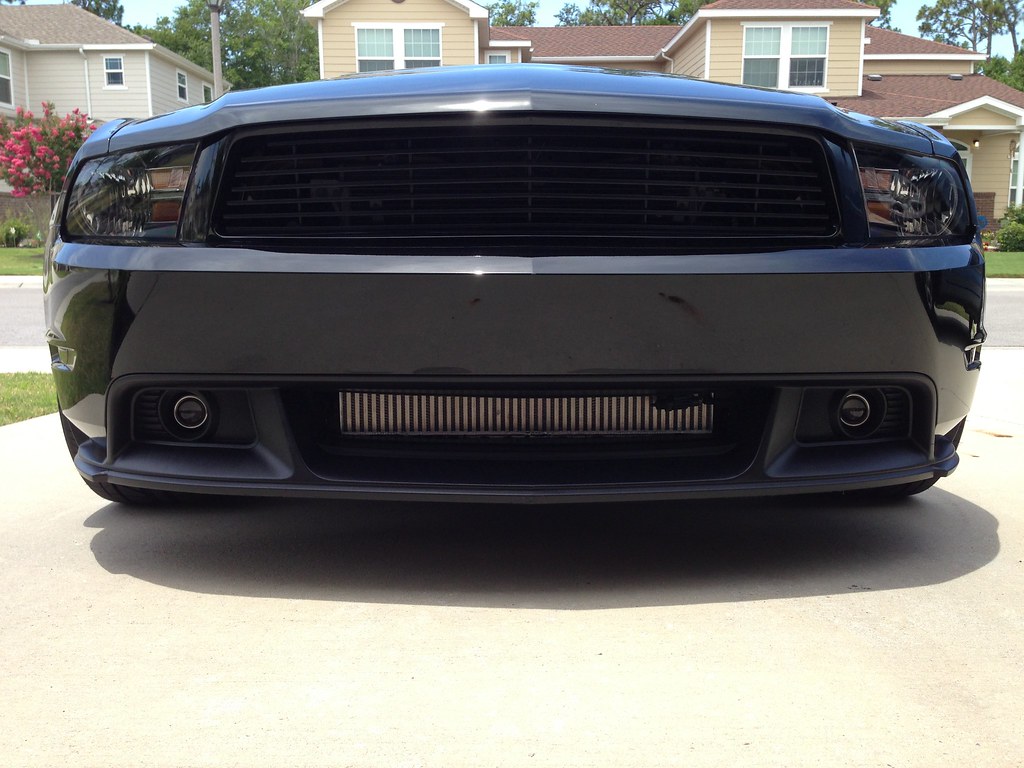 2011 TT coyote intercooler by OveRBoreD302, on Flickr
I wish I had a pic of how much I had to cut away but I don't sorry. Just know they will fit and function.
Last edited:
Oh well, I hacked the shit outta mine, so I doubt I'll ever be able to put them back in. I just assumed since Hellion's silver car had them removed, that it was a foregone conclusion that they had to be ditched.
Fixed! I accidentally posted my buddy's car from the same day. Mine made 960/850

Awesome Doug! I bet it's a beast!
Users who are viewing this thread
Total: 2 (members: 0, guests: 2)

