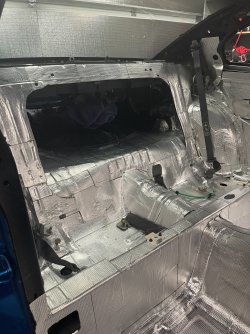
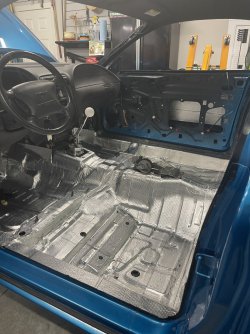
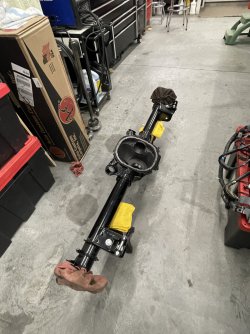
Dumb question... but how do you plan on getting the wiring into the bay with the engine bay panels? Would you happen to have a link to the termi rack on napa? I need a new rack myself.Engine bay looks good, highly recommend The Scot’s rod panels and the pieces that cover the frame for a clean look
Last edited:
")