Motor Monitor : SVTP 2012 GT Gets an AeroForce Interceptorhttp://www.svtperformance.com/forum...-svtp-2012-gt-gets-aeroforce-interceptor.htmlhttp://www.svtperformance.com/forum...-svtp-2012-gt-gets-aeroforce-interceptor.htmlhttp://www.svtperformance.com/forum...-svtp-2012-gt-gets-aeroforce-interceptor.htmlhttp://www.svtperformance.com/forum...-svtp-2012-gt-gets-aeroforce-interceptor.html
http://www.svtperformance.com/forum...-svtp-2012-gt-gets-aeroforce-interceptor.html
It’s an interesting dichotomy that the more modded (and dare I say fun?) a vehicle gets the more things you really need to keep an eye on. The line between a ludicrously powerful engine and a time bomb can often be quite svelte. The one thing that could keep you from slipping into the dark depressing membership of the popped motor club is accurate and timely information. That’s where AeroForce Interceptor can become your new best friend.
The Interceptor simply plugs into your vehicle’s OBD-II port and basically lets you keep an eye on anything the ECU monitors. So when our friends over at Lethal Performance gave us the opportunity to try out a AeroForce gauge in the SVTP GT the only thing we wanted to know was, ‘how fast can you get it to us?’ Since we had installed a Magnuson Supercharger and our own Home Brewed CAI we were well aware that the nearly 600 RWHP Coyote was going to require some extra vigilance to make certain we keep the engine running within safe limits.
Two of the parameters we were interested in watching are Air/Fuel Ratio and Spark Timing, and one of the great things about the AeroForce gauge is that it lets you monitor two different parameters at the same time. So you can basically have two gauges for the price, and space consumption, of one. Also, you have the option to set the gauge into “Scan Mode” and have it rotate through a chosen list of metrics. If you have the AeroForce gauge set to scan you can essentially replace an entire pillar full of analog gauges with a single piece of digital technology. That also makes driving a bit easier because you only have to look at a single point to obtain the information instead of scanning a pillar. AeroForce also gives you the option to outfit the gauge with different colors and finishes for the faceplates and trim rings, so you’ll be able to dress the Interceptor out to match your interior.
If you find yourself only needing one Interceptor Lethal has the perfect (and inexpensive) solution for you. They also offer the Roush A/C Vent Mount Gauge Pod. The Roush Pod replaces the driver’s side A/C vent without having to cut, drill, or permanently modify your stock dash. While it’s just a simple piece of molded plastic it places an aftermarket 2 1/16" gauge in the perfect spot for easy viewing. It also seamlessly matches the stock interior while not significantly affecting airflow through the vent. My one concern with it is the possibility that condensation produced by the A/C system in the humid South Carolina Summer may be detrimental to the AeroForce gauge. I suppose we’ll see how it all holds up over the next few months and bring you any updates.
Follow along as we install the AeroForce Interceptor and the Roush Pod from Lethal Performance in the SVTP 2012 GT:
Time to get started.
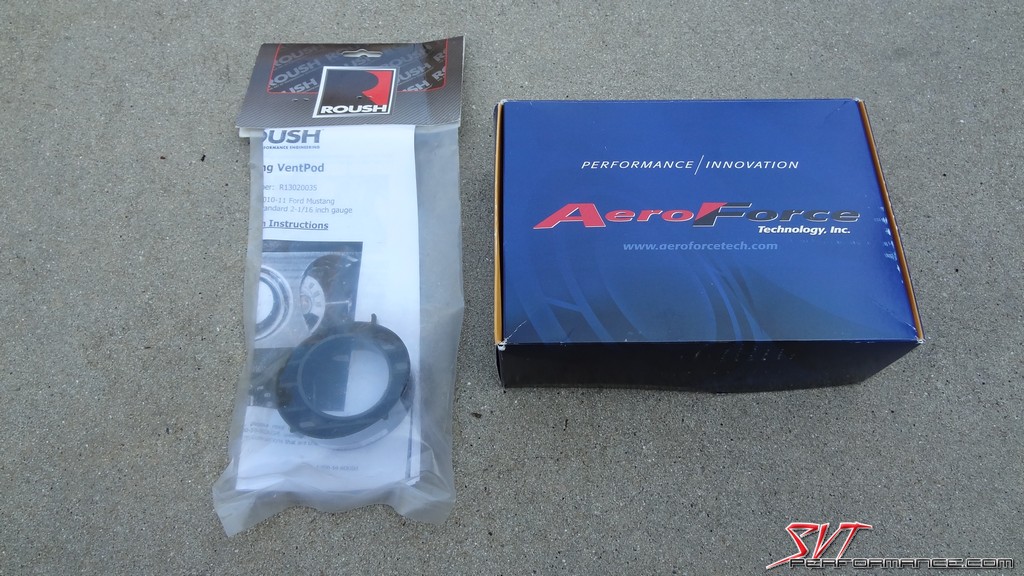
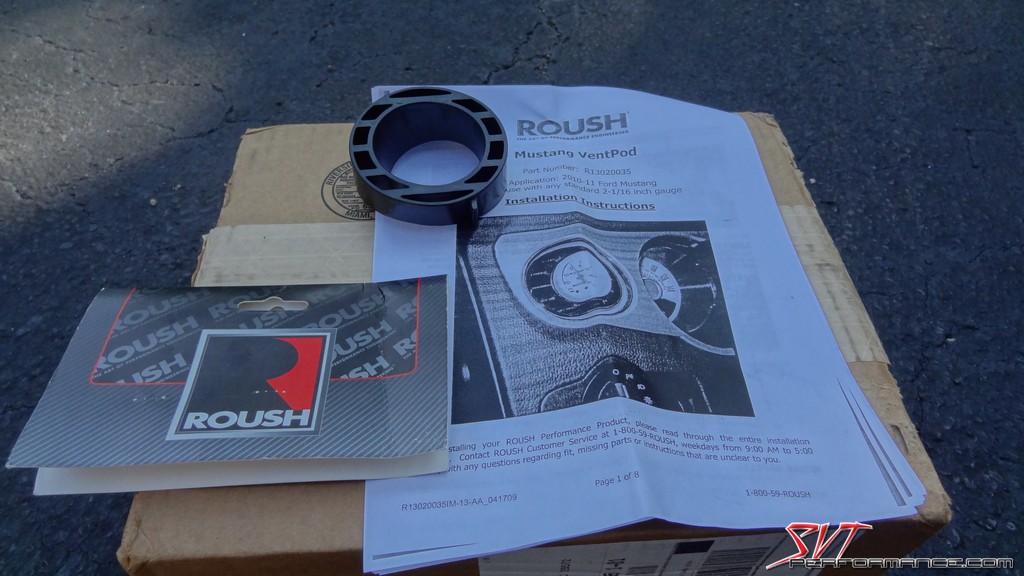
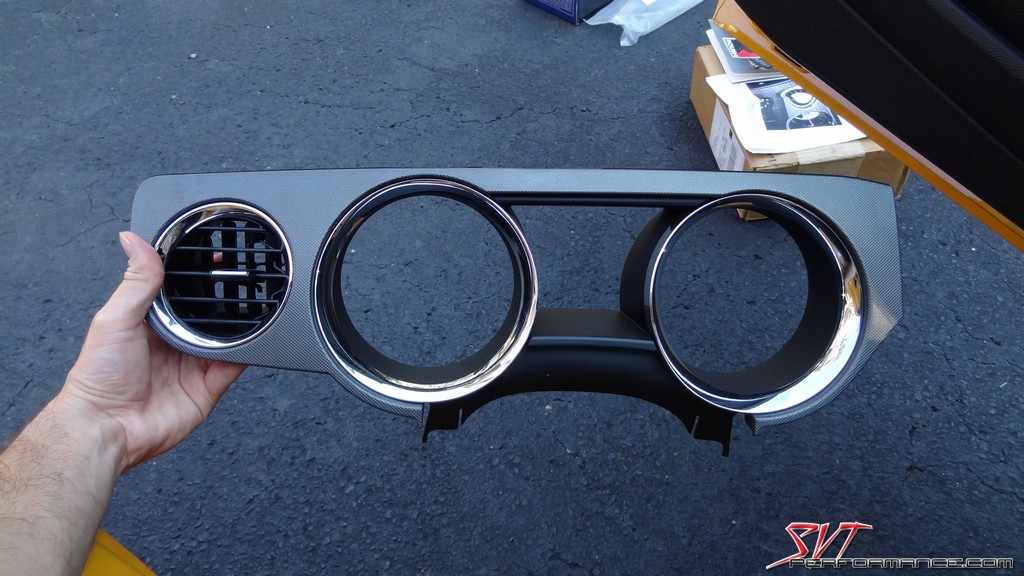
The Roush pod comes with easy to follow instructions.
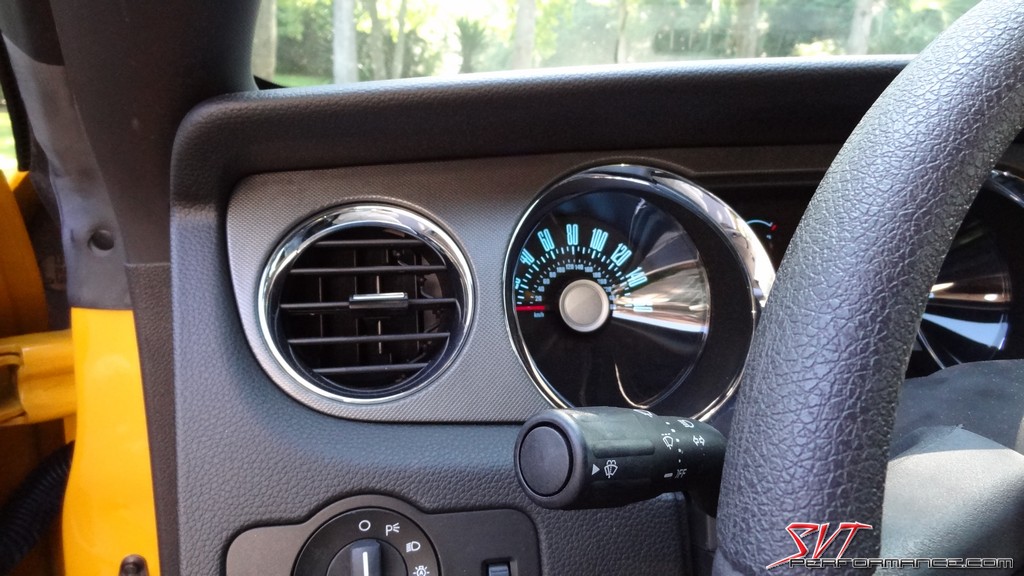
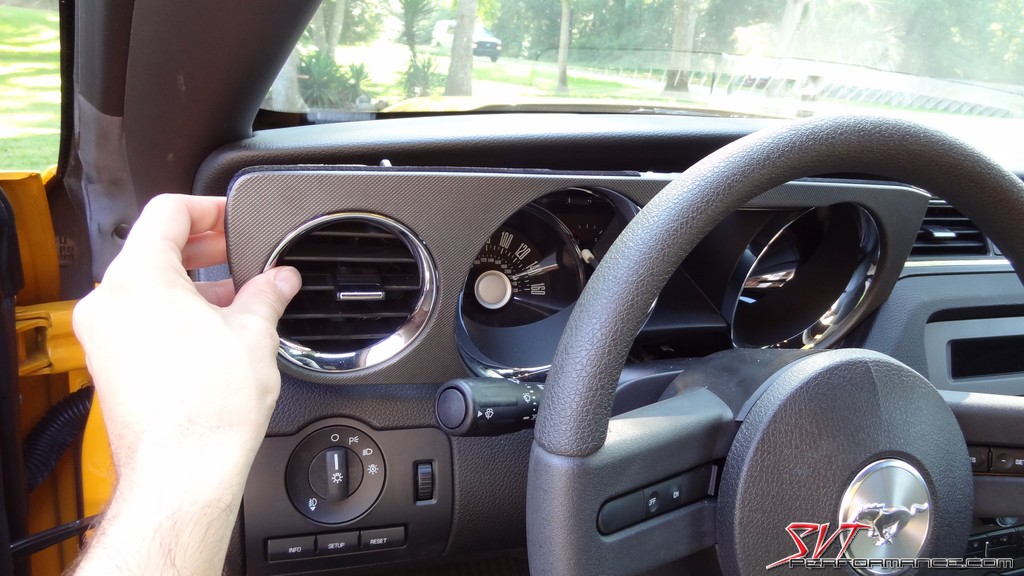
We'll be popping it in here, the driver's side A/C vent.
The panel is held in with clips and can be removed by gently pulling out on it.
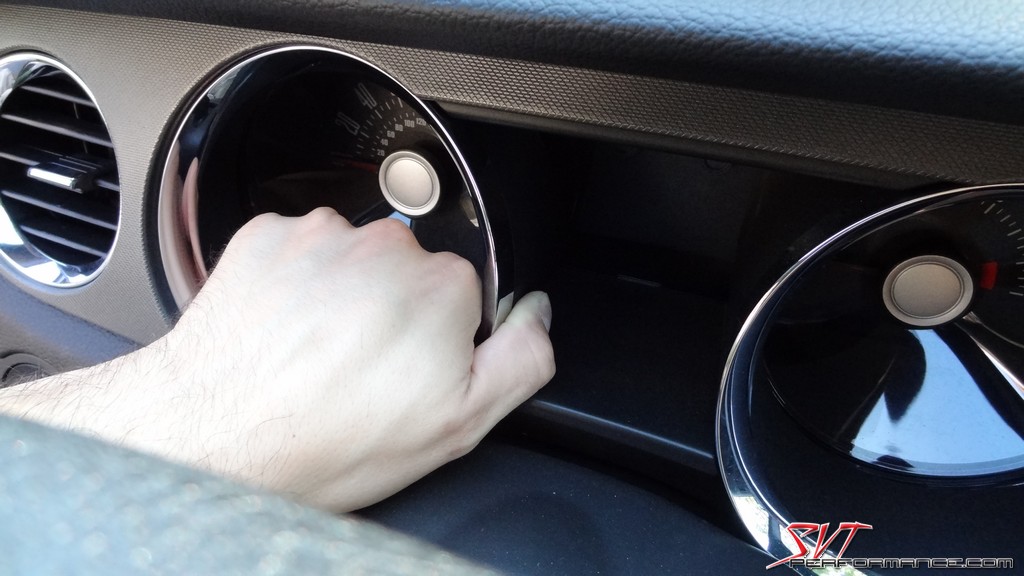
The panel is easier to get out of the way if you lower the steering wheel as low as it will go.
This is what you'll find behind that trim panel.
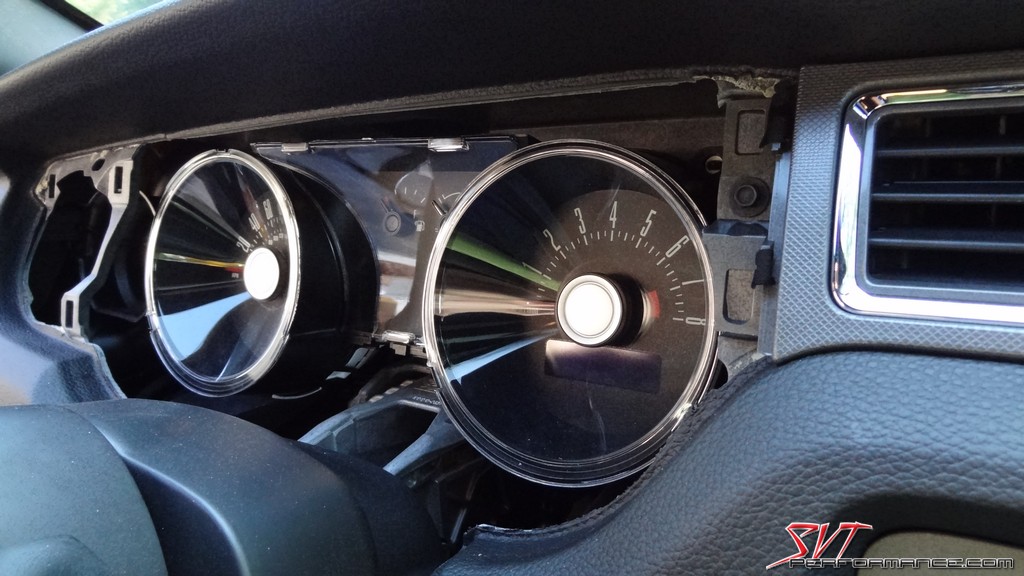
This is the duct work for the A/C system, soon to be home of our AeroForce Interceptor gauge.
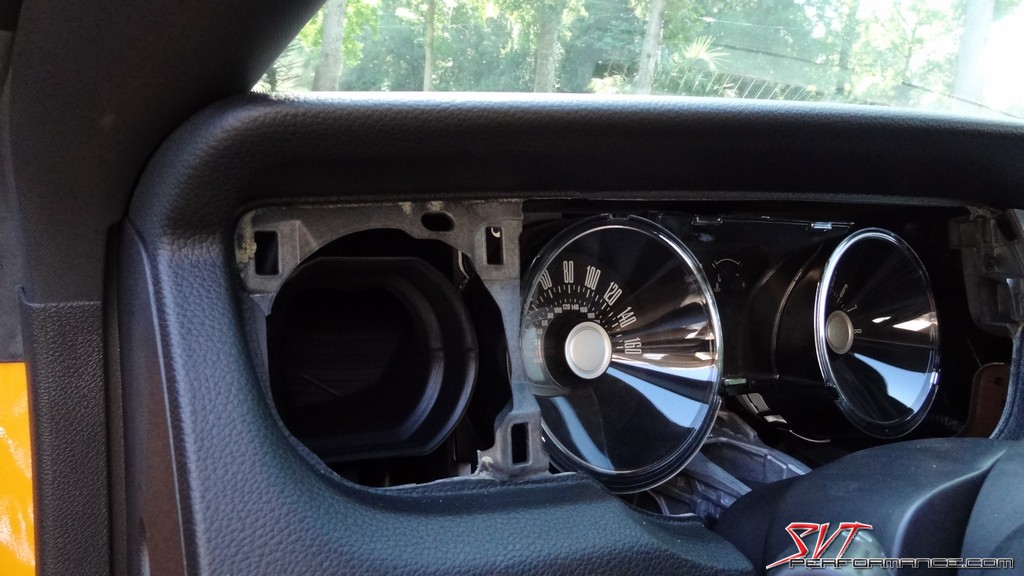
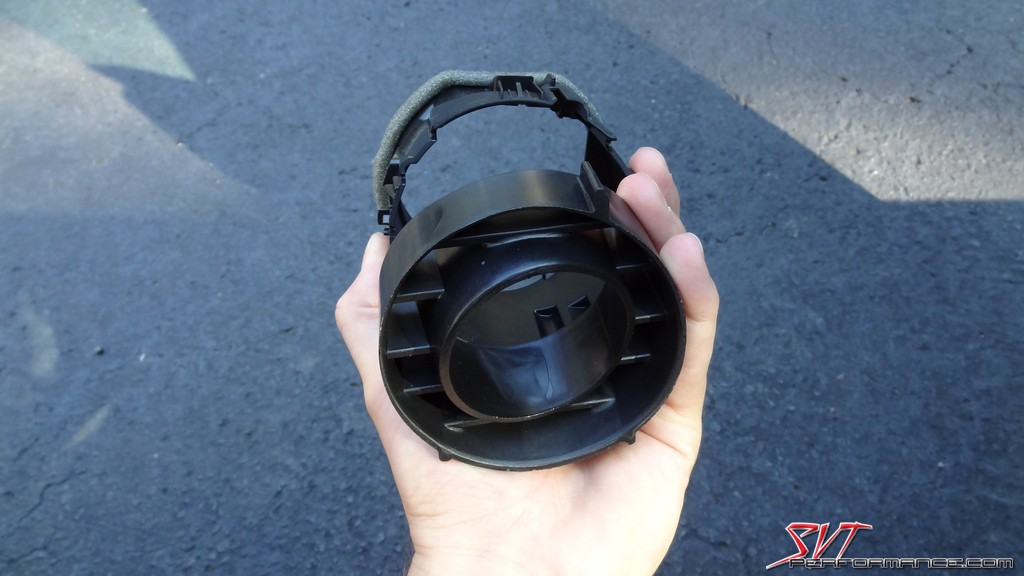
It's now out and ready to mod.
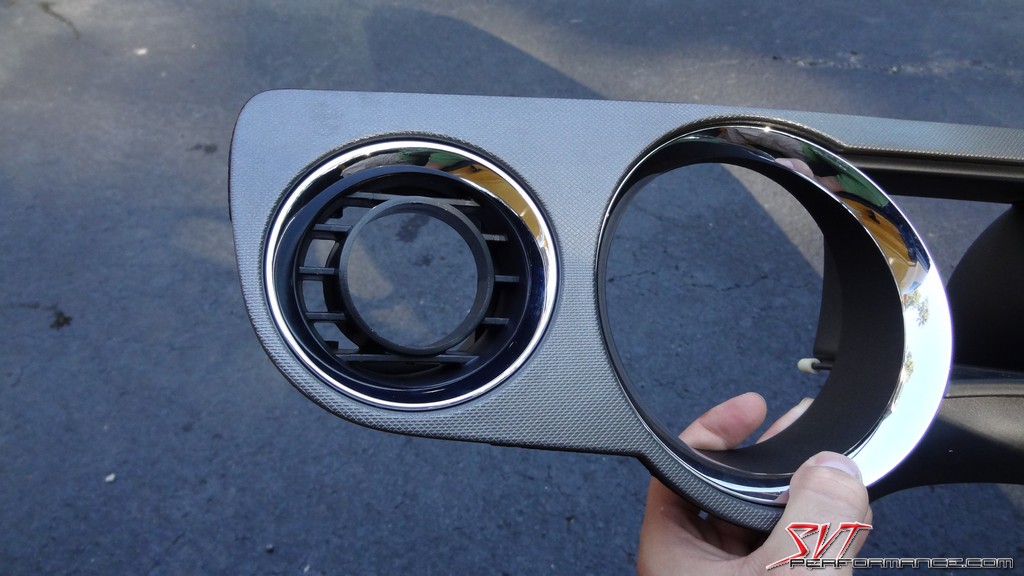
The louver ring has to be removed from the bezel. Be careful with this step because these little tabs are easily broken.
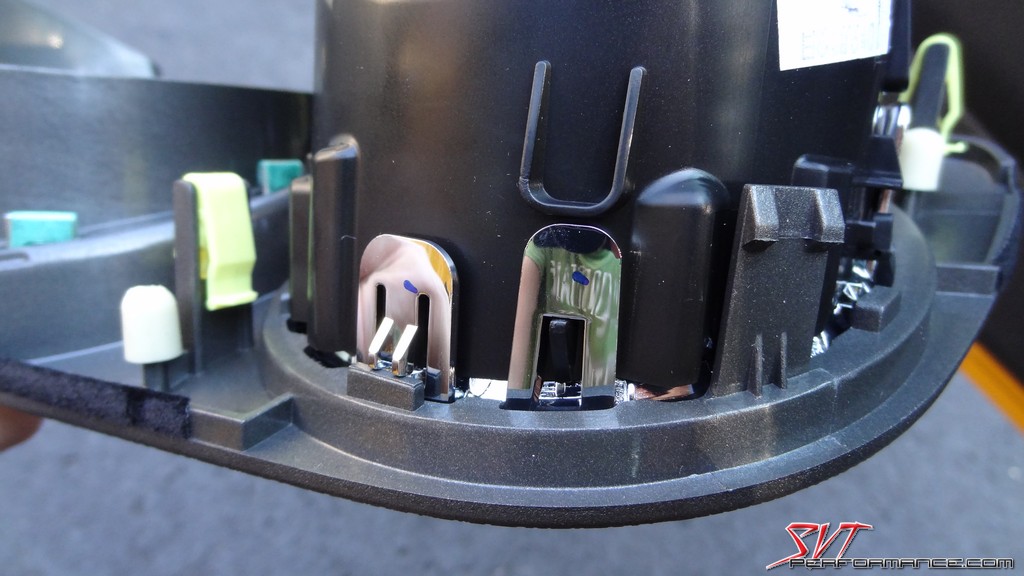
You just depress the tabs and push it through the panel.
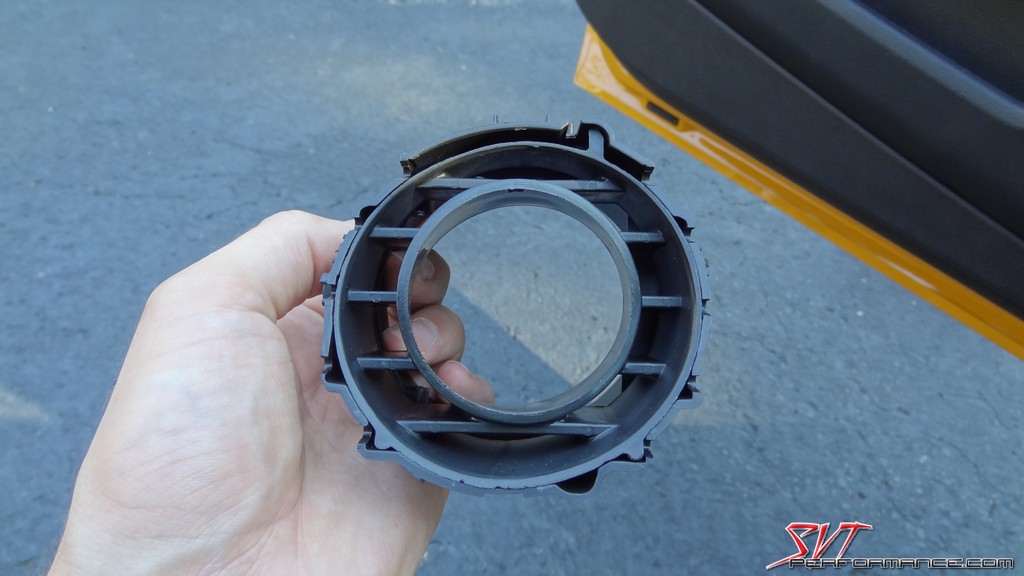
This is what you'll be left with.
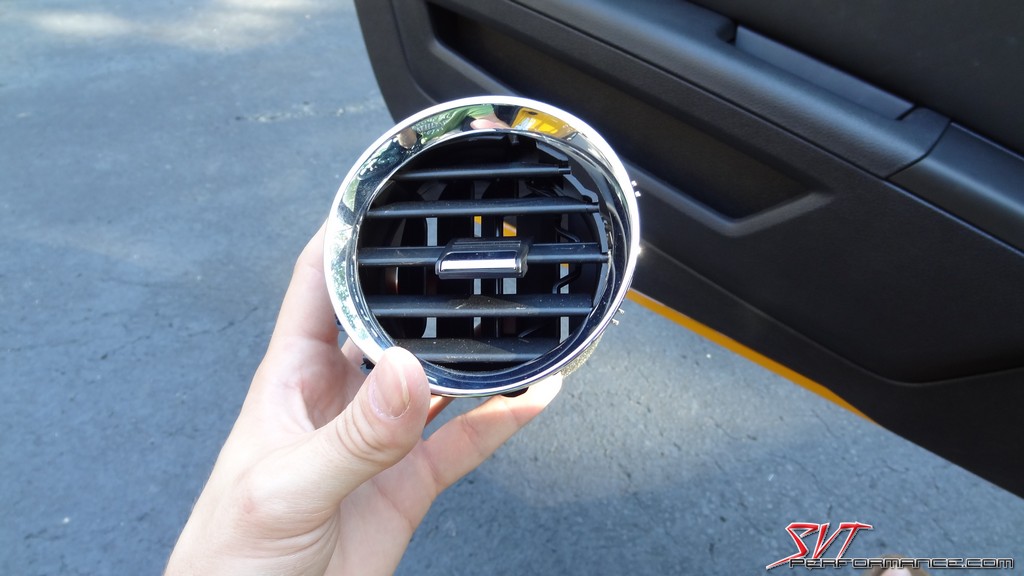
You then just pull a few more tabs to remove the chrome trim ring.
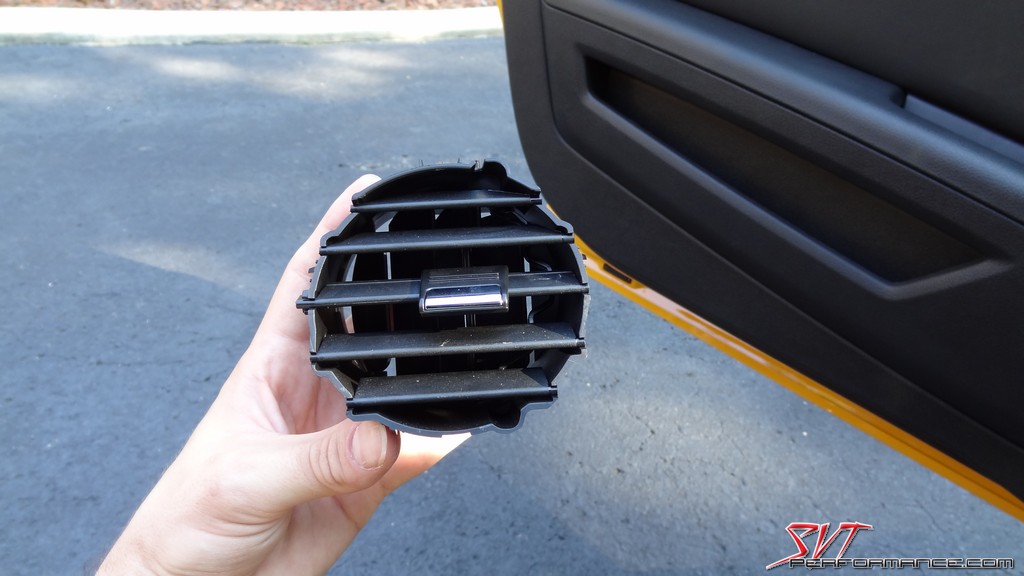
With gentle pressure the louvers can be removed from the housing.
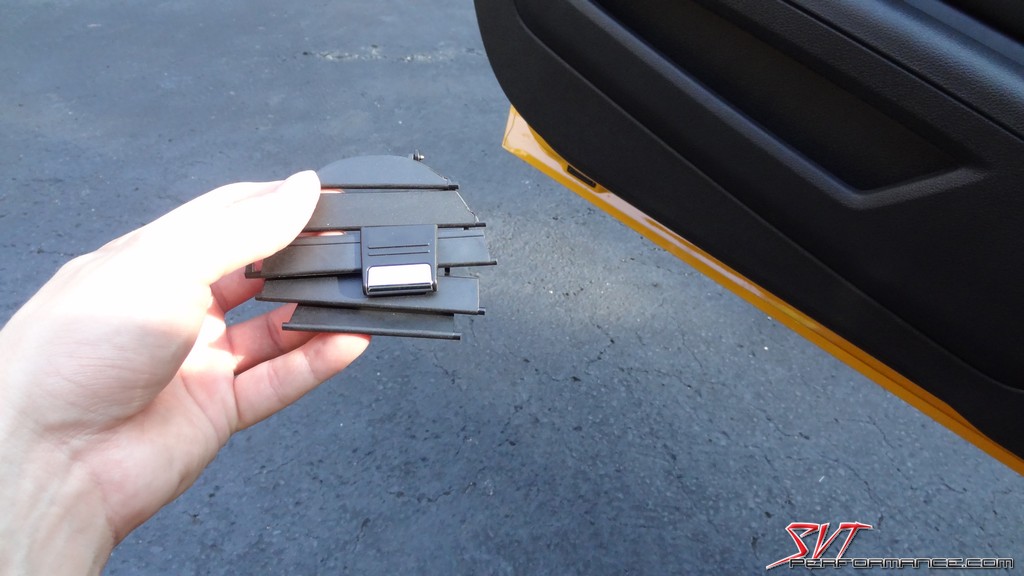
There are two sets of louvers, both must be removed.
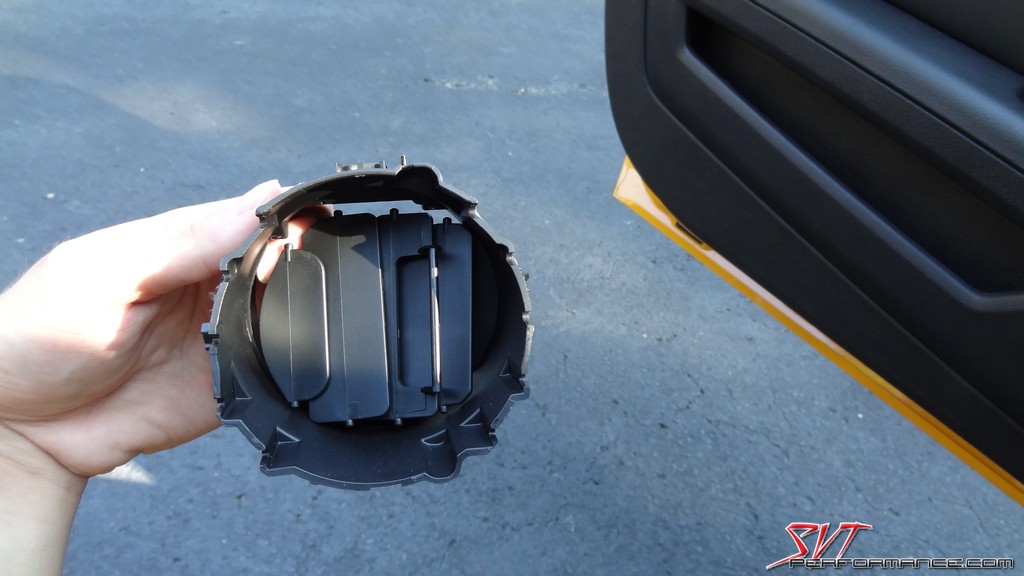
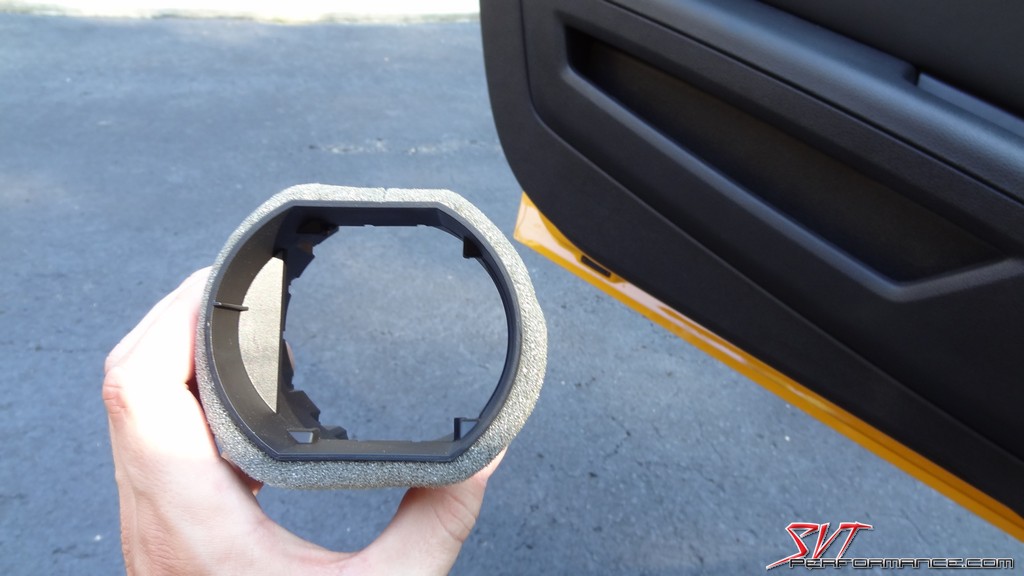
This is what you'll be left with once all the accoutrements has been removed.
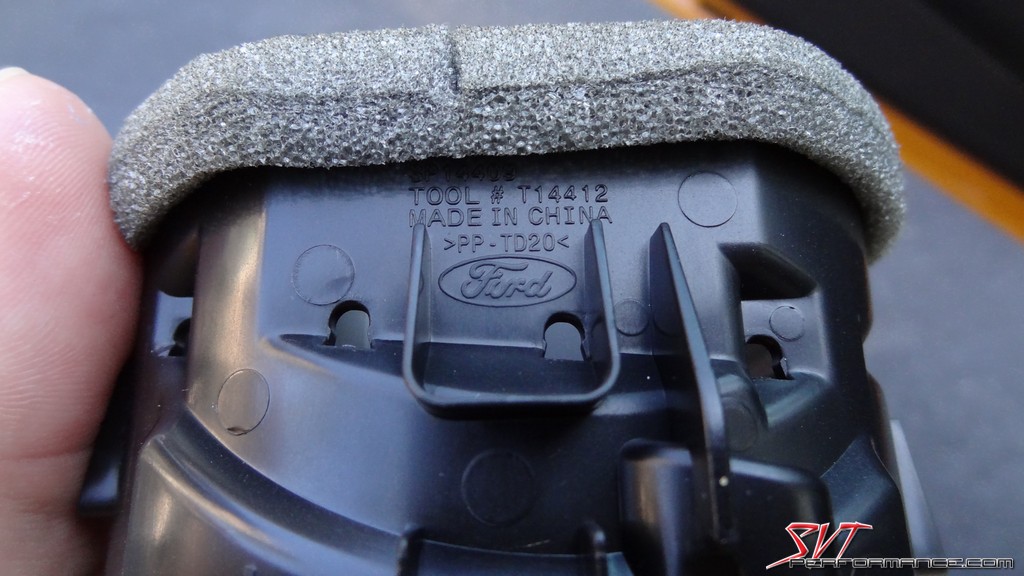
I'm never pleased to see parts from this origin on Ford parts.
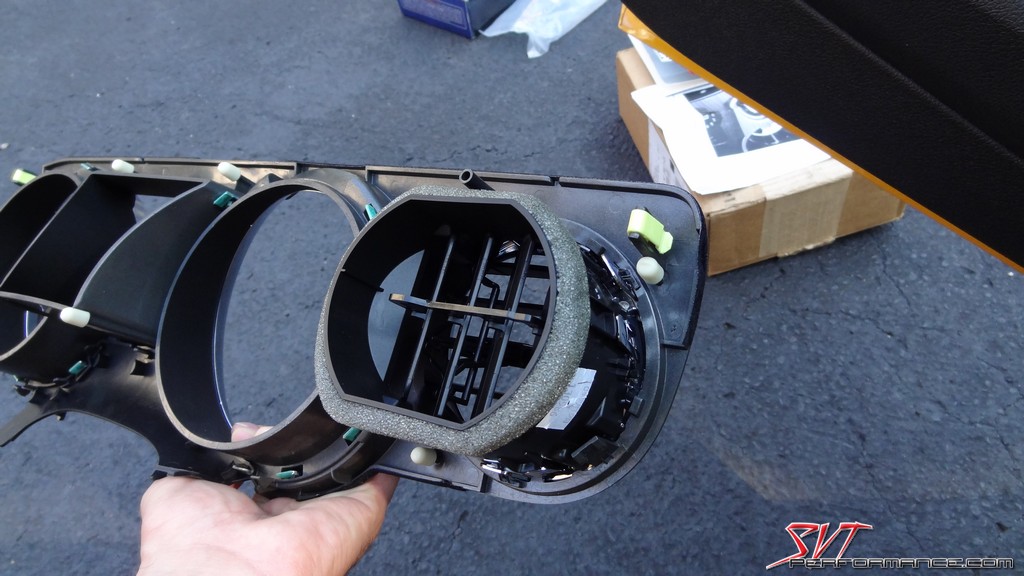
The Roush post just slides into the now empty drum.
It fits in like so.
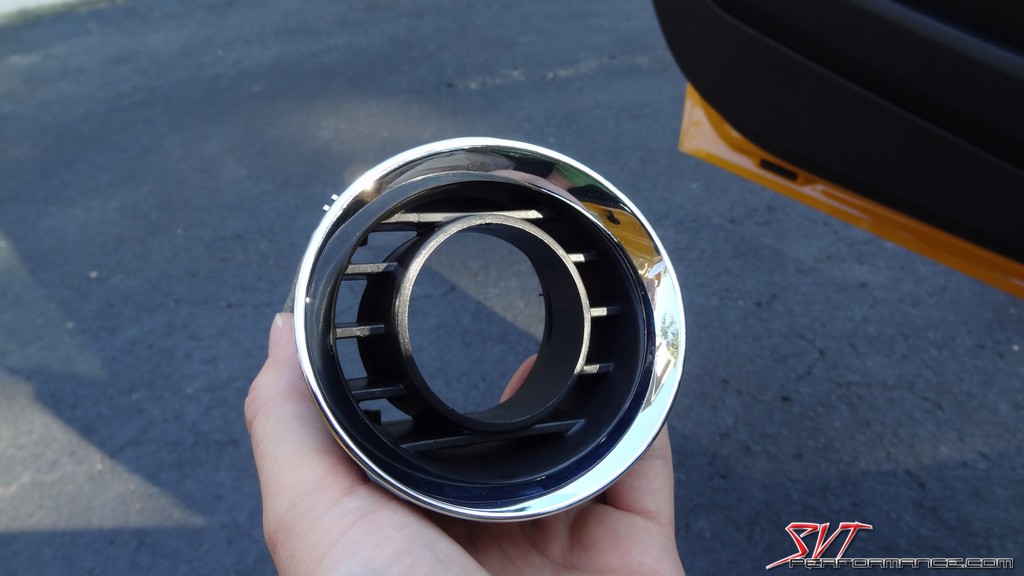
You then just have to pop on the trim ring.
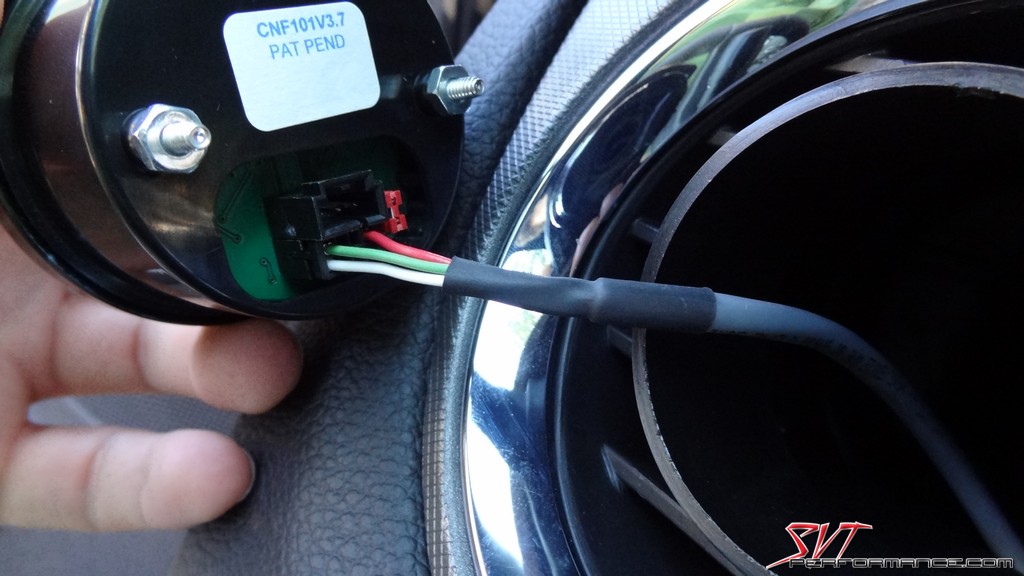
It's now time to turn our attention to the AeroForce gauge.
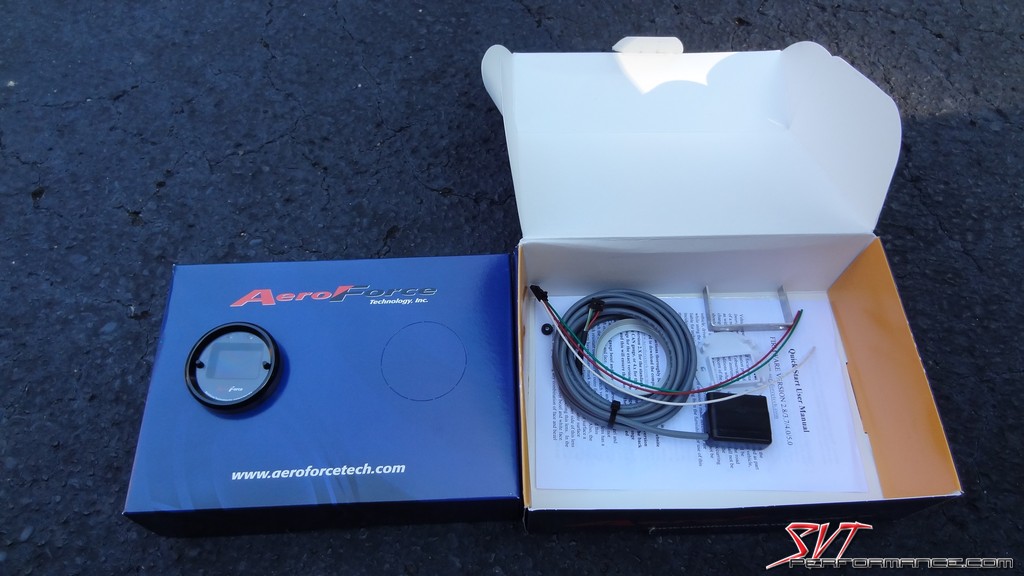
It's a well designed simple piece of hardware.
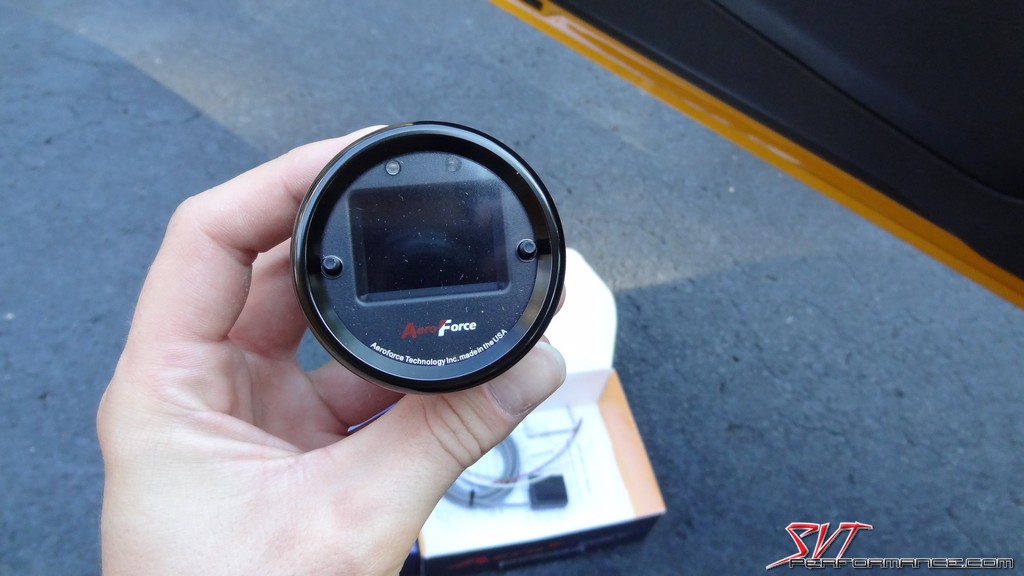
It features a port for a the OBD-II cable and one for auxiliary sensors that can be purchased from Lethal separately.
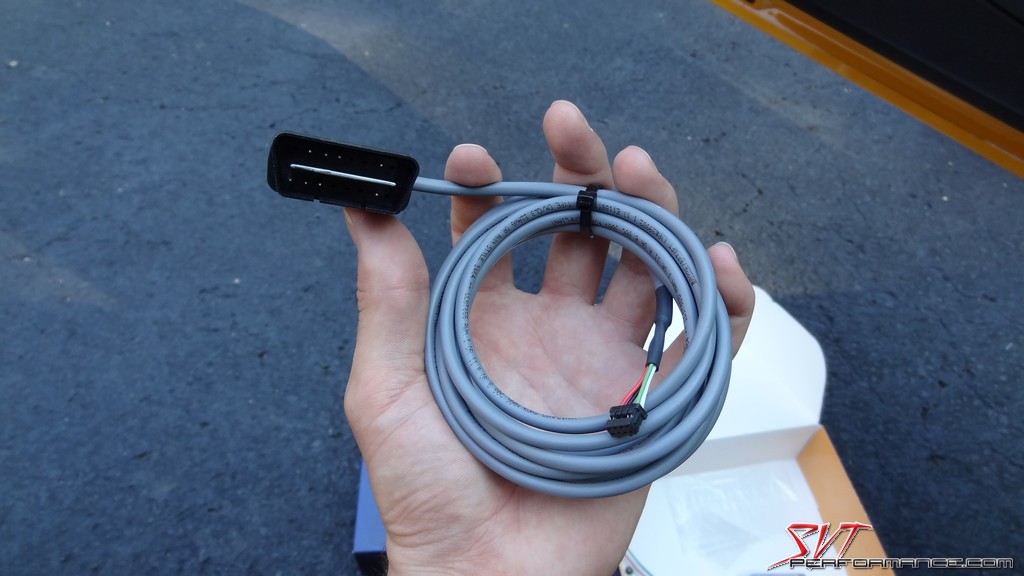
Speaking of the OBD-II cable...
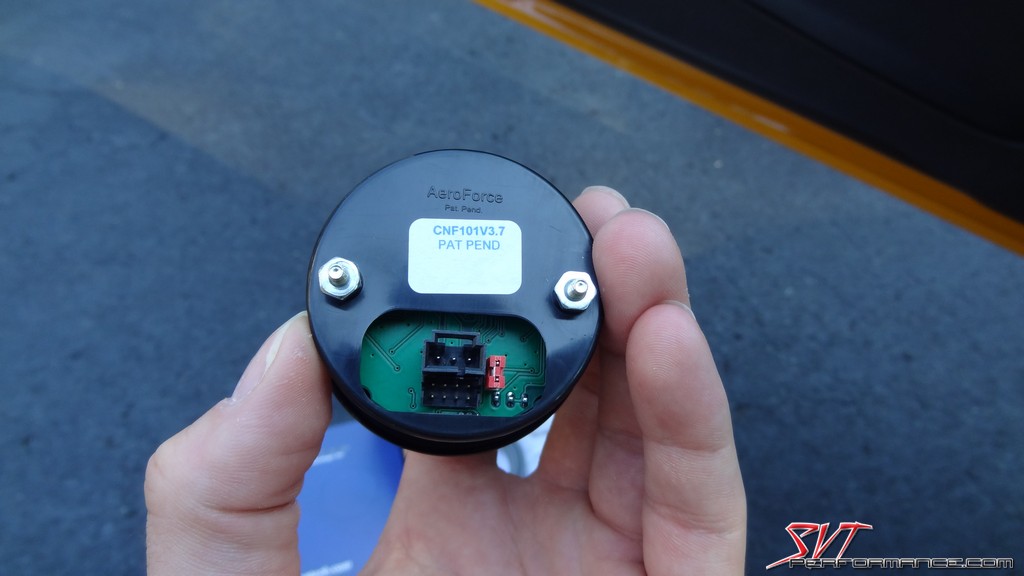
One of the best features of the AeroForce gauge is that it can be dressed out with several different face plates and trim rings options to match you interior. These too can be purchased individually from Lethal Performance.

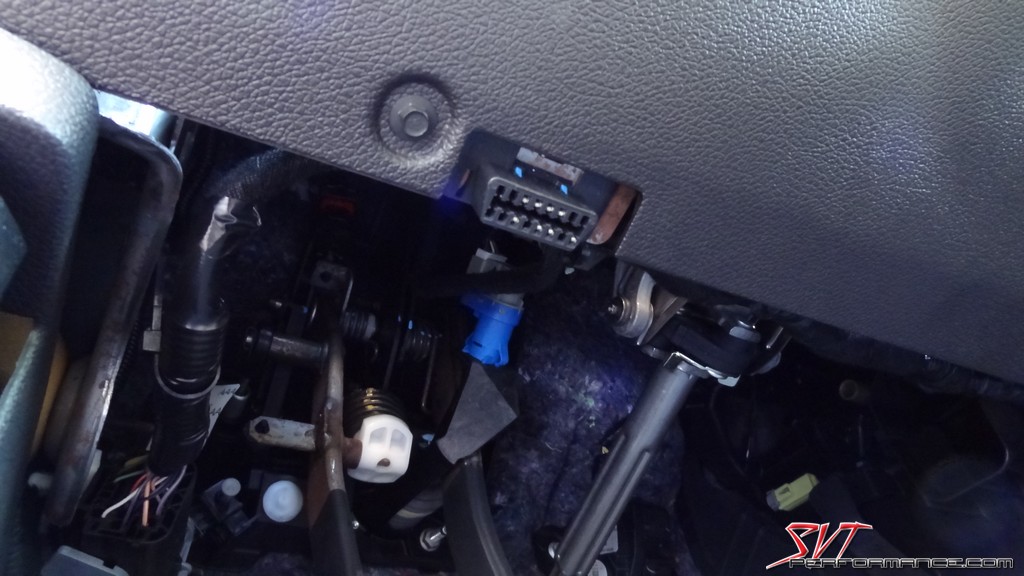
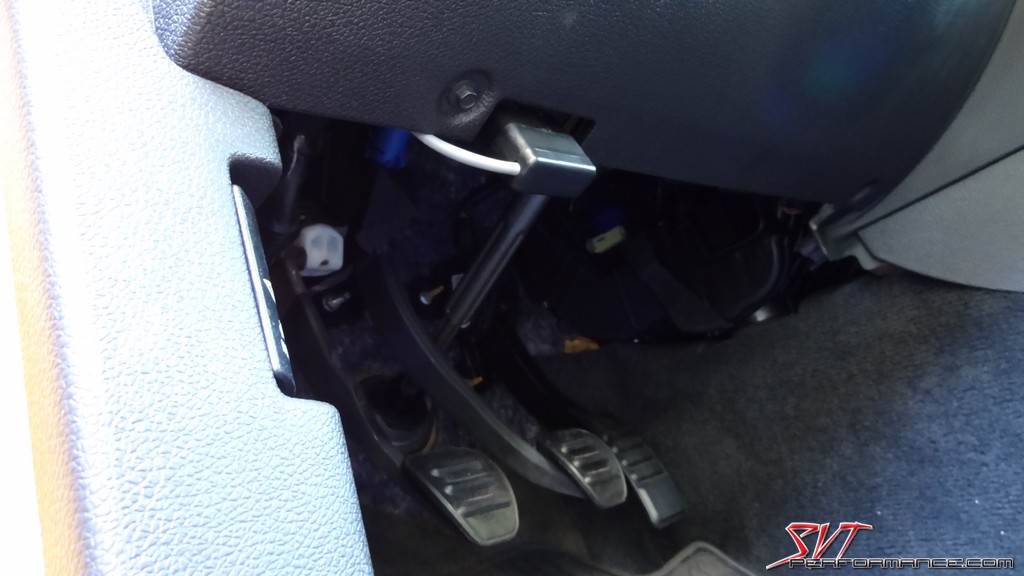
This is the OBD-II port, found in the driver's foot-well.
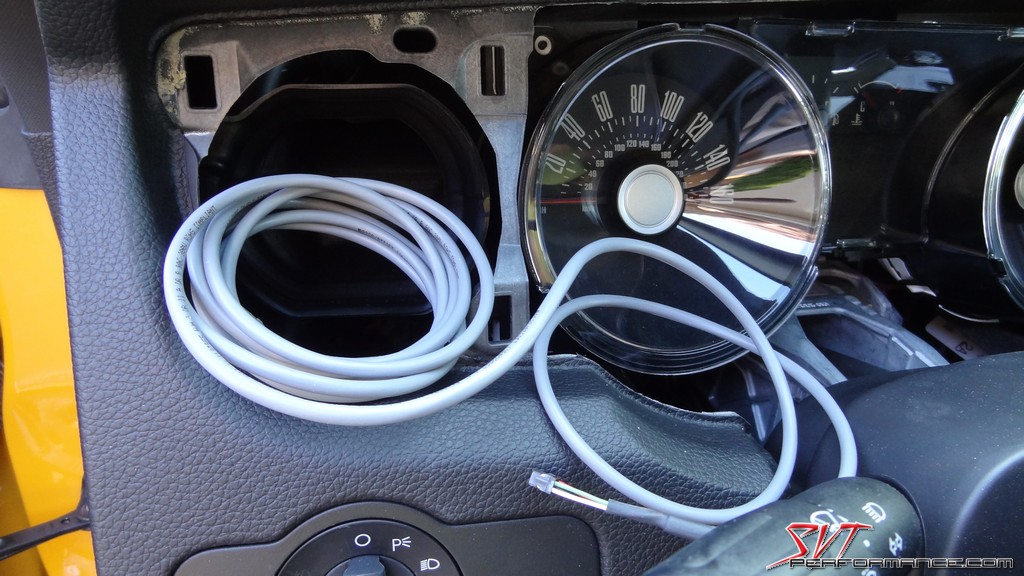
The cable plugs in and the cable it routed up through the dash to the A/C vent area.
AeroForce gives you plenty of cable to work with, so you'll have to stow the excess out of the way.
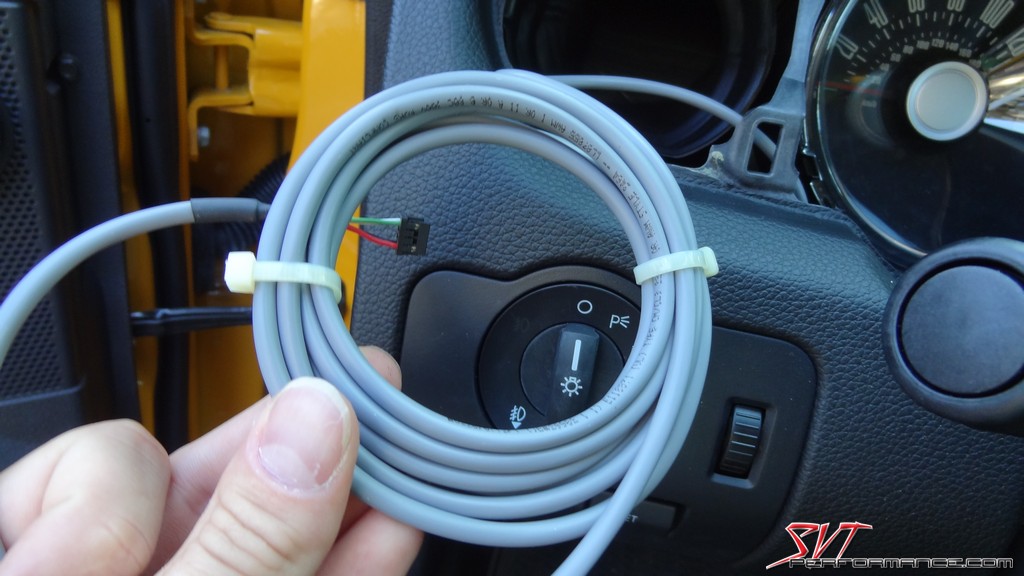
A couple of strategically placed zip-ties will help keep things tidy.
The excess cable can then be stowed inside the dash, with the connector left exposed so it can be attached to the gauge.
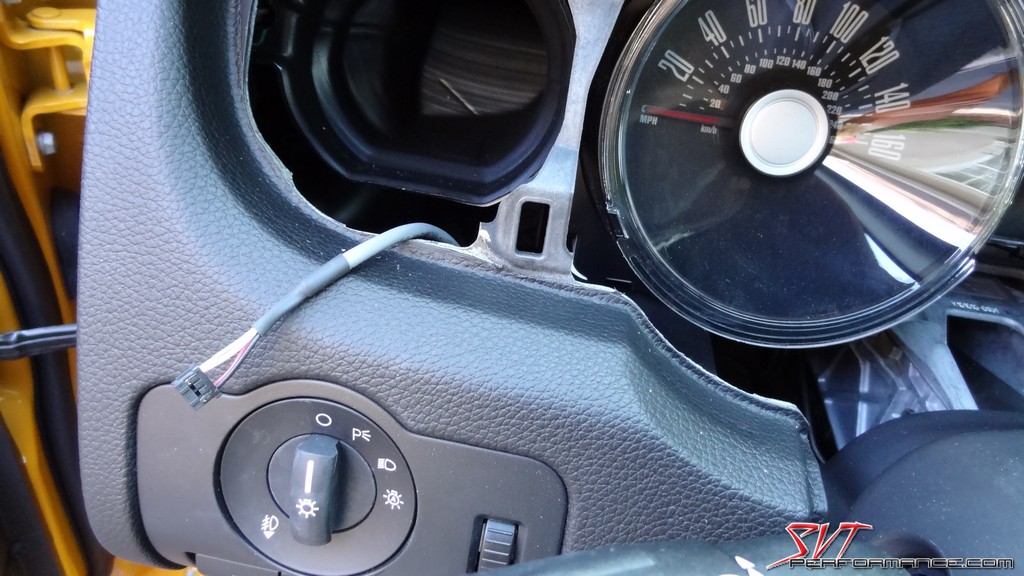
Be sure to stow the excess cable in a manner that will prevent it from rattling. No one wants to listen to the sound of two squirrels fighting behind the dash as they drive down the road.

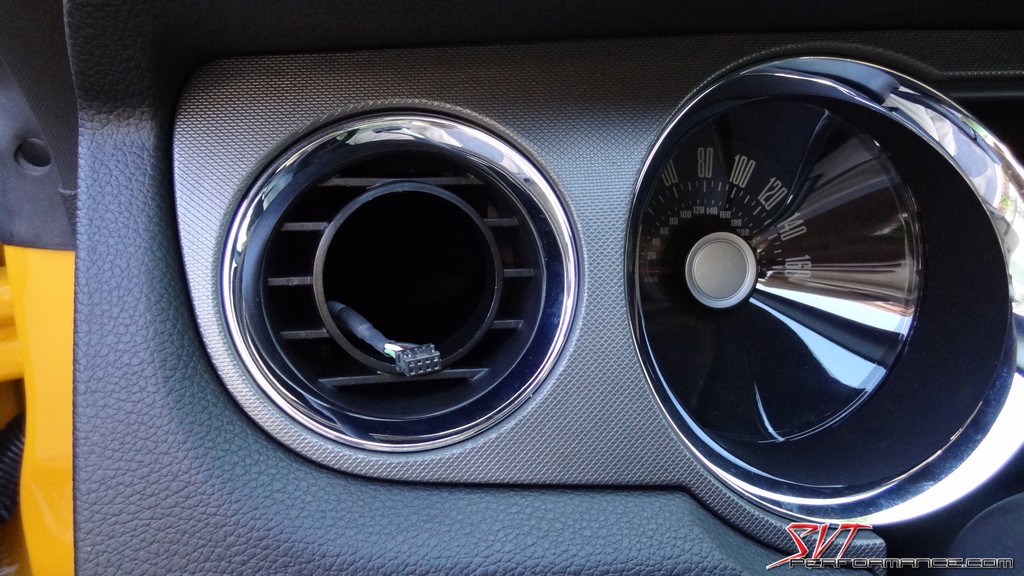
It's now time to place the pod equipped bezel back into the dash.
It's starting to come together.
The OBD-II cable simply plugs into the Interceptor gauge.
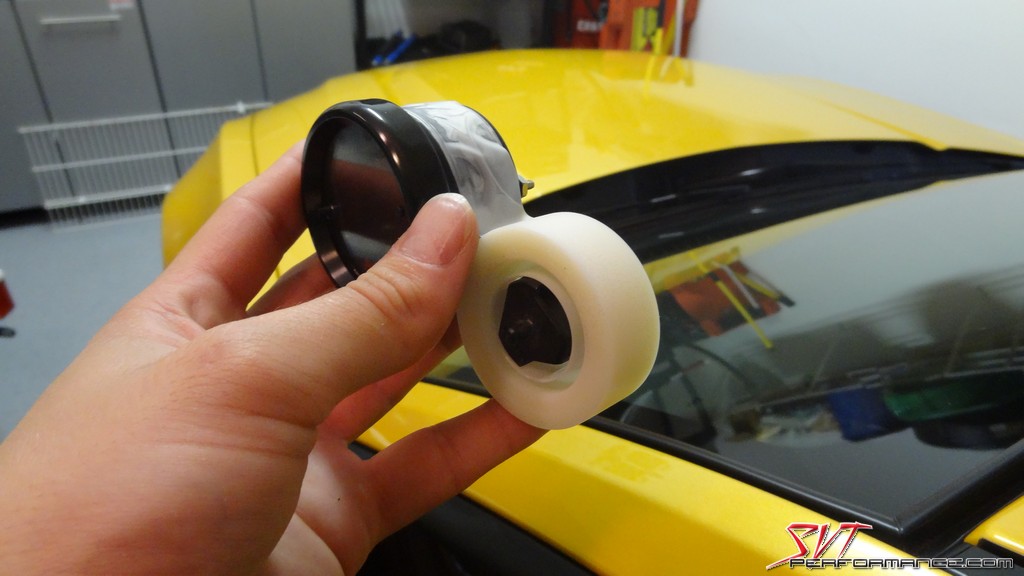
The gauge then just slides into the Roush pod.
The AeroForce gauge fit a little too loosely in the Roush pod for my liking. Wrapping a couple layers of 3M Scotch tape around the gauge body added enough to the gauge body diameter to allow for a much better fit.
The finished product looks great. Subtle yet functional mods such as the AeroForce Interceptor are what I prefer to add whenever possible.
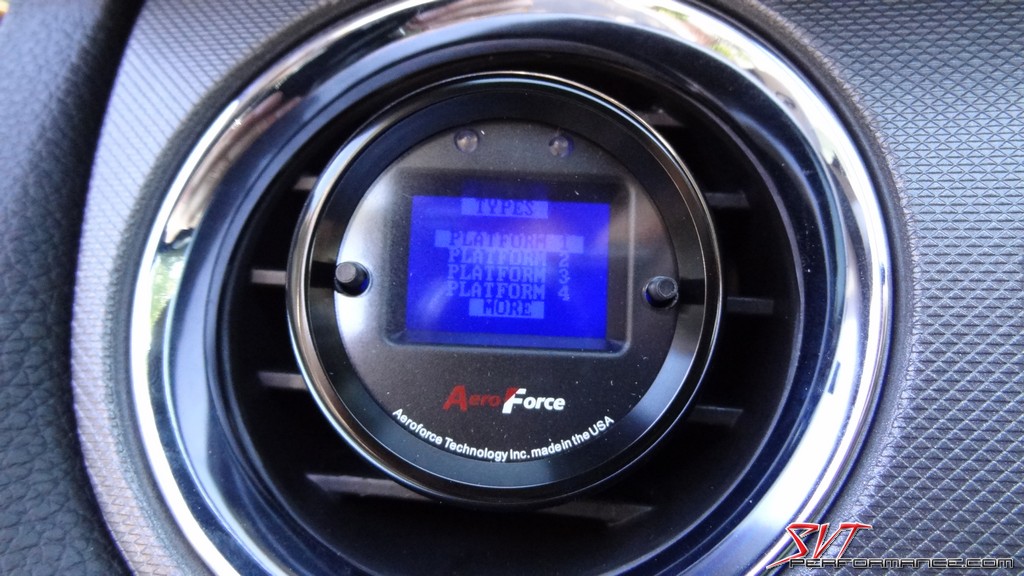
Setting up the AeroForce gauge is a simple matter once you master the two button control system.
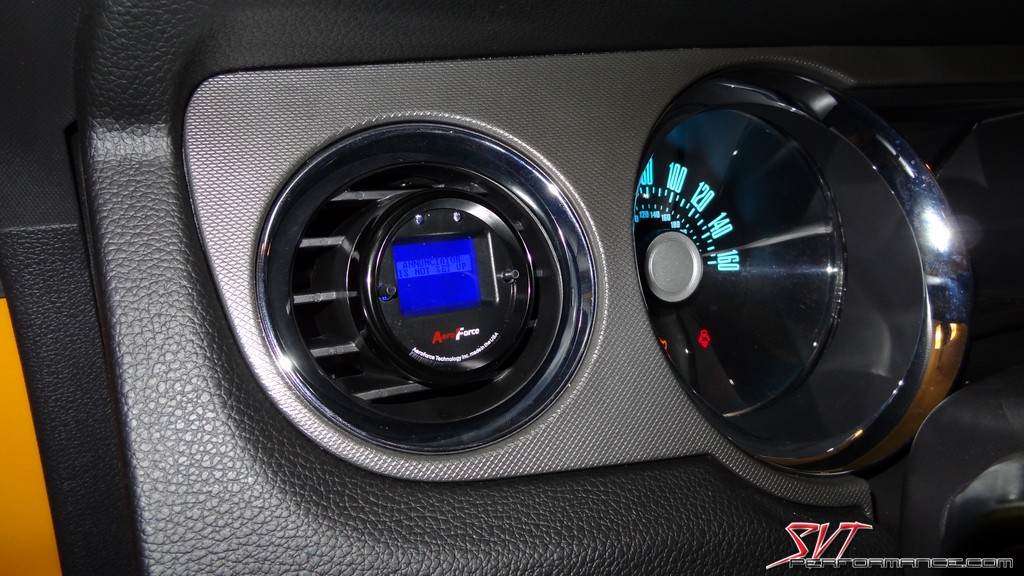
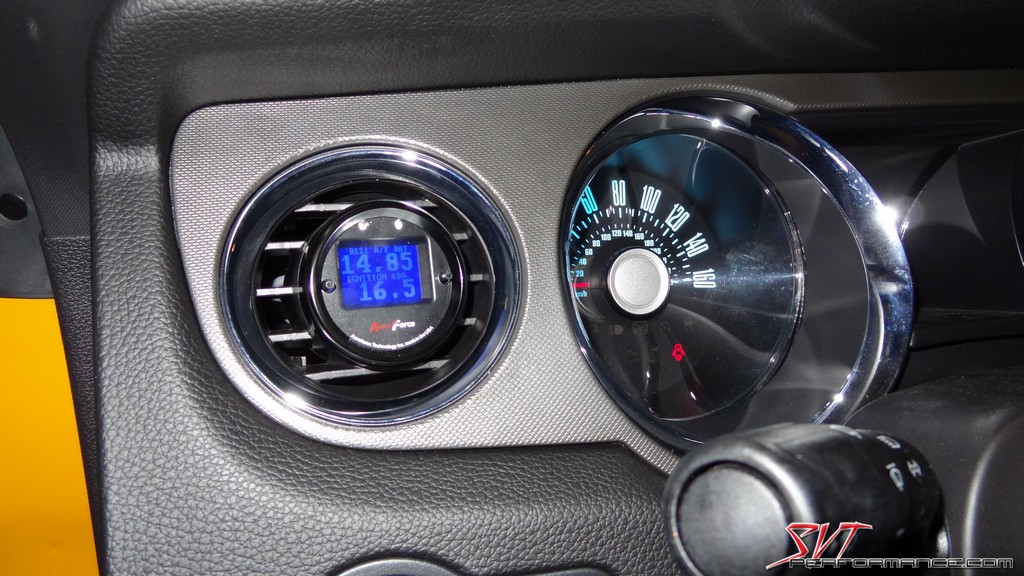
We selected A/F Ratio and Ignition Timing as our two parameters to keep on the main screen.
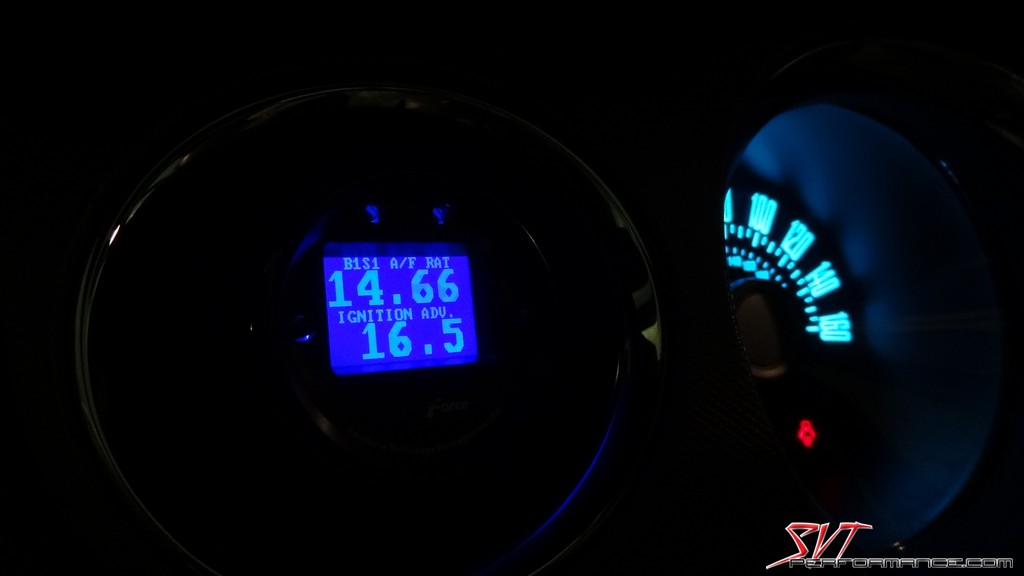
While the AeroForce gauge makes a handsomely subtle mod in day light, it looks even more impressive at night.
If after all the pics you're still looking for more information about the AerForce gauge, Jared at Lethal Performance put together this little video which goes into further detail on the features of the gauge.
<iframe width="1280" height="720" src="http://www.youtube-nocookie.com/embed/pjax05z_lSk" frameborder="0" allowfullscreen></iframe>
The Roush pod comes with easy to follow instructions.
We'll be popping it in here, the driver's side A/C vent.
The panel is held in with clips and can be removed by gently pulling out on it.
The panel is easier to get out of the way if you lower the steering wheel as low as it will go.
This is what you'll find behind that trim panel.
This is the duct work for the A/C system, soon to be home of our AeroForce Interceptor gauge.
It's now out and ready to mod.
The louver ring has to be removed from the bezel. Be careful with this step because these little tabs are easily broken.
You just depress the tabs and push it through the panel.
This is what you'll be left with.
You then just pull a few more tabs to remove the chrome trim ring.
With gentle pressure the louvers can be removed from the housing.
There are two sets of louvers, both must be removed.
This is what you'll be left with once all the accoutrements has been removed.
I'm never pleased to see parts from this origin on Ford parts.
The Roush post just slides into the now empty drum.
It fits in like so.
You then just have to pop on the trim ring.
It's now time to turn our attention to the AeroForce gauge.
It's a well designed simple piece of hardware.
It features a port for a the OBD-II cable and one for auxiliary sensors that can be purchased from Lethal separately.
Speaking of the OBD-II cable...
One of the best features of the AeroForce gauge is that it can be dressed out with several different face plates and trim rings options to match you interior. These too can be purchased individually from Lethal Performance.
This is the OBD-II port, found in the driver's foot-well.
The cable plugs in and the cable it routed up through the dash to the A/C vent area.
AeroForce gives you plenty of cable to work with, so you'll have to stow the excess out of the way.
A couple of strategically placed zip-ties will help keep things tidy.
The excess cable can then be stowed inside the dash, with the connector left exposed so it can be attached to the gauge.
Be sure to stow the excess cable in a manner that will prevent it from rattling. No one wants to listen to the sound of two squirrels fighting behind the dash as they drive down the road.
It's now time to place the pod equipped bezel back into the dash.
It's starting to come together.
The OBD-II cable simply plugs into the Interceptor gauge.
The gauge then just slides into the Roush pod.
The AeroForce gauge fit a little too loosely in the Roush pod for my liking. Wrapping a couple layers of 3M Scotch tape around the gauge body added enough to the gauge body diameter to allow for a much better fit.
The finished product looks great. Subtle yet functional mods such as the AeroForce Interceptor are what I prefer to add whenever possible.
Setting up the AeroForce gauge is a simple matter once you master the two button control system.
We selected A/F Ratio and Ignition Timing as our two parameters to keep on the main screen.
While the AeroForce gauge makes a handsomely subtle mod in day light, it looks even more impressive at night.
If after all the pics you're still looking for more information about the AerForce gauge, Jared at Lethal Performance put together this little video which goes into further detail on the features of the gauge.
<iframe width="1280" height="720" src="http://www.youtube-nocookie.com/embed/pjax05z_lSk" frameborder="0" allowfullscreen></iframe>
Special Thanks To:
Lethal Performance
-SID297:beer:
")

