This is my first right up and I will make corrections here and there when I find that I ****ed something up haha. All critiques are wanted, I dont want to give people bad info. I submitted something similar to this to American Muscle and got a $130 coupon so I guess it was at least decent enough. Here is what I have, *note all tool sizes arent exact, I did most of this off of memory and this was a really big project for me. I am new to the DIY stuff, but all in all it worked out pretty well. Not too bad for a 19yr old with little experience. Make sure to set aside two days at least, maybe more just in case you run into problems
Start here:
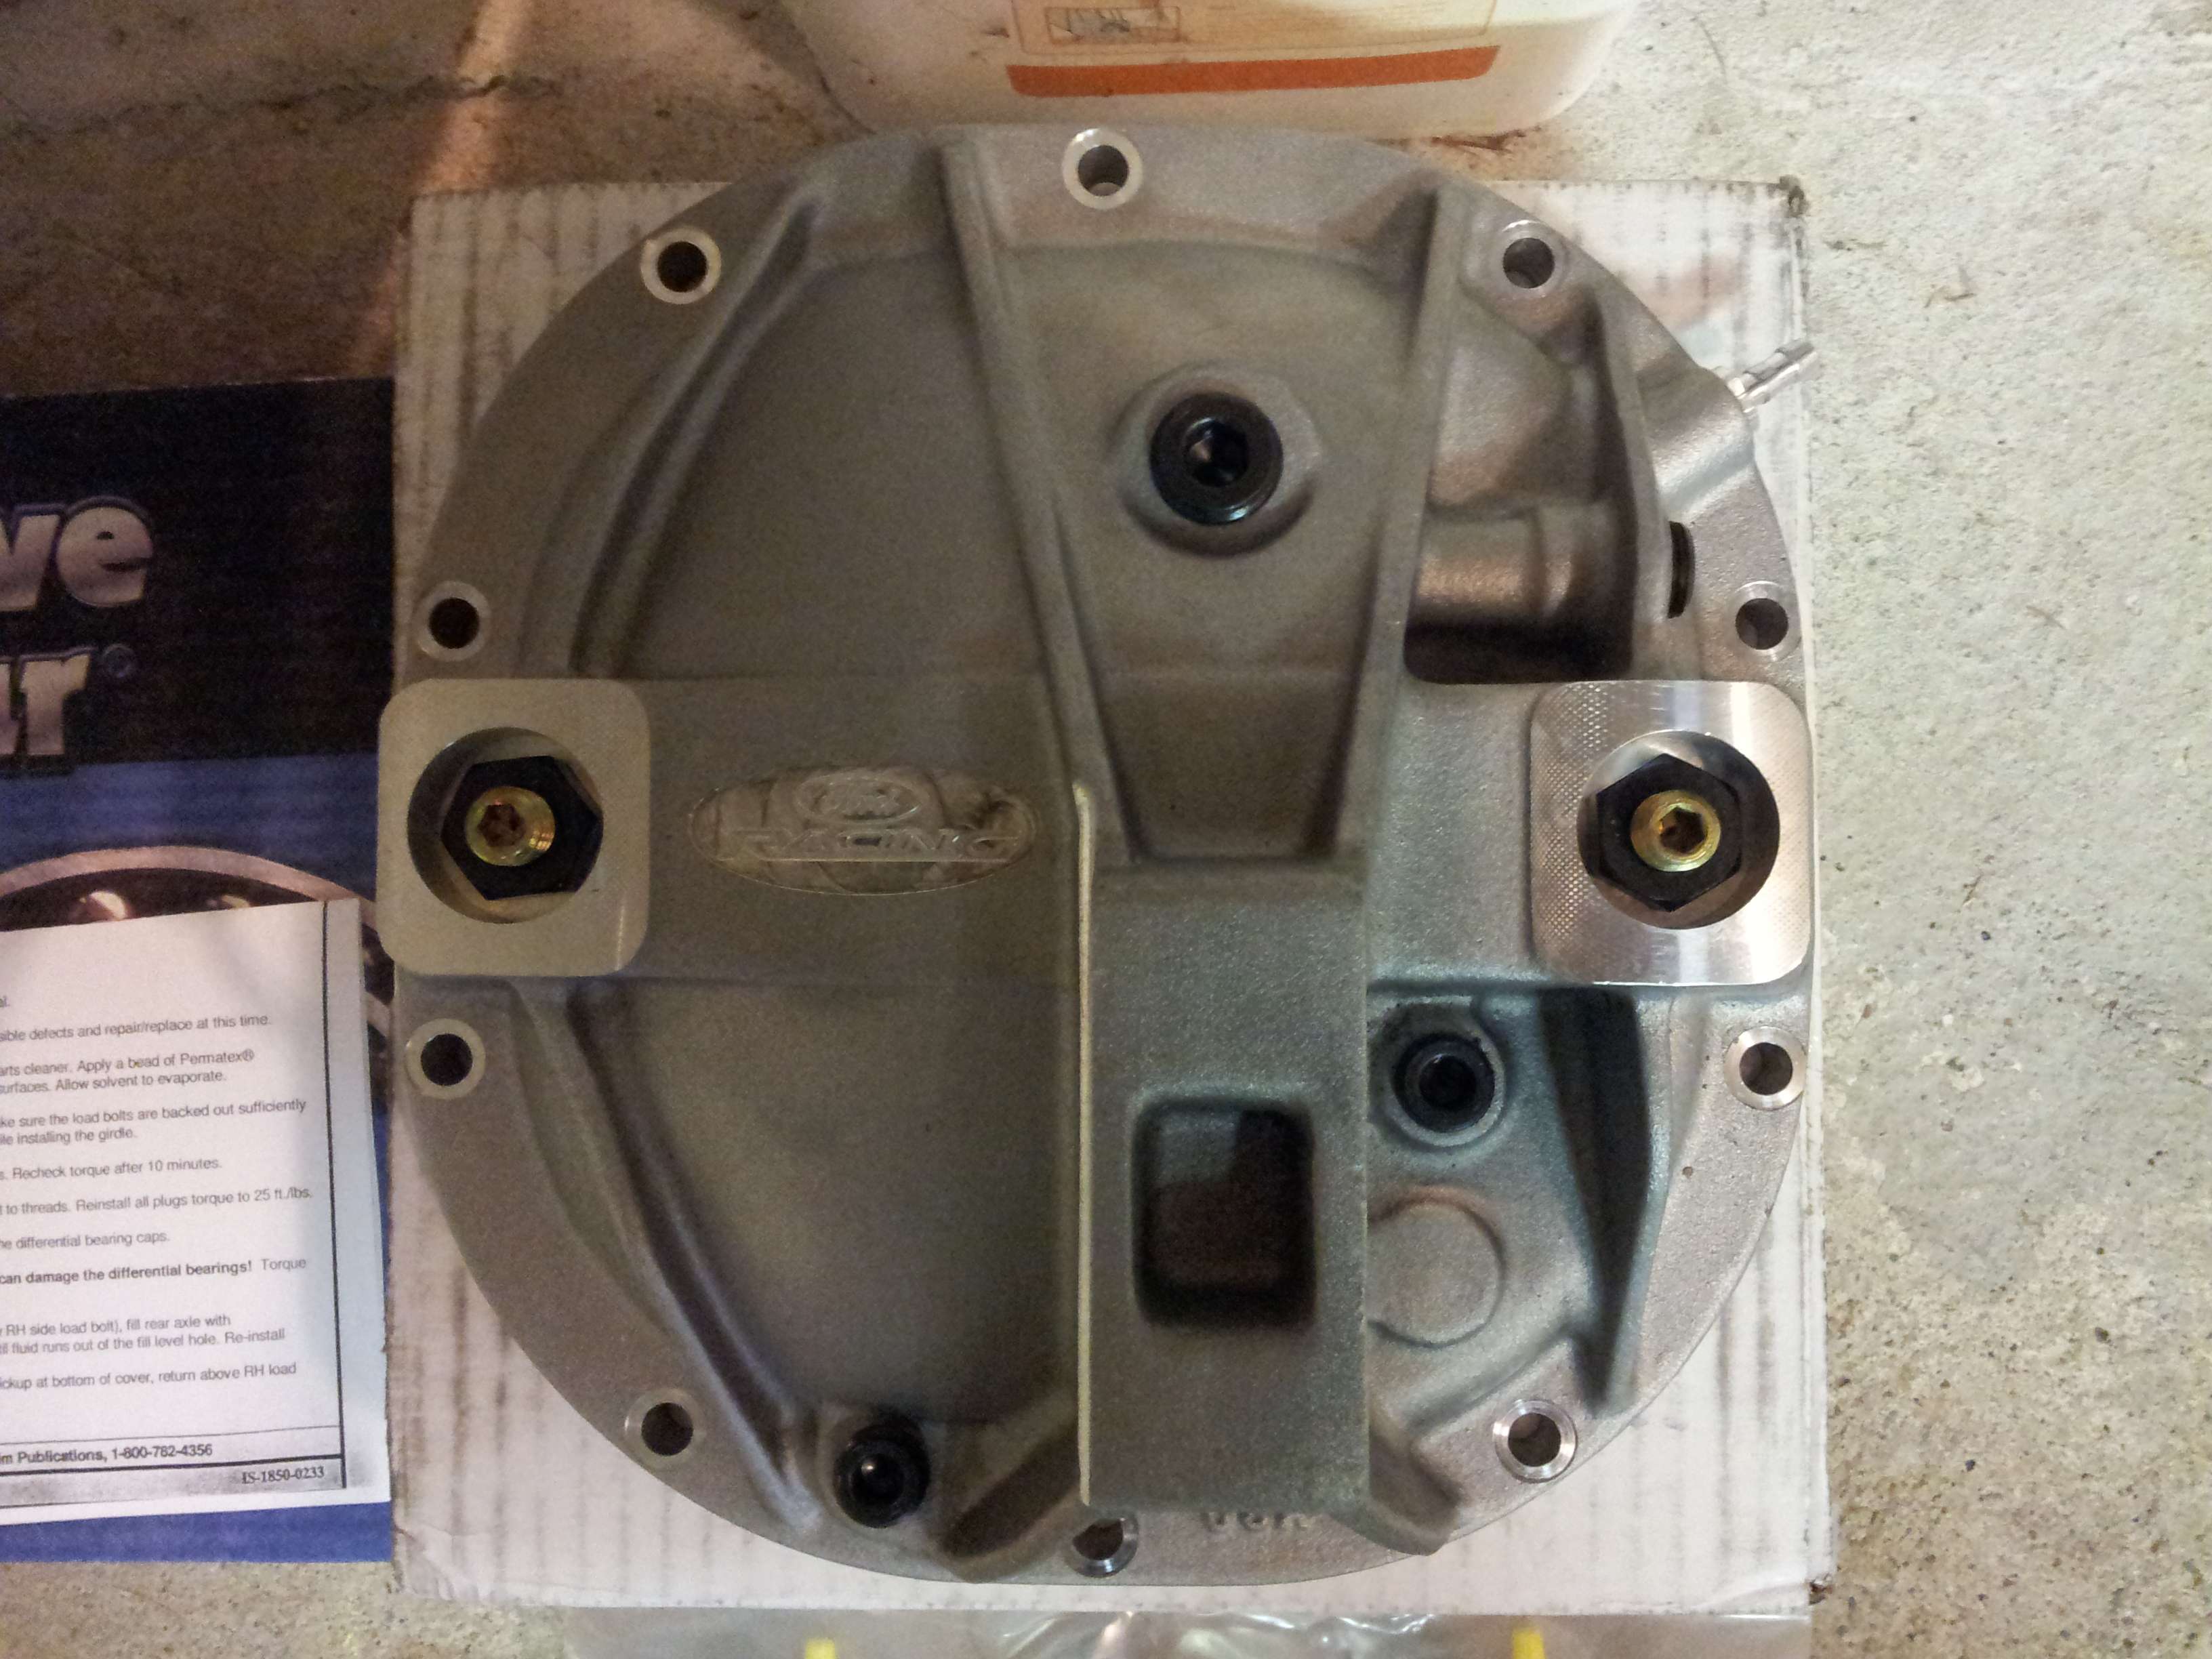
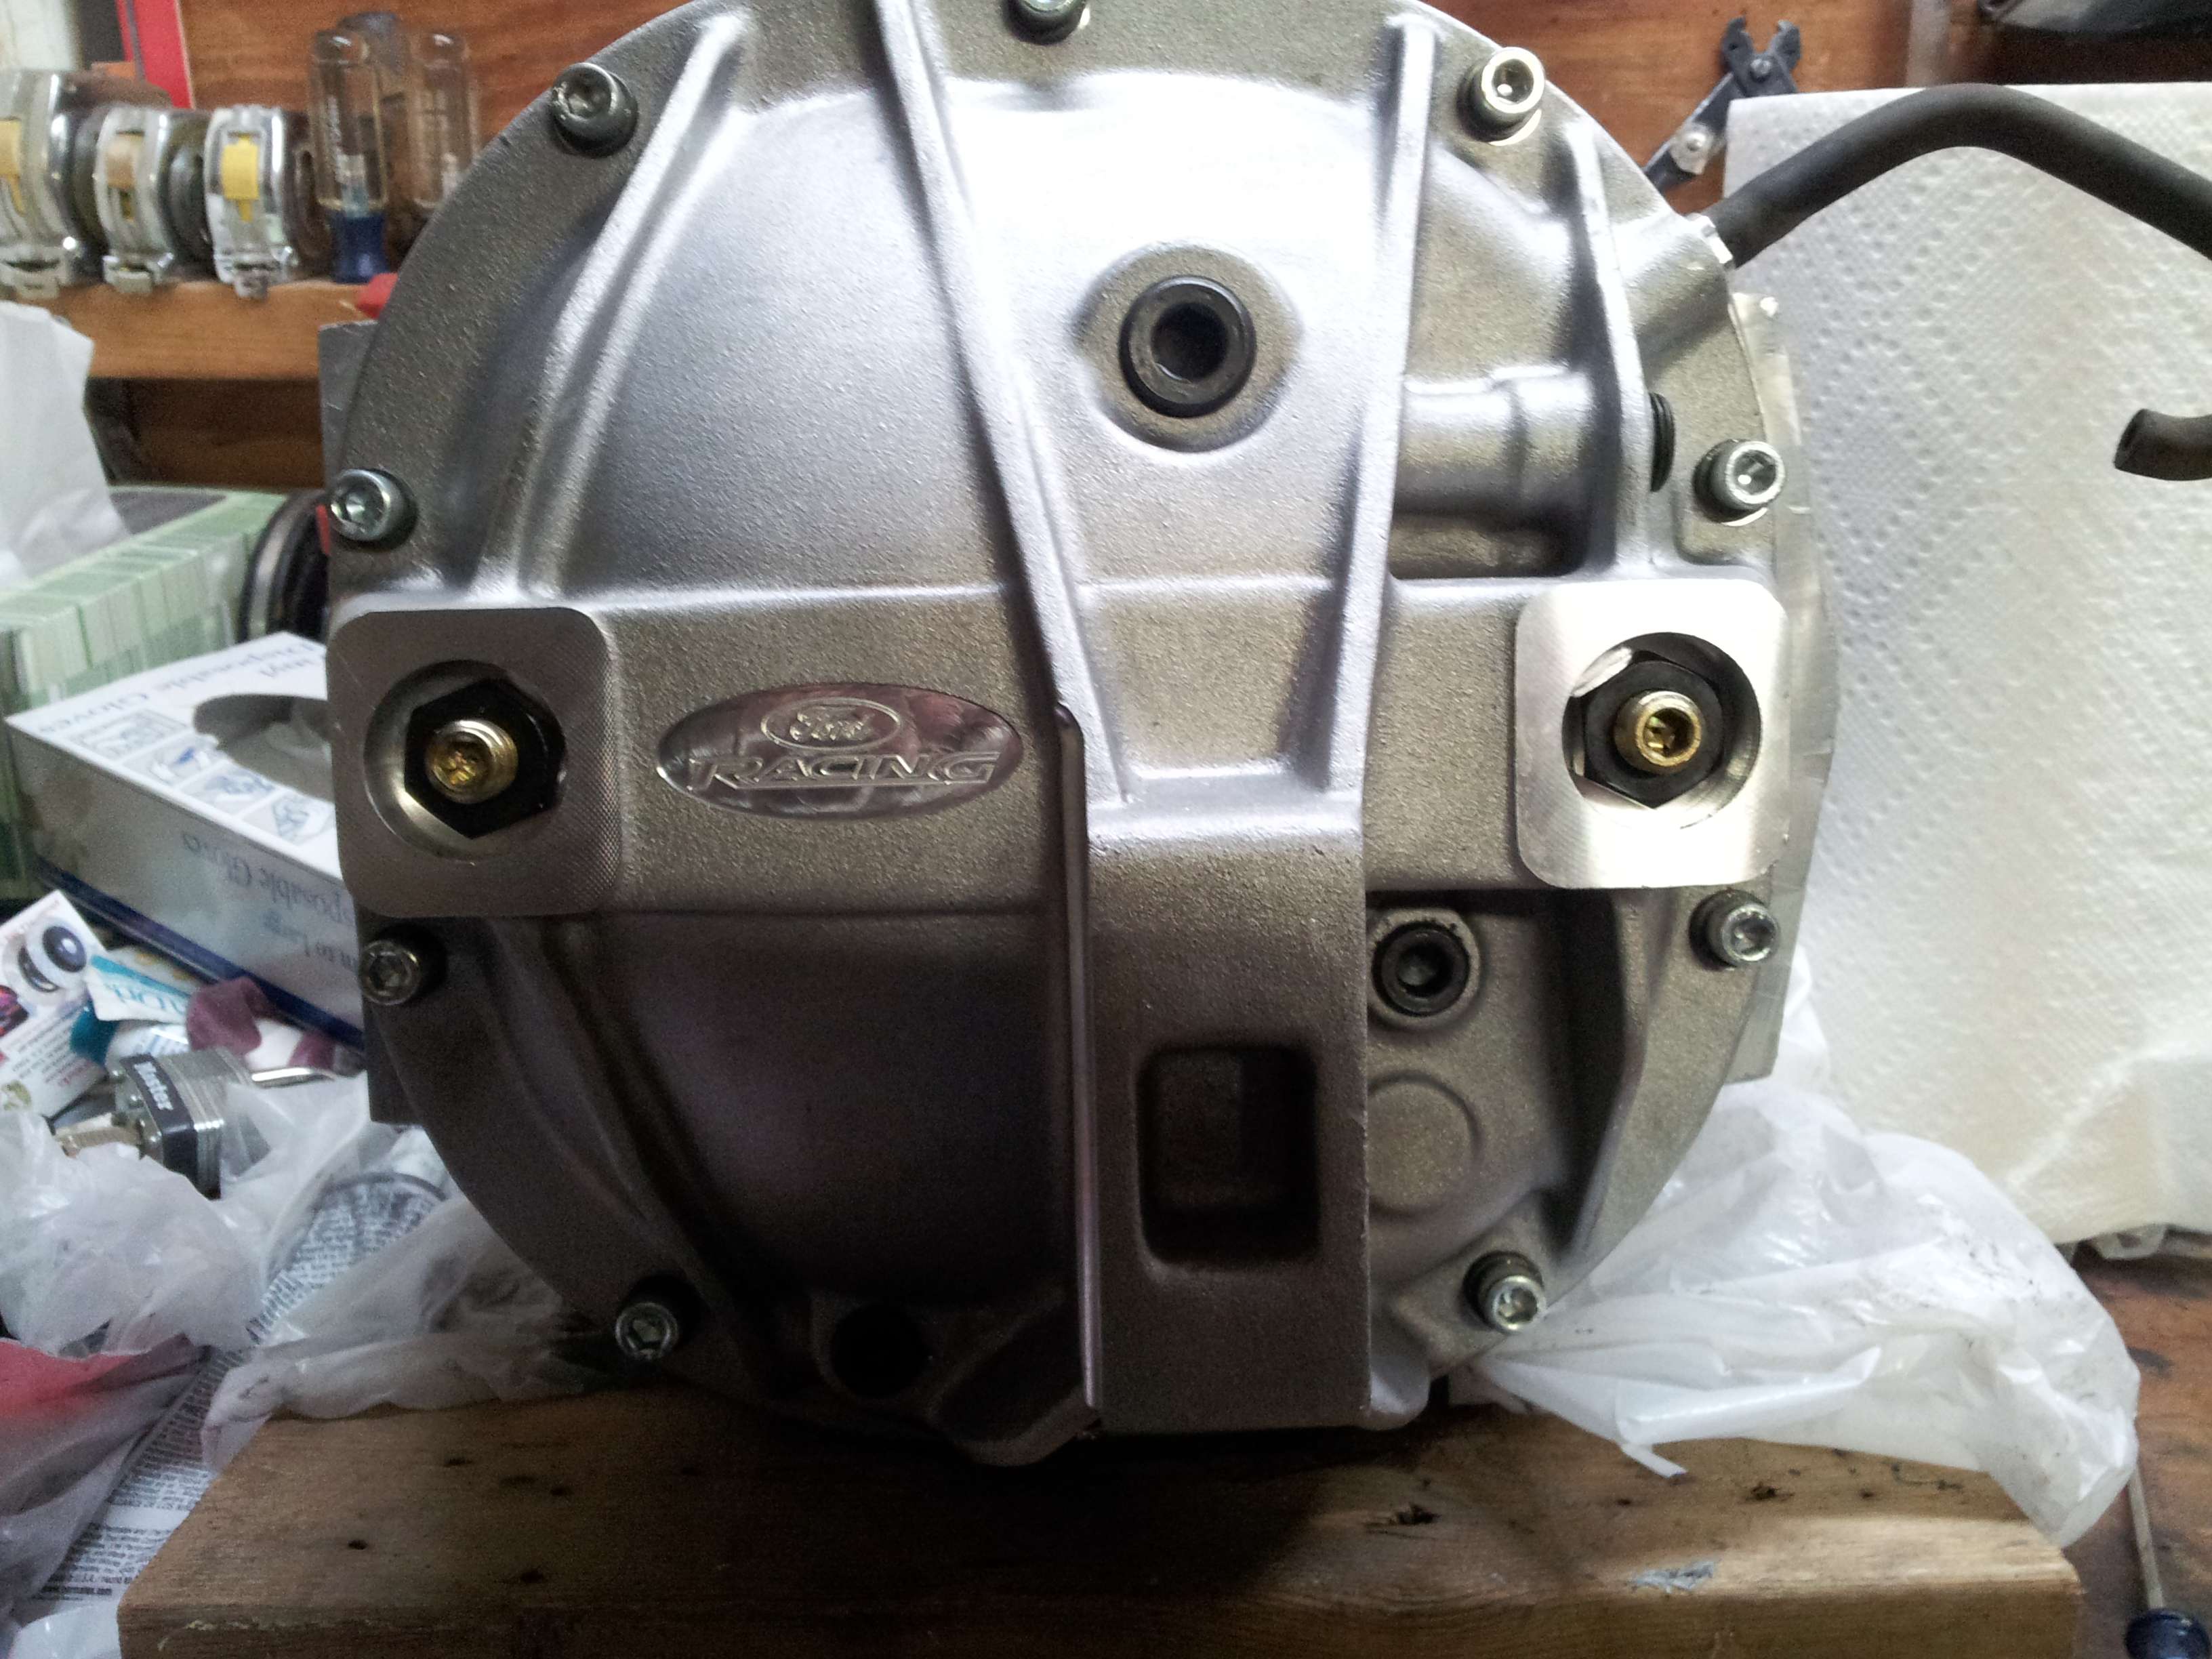
FORD RACING DIFFERENTIAL COVER 8.8 IRS
Part #50383

Tools Needed:
Socket set, metric and standard
Sledge hammer
Puller device, pitman puller
Jack
Jack stands
Flat head screw drivers
Torque wrench, capable of 8 ft/lbs and 250 ft/lbs
Extra set of hands
Differential fluid (75w-140 1.5-2 quarts)
Place the car is your workspace, put the car in gear with the parking brake on.
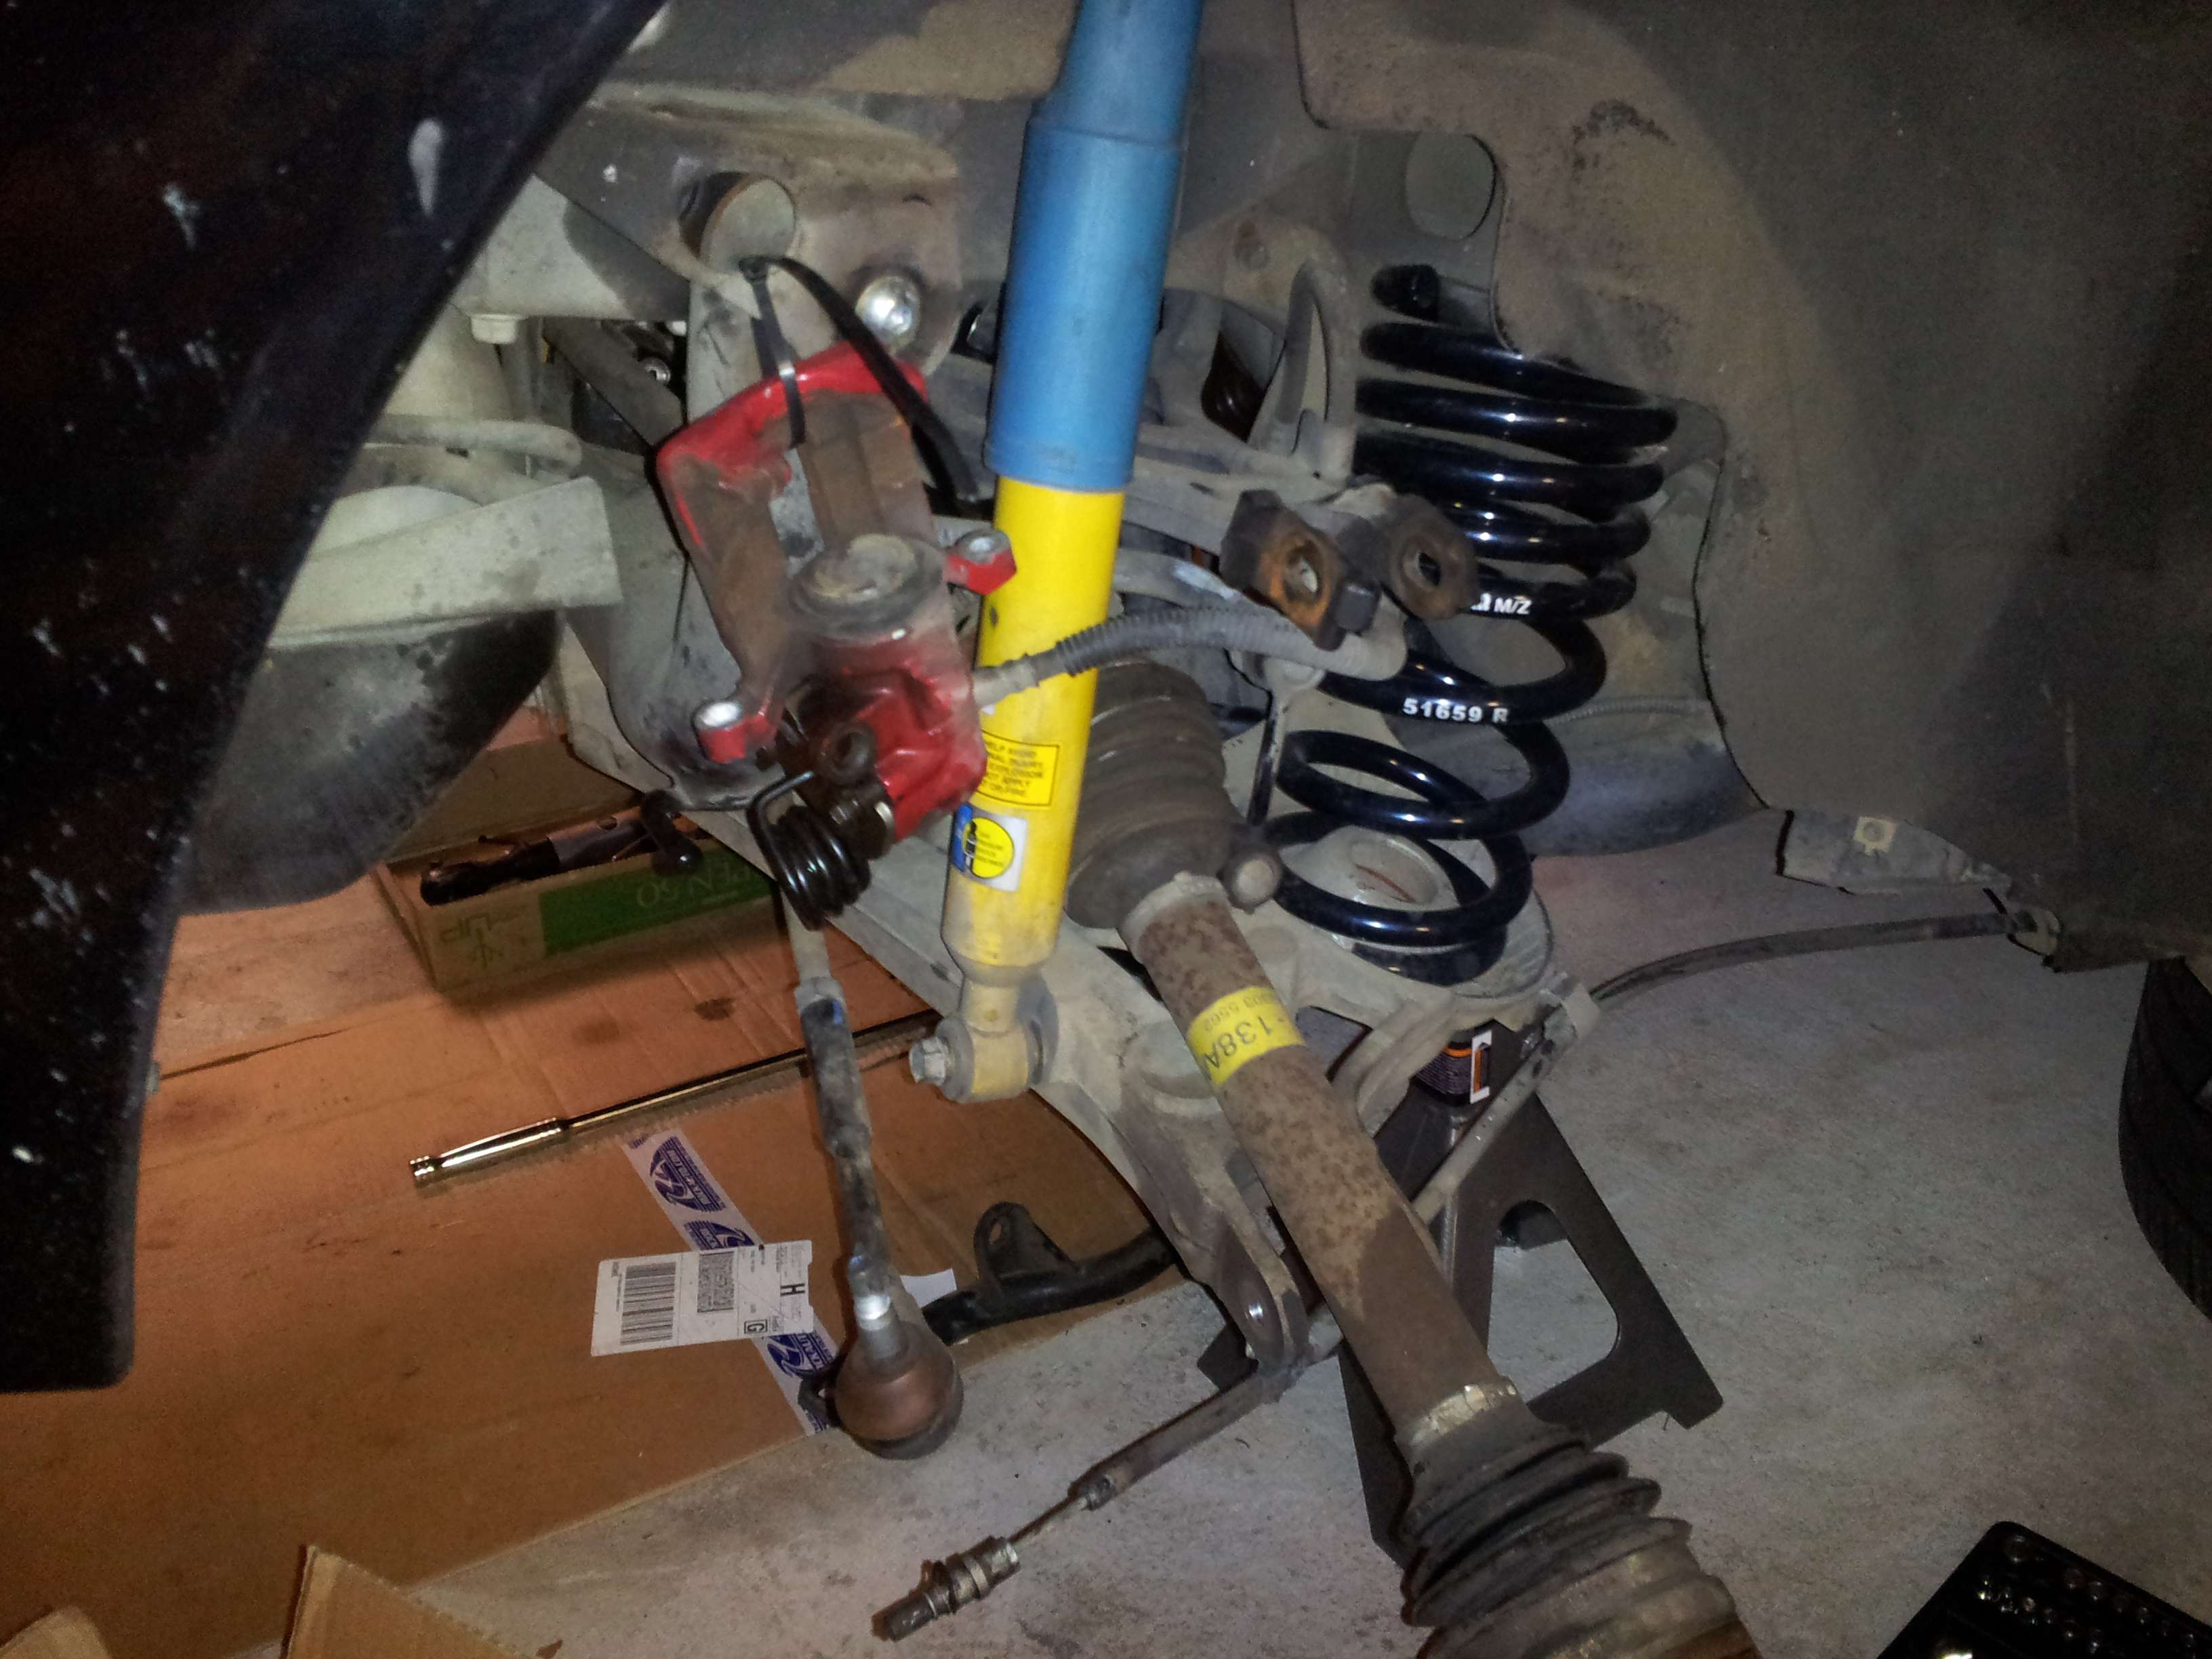
1.Place the car on jack stands on all four corners; place the rear end as high up as you can
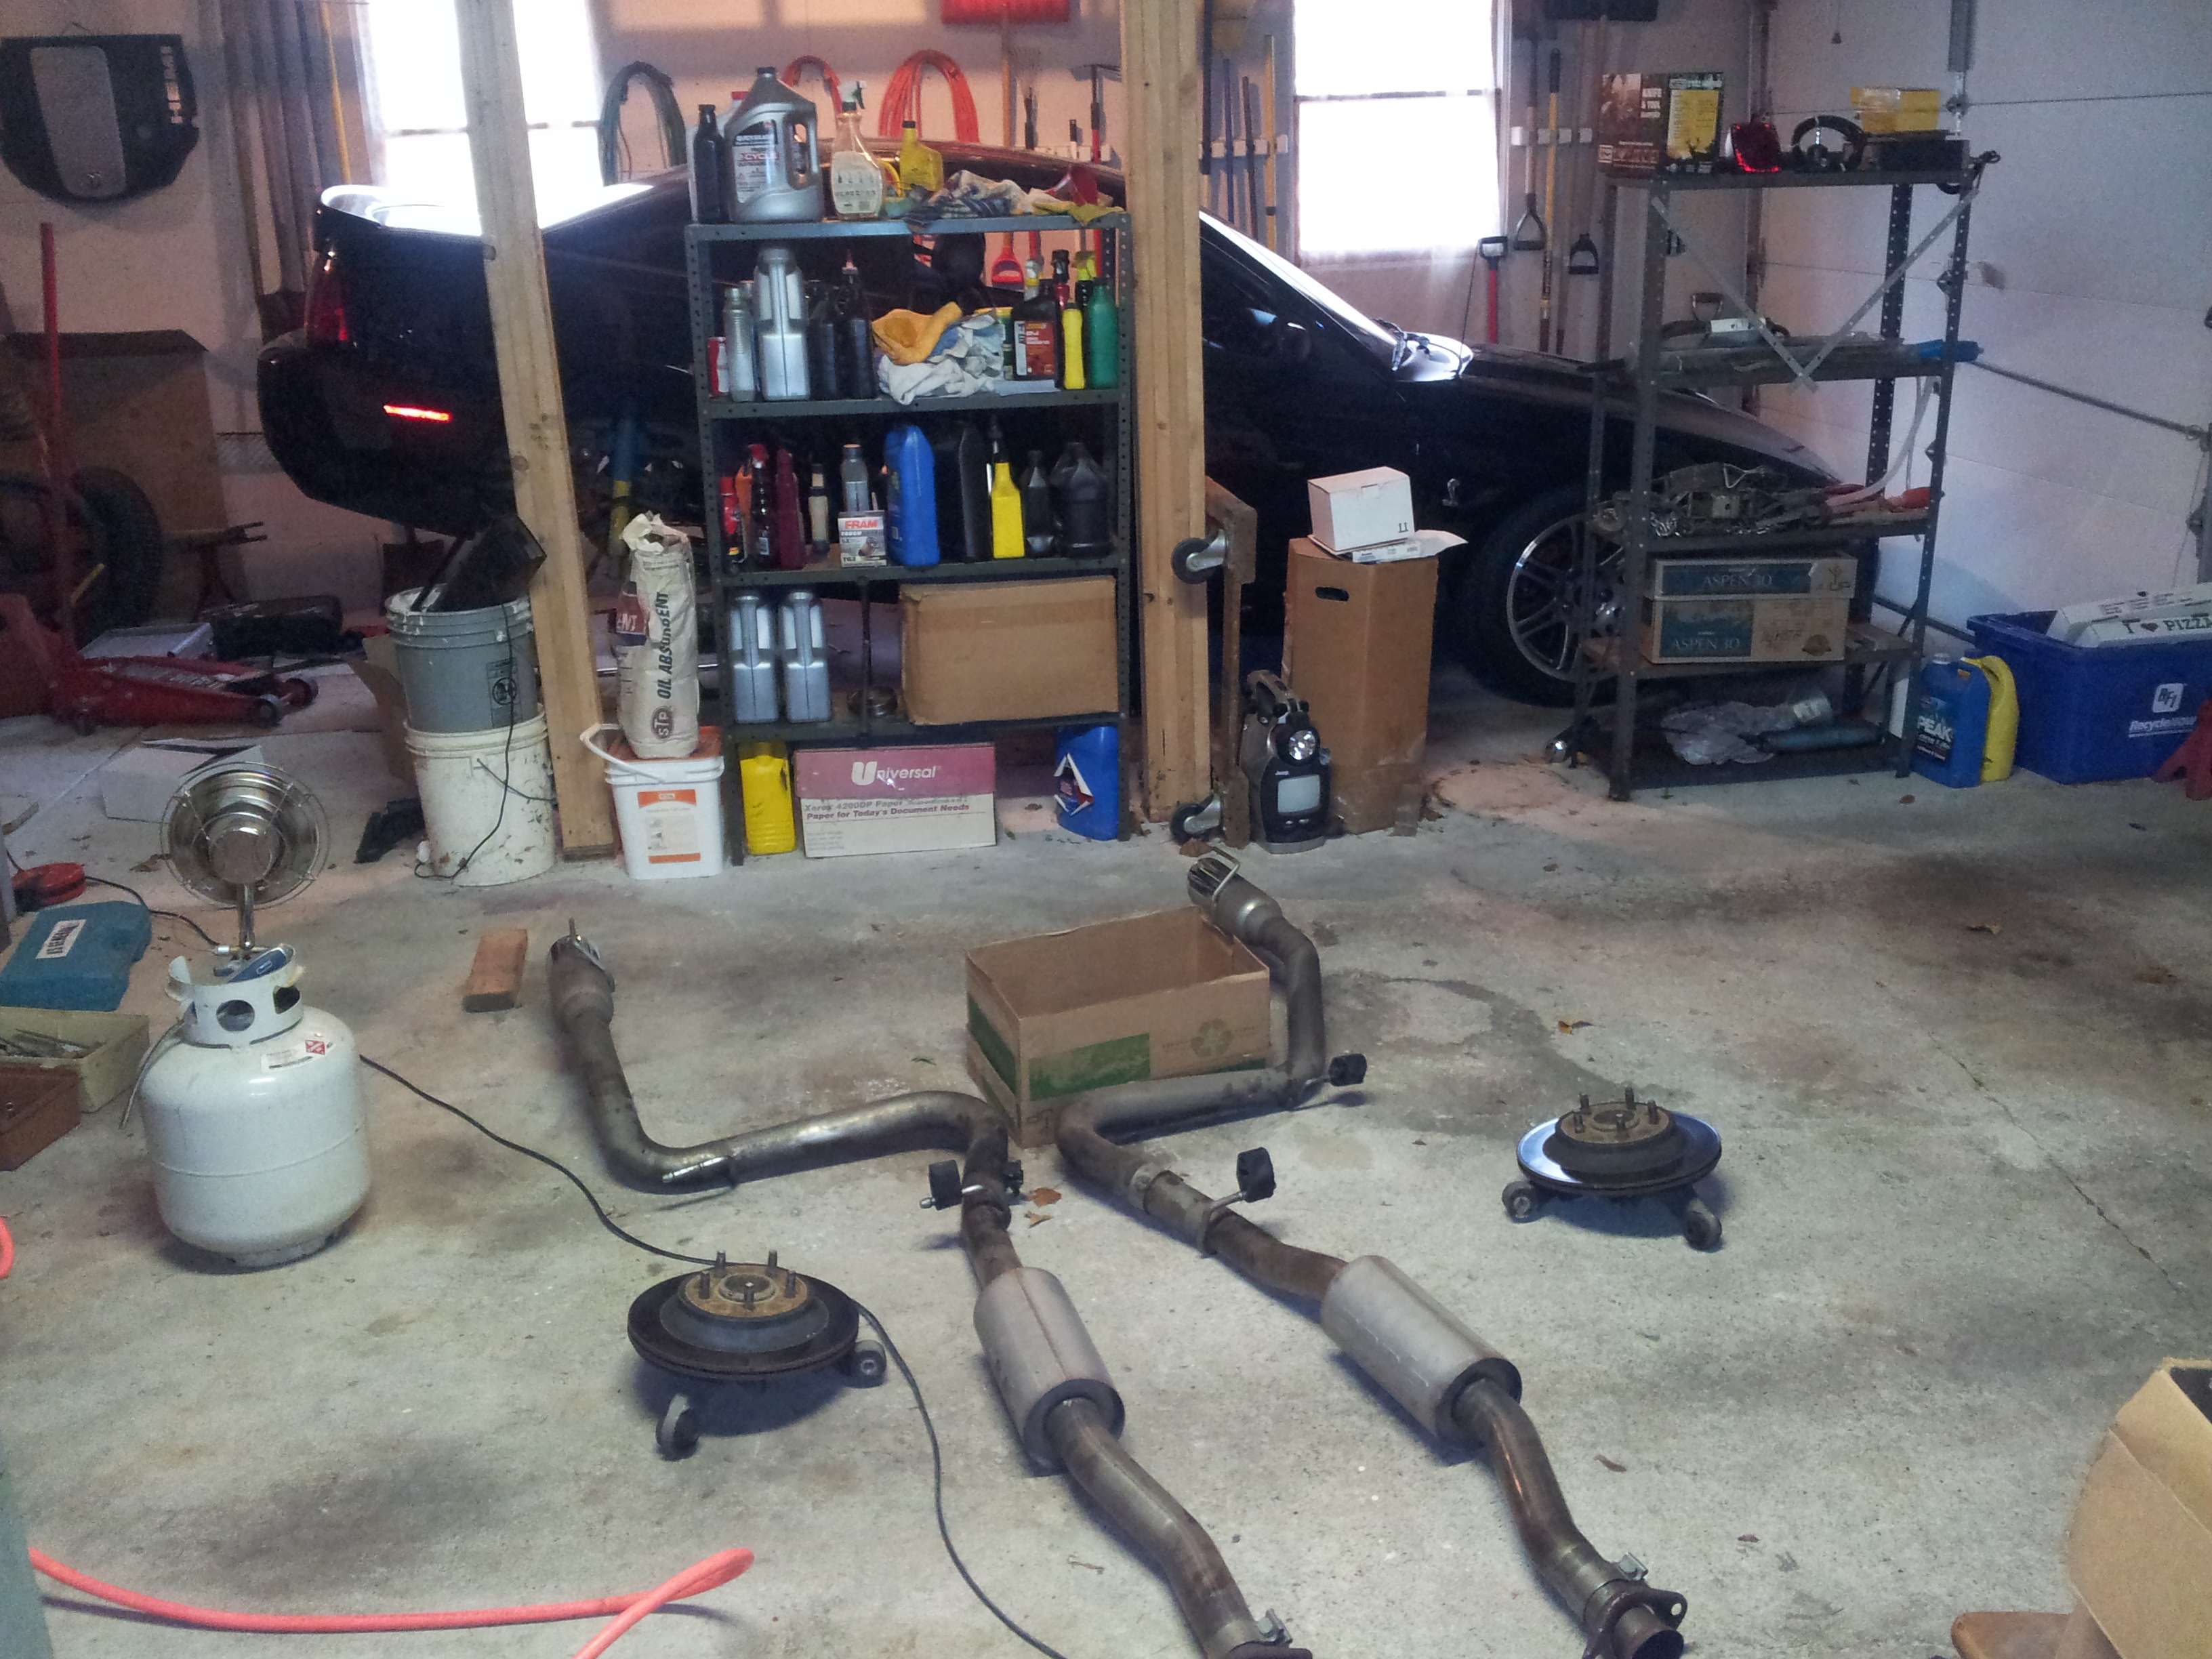
2.Remove the rear tires, 21mm deep socket
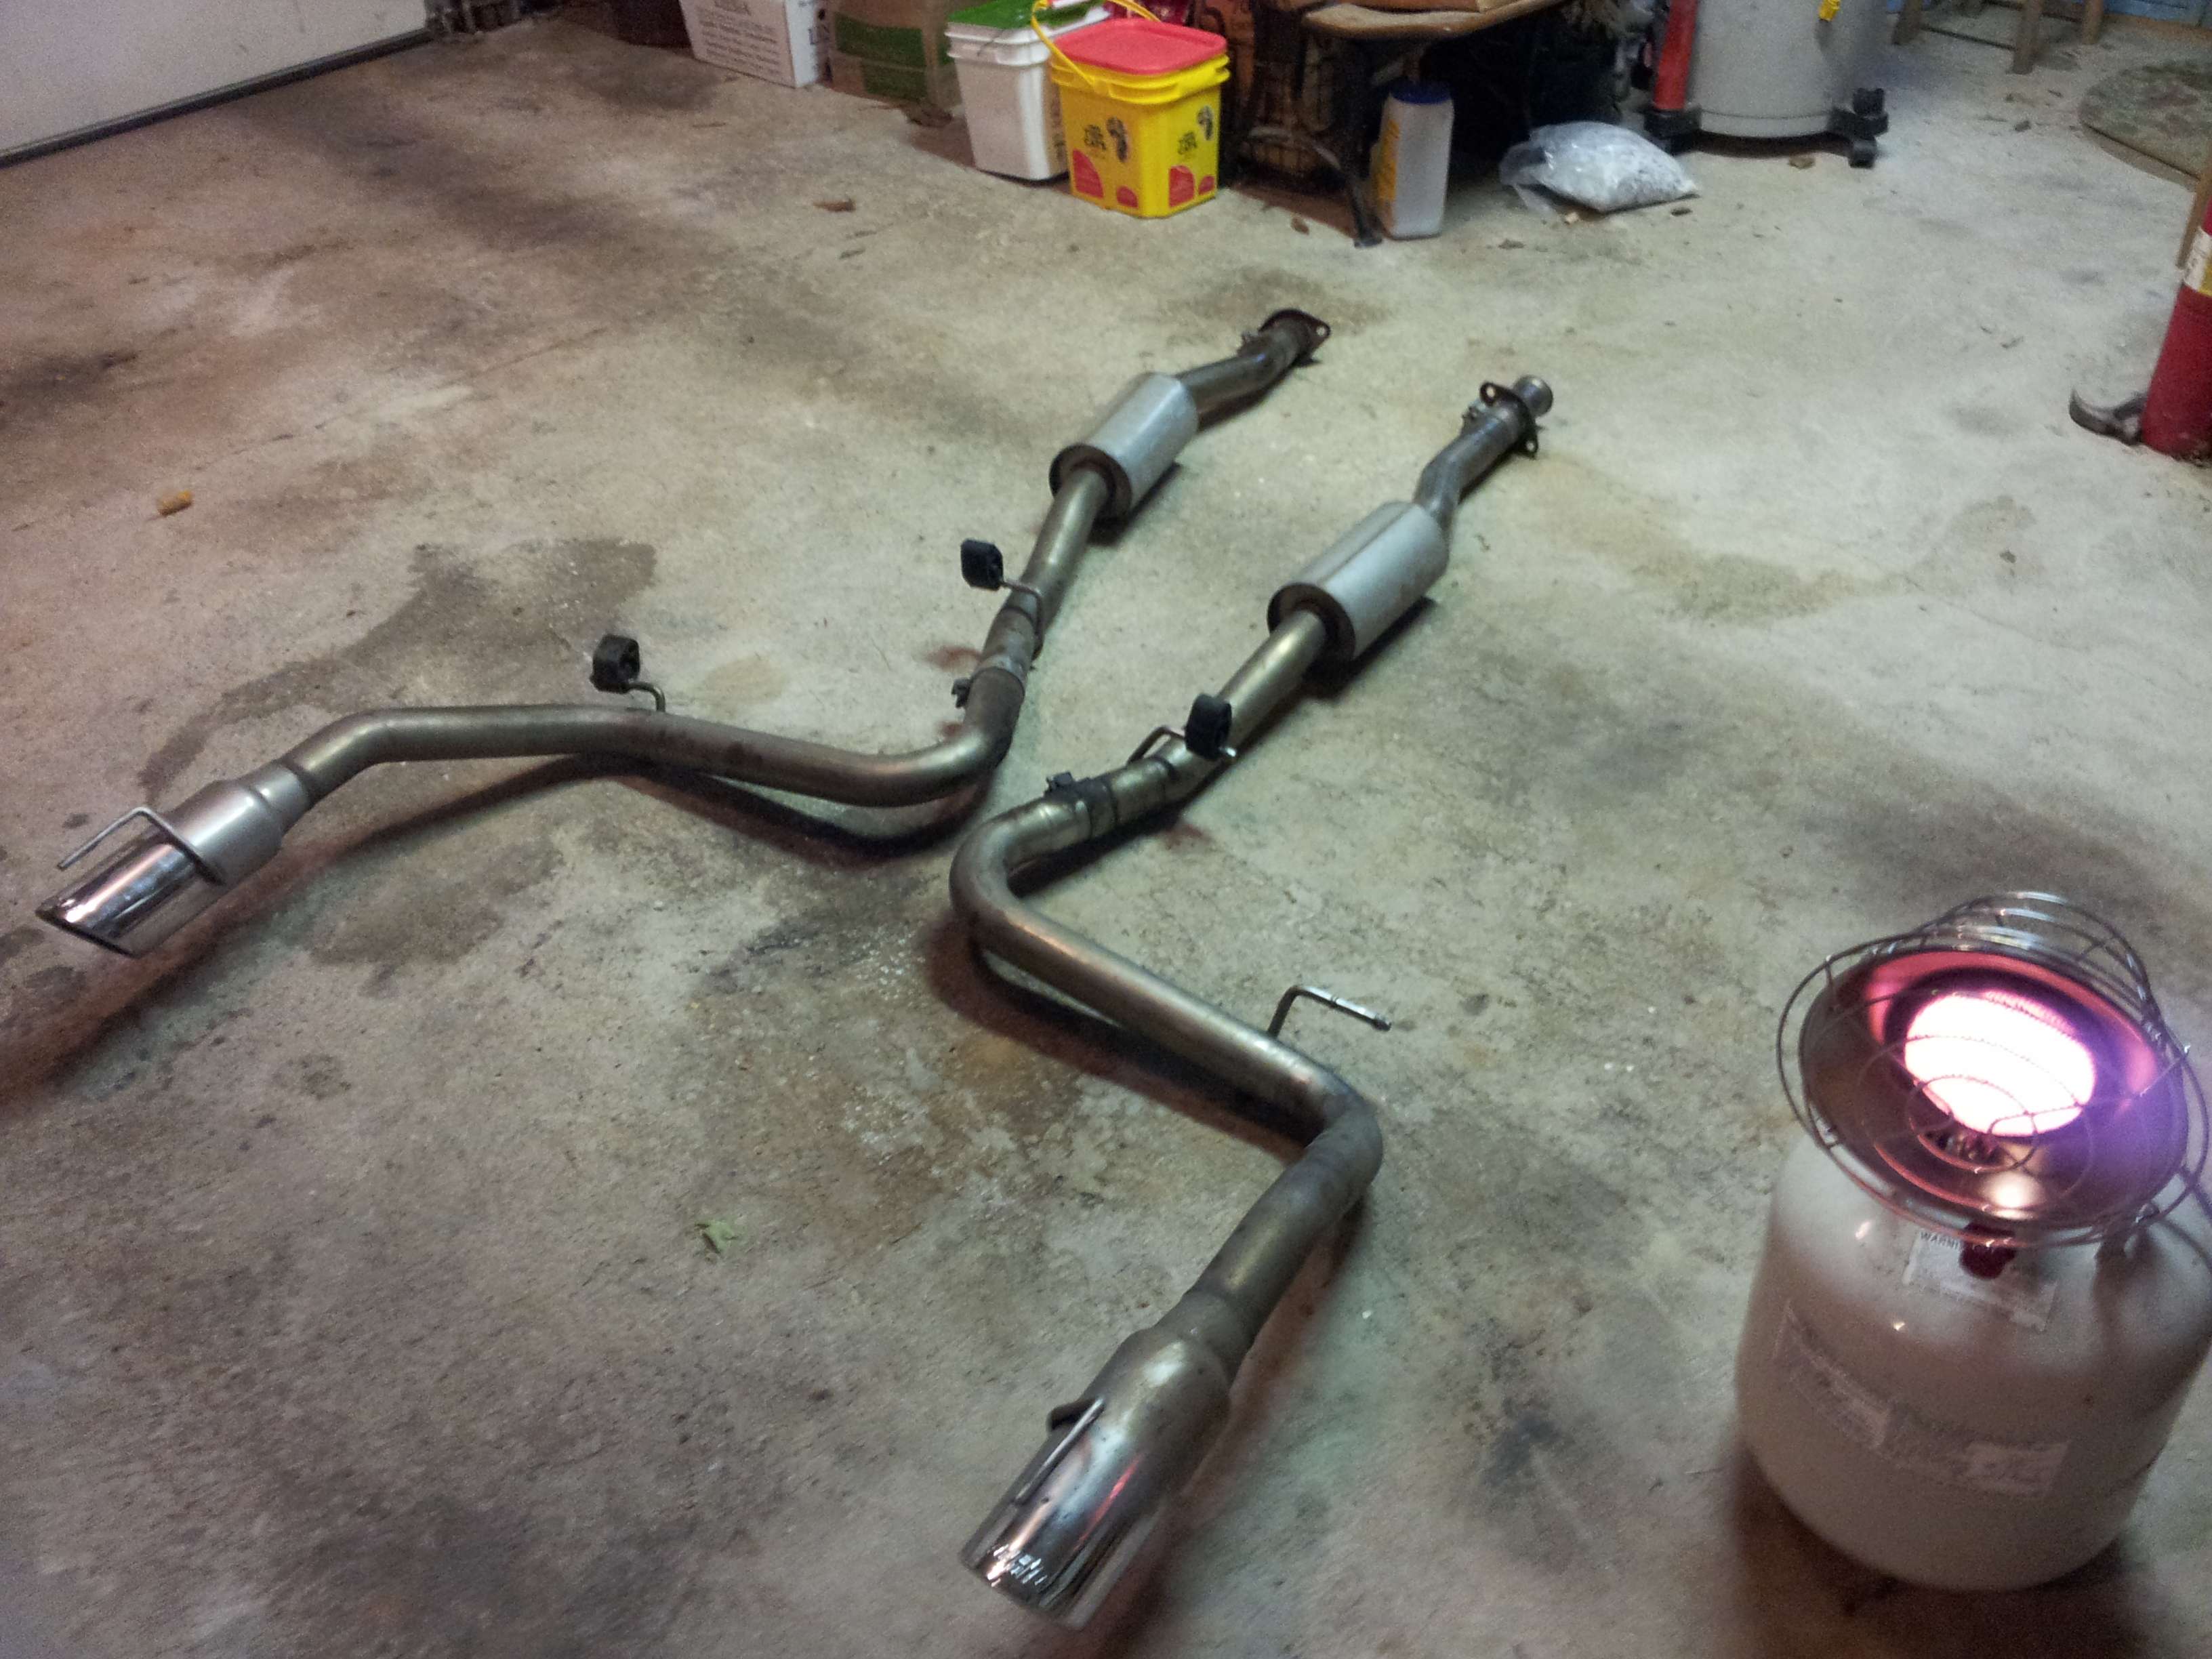
3.Remove mid pipe and cat back; 15mm deep socket
4.Removing the cat back involves taking the hangers out of the rubber holding pieces, should be three of them. Use wd-40
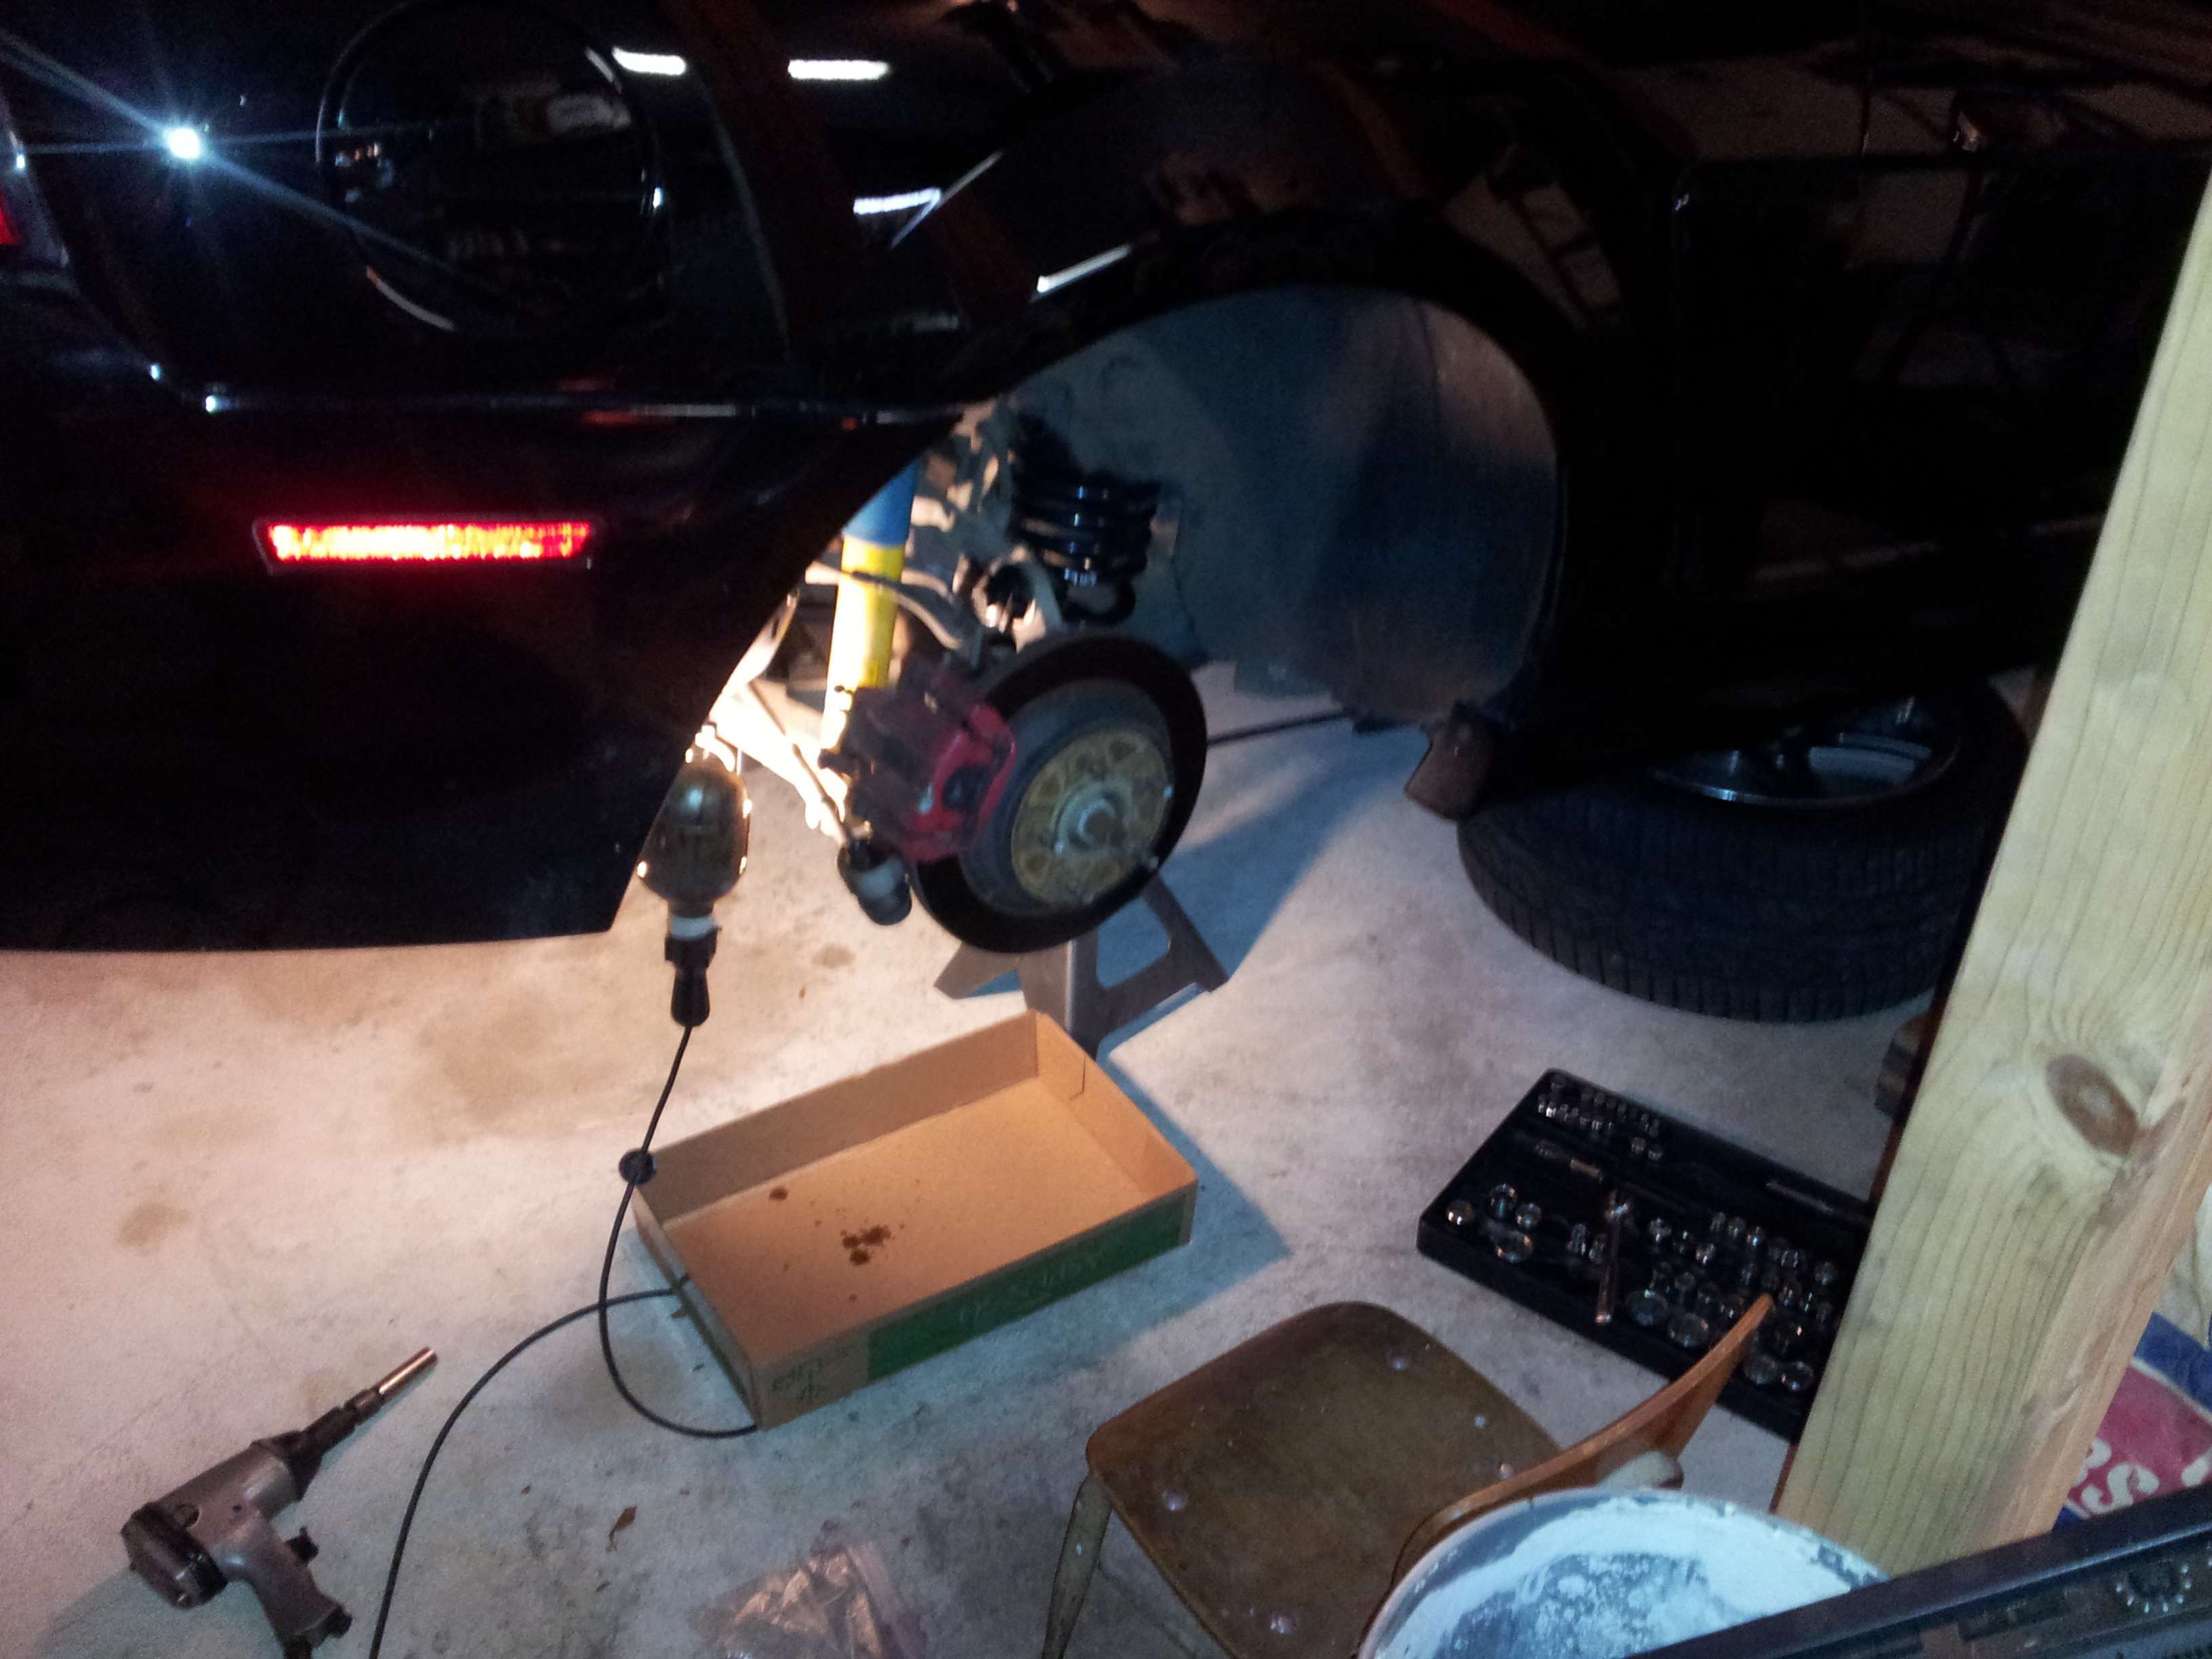
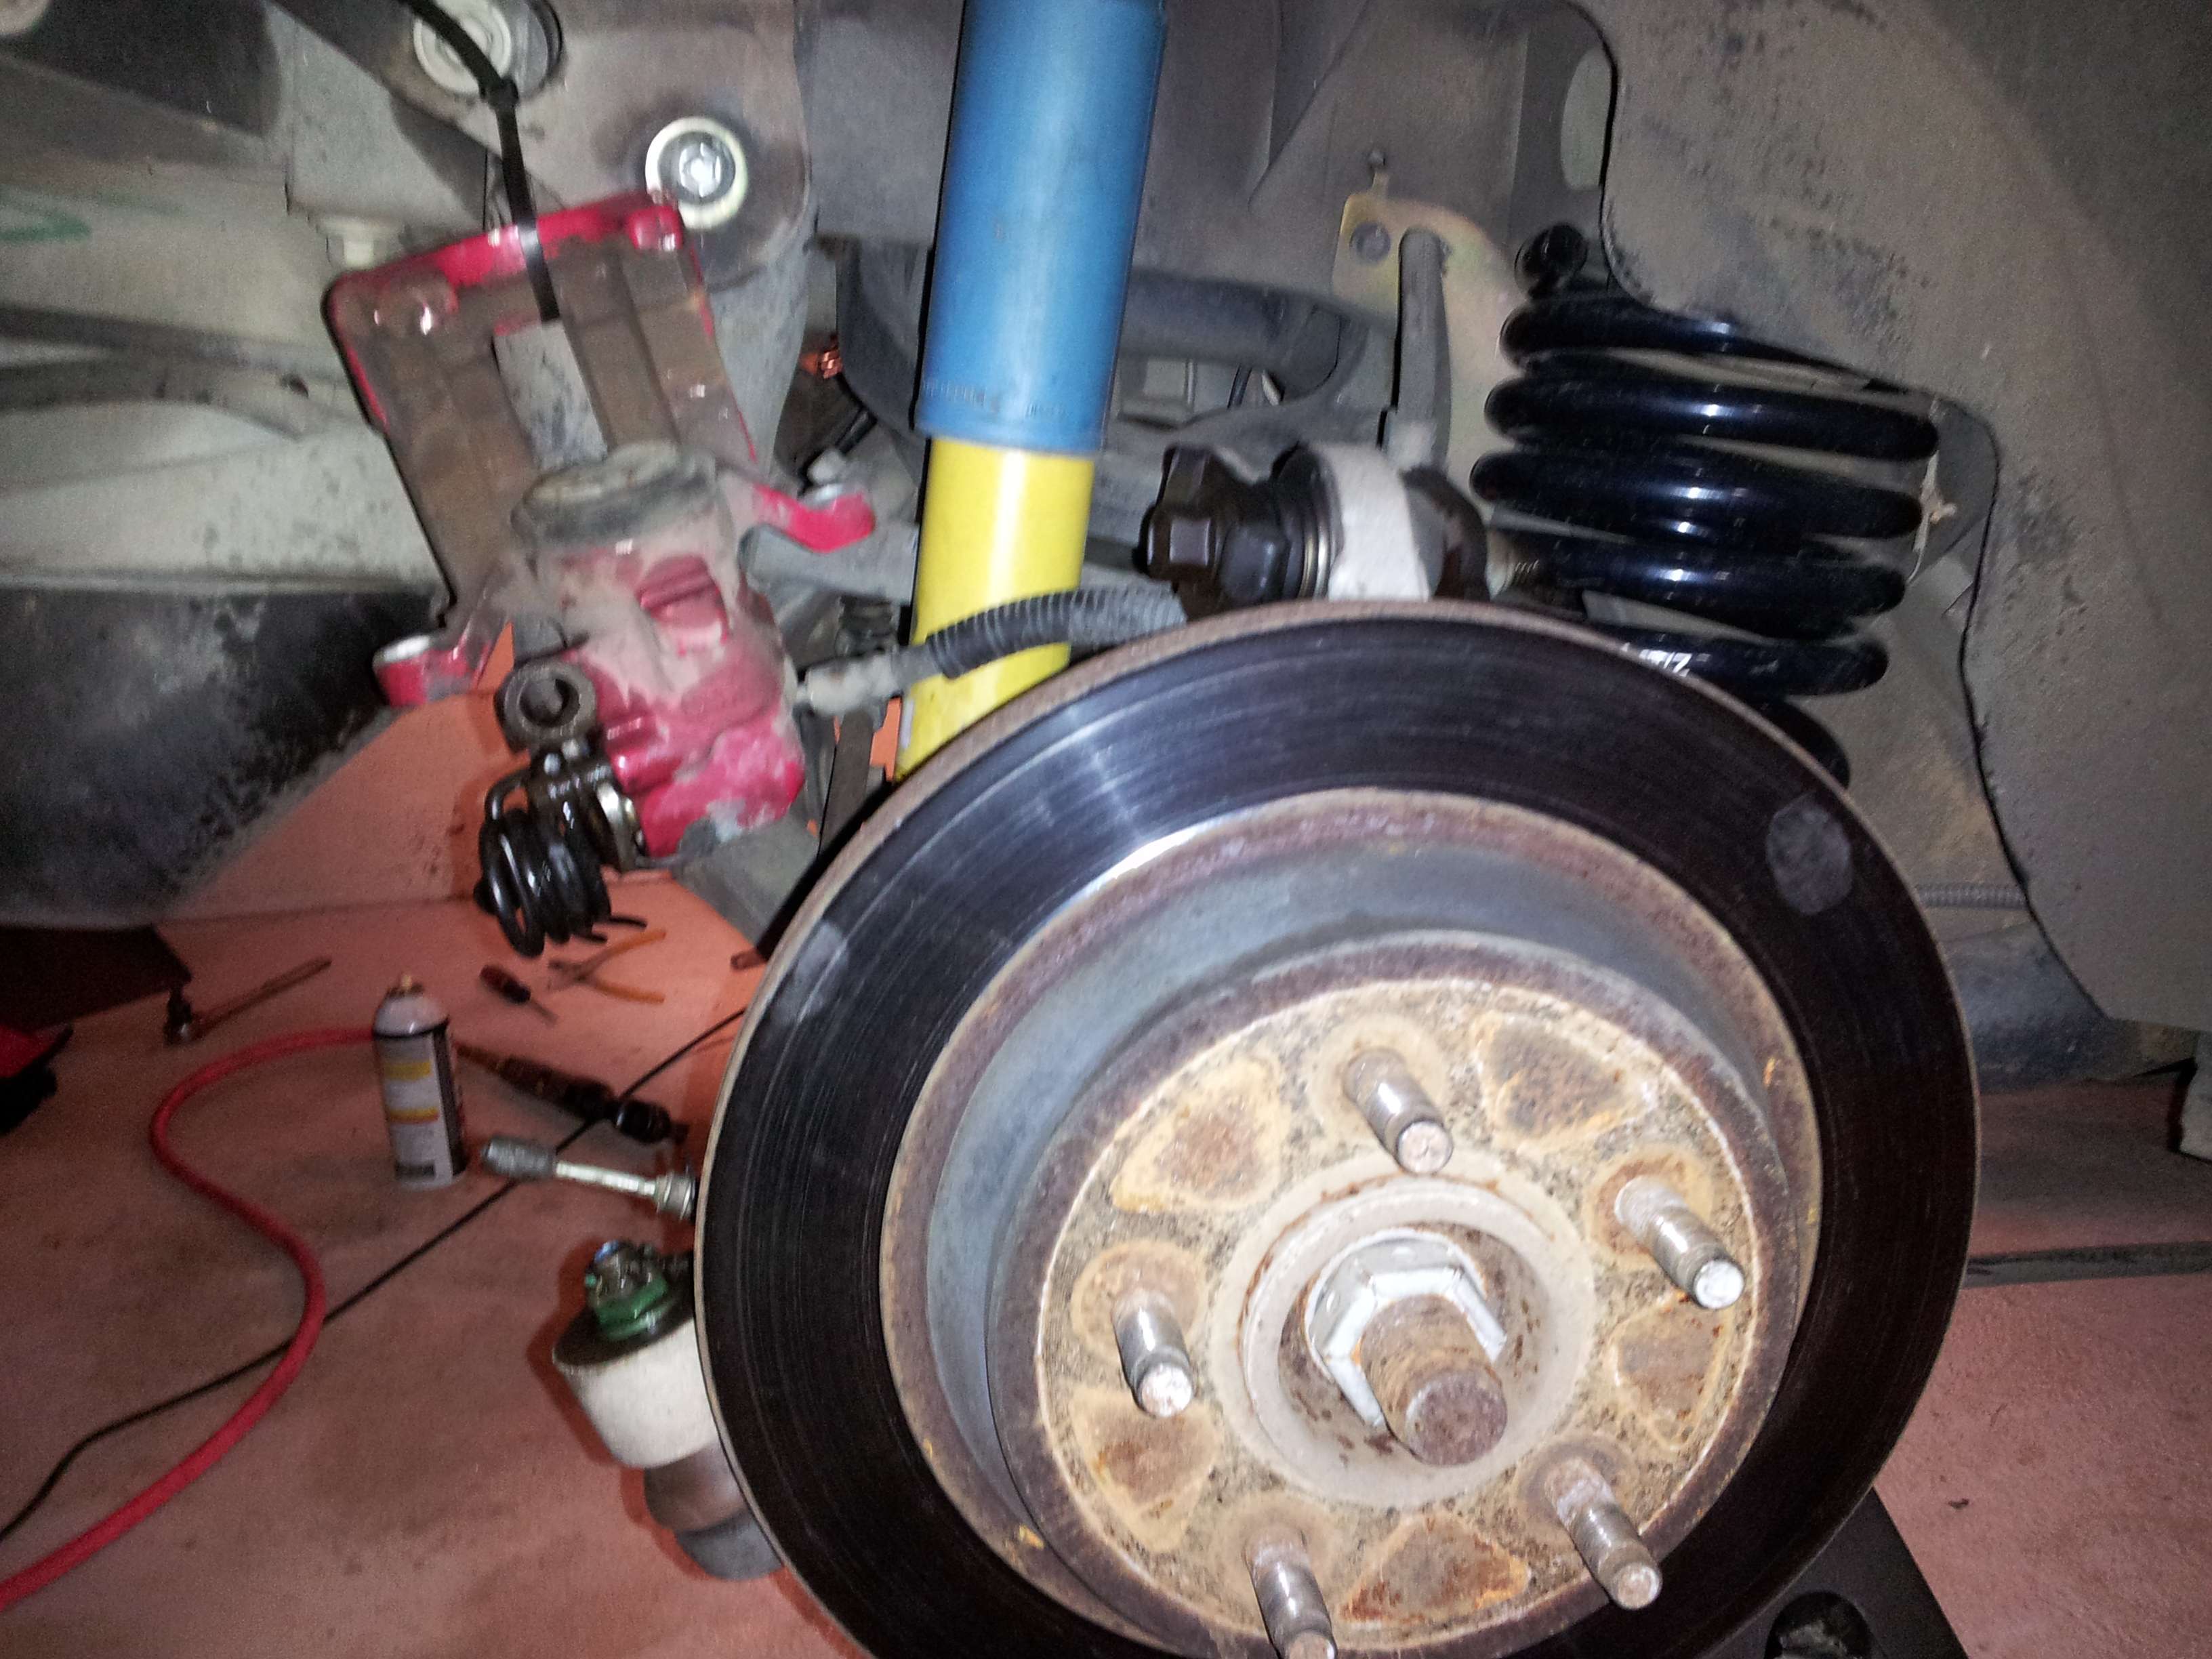
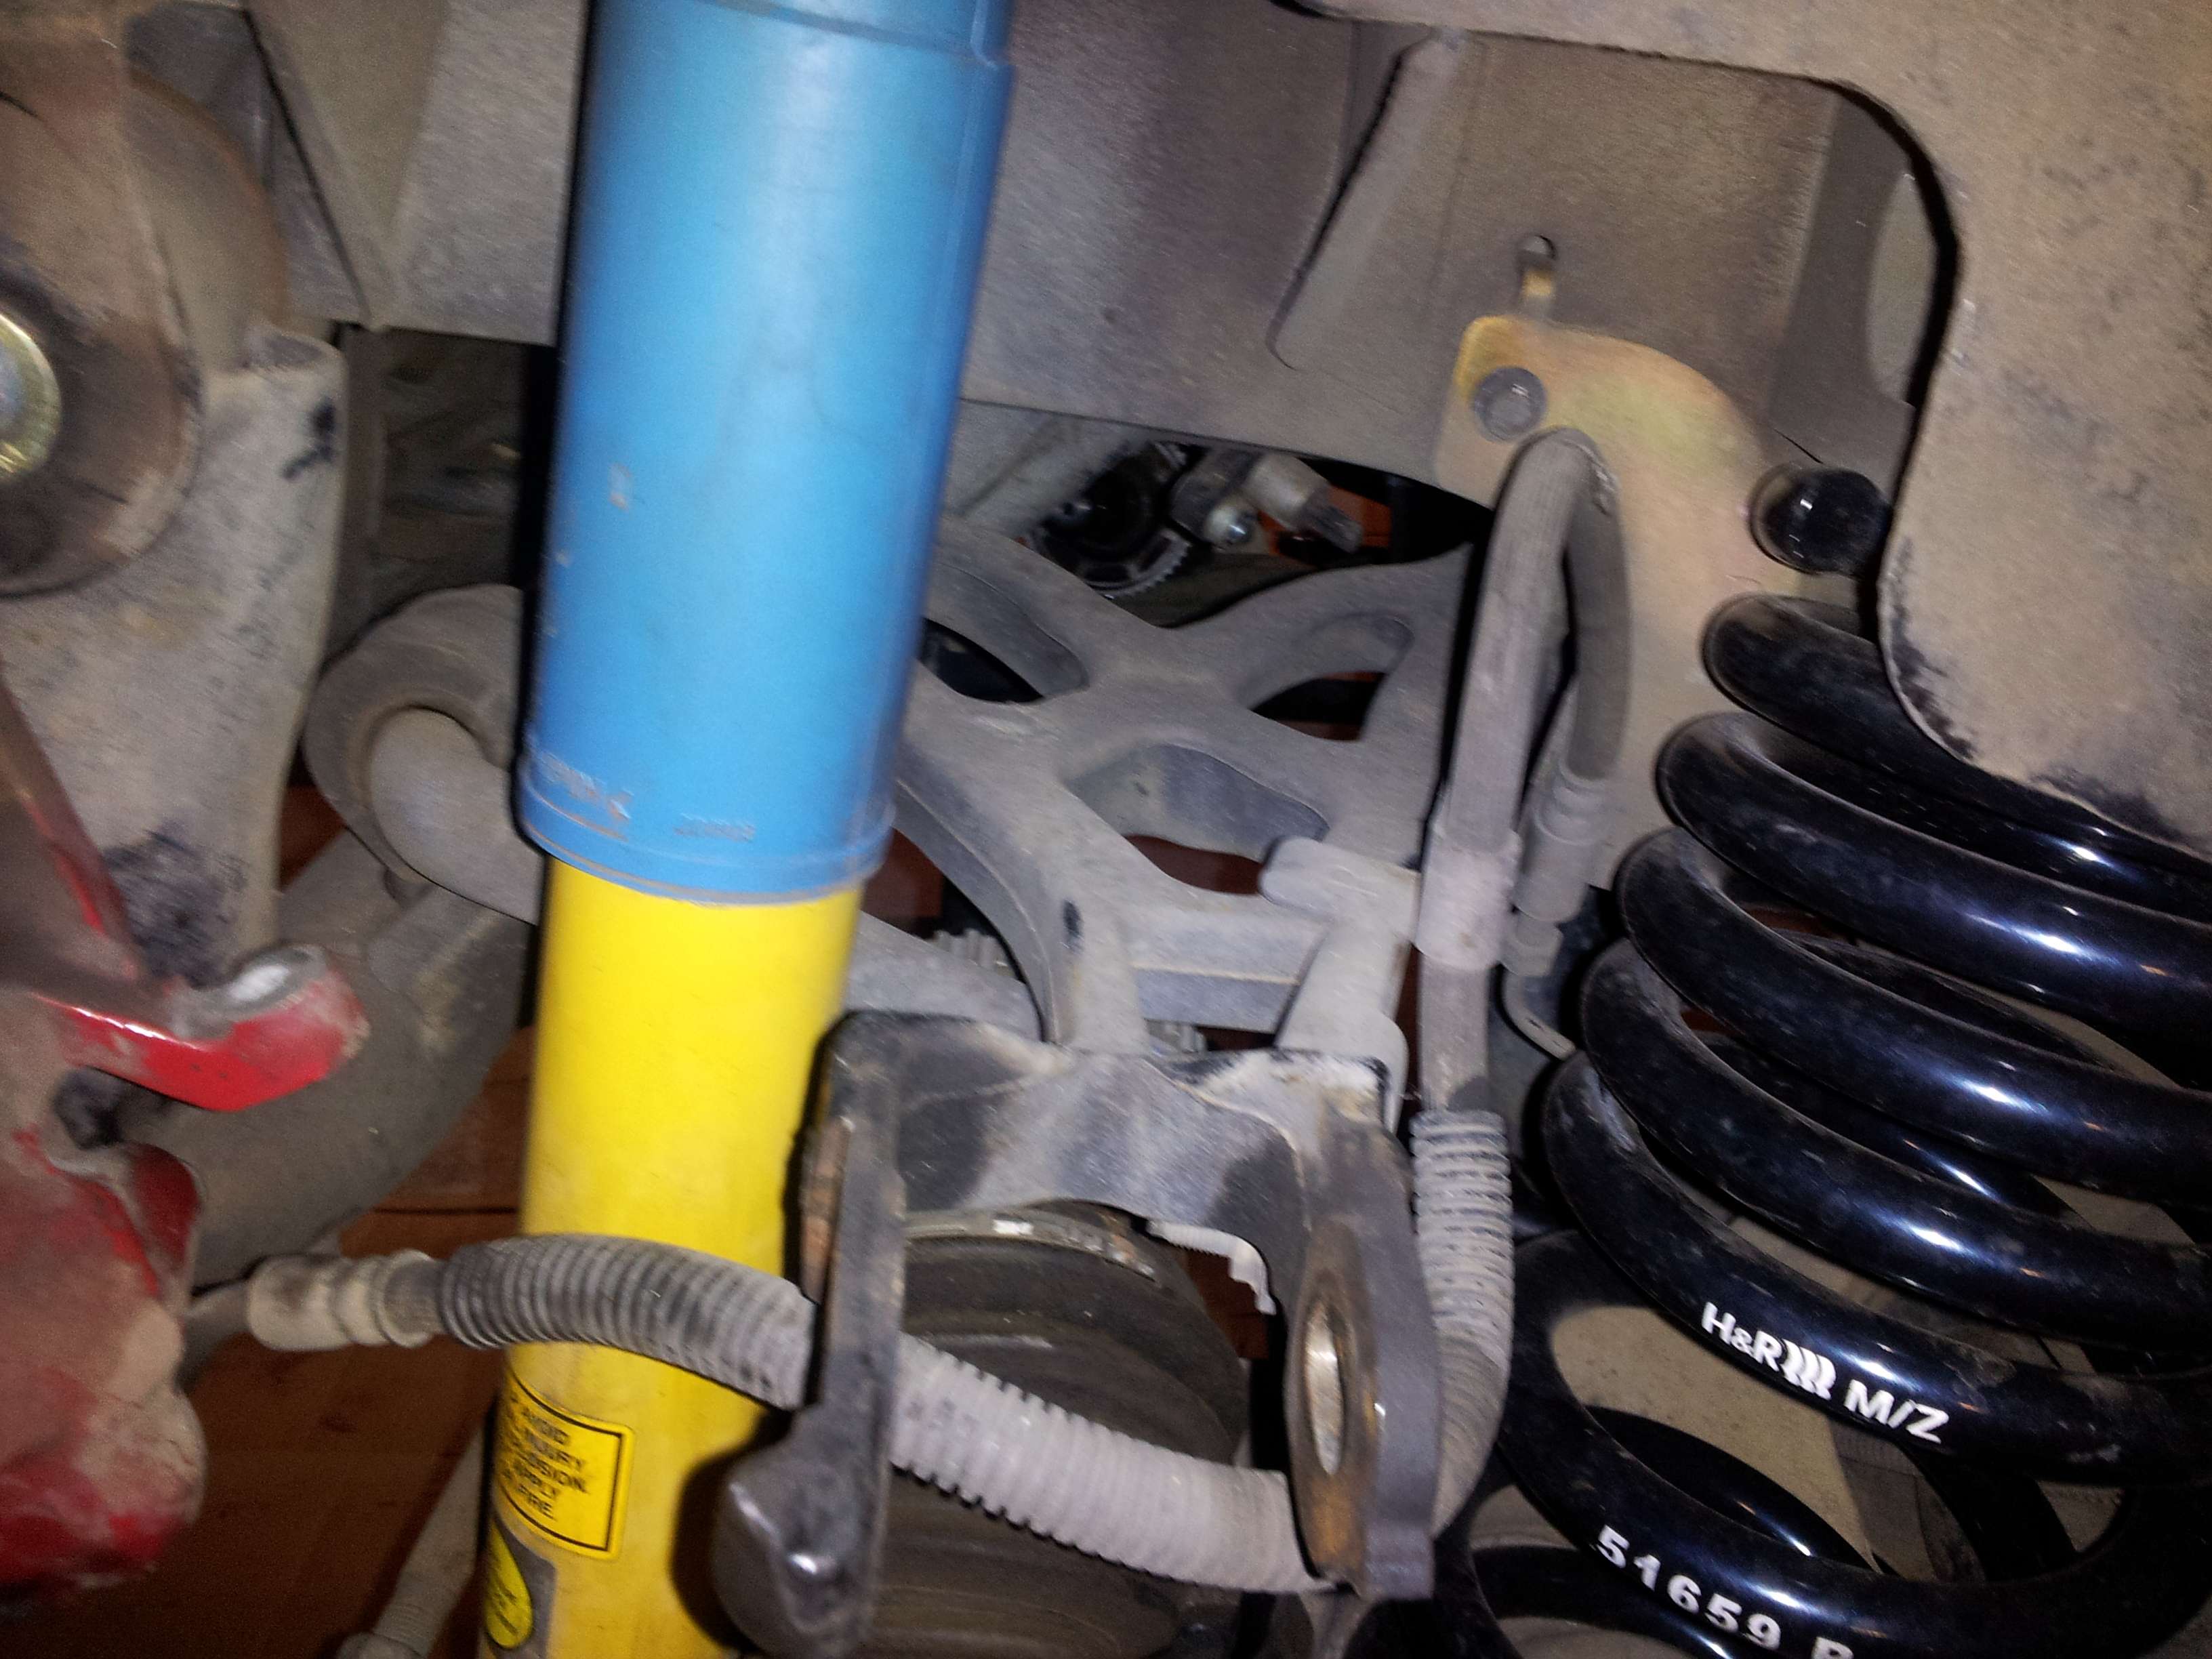
5.Remove both brake caliper bolts, 12mm. On both sides of the car
6.Remove brake caliper on both side of the car
7.Remove brake caliper bracket bolts, 15mm. On both side of the car. (Tie the caliper higher up so its not in your way)
8.Remove tire rod cotter pin using a pair of needle nose pliers
9.Remove tire rod nut 15mm
10.Remove tire rod using a puller device
11.Remove lower control arm from wheel hub by removing the nut, 15mm
12.Remove wheel hub center nut, 36mm deep socket. Very hard to get off
13.Sledge hammer or puller device will be needed to hit the center stud to remove the hub assembly
14. Once both sides are removed, use a crow bar or big flat head screwdriver to pop out the half-shaft from the differential *USE A PAINT MARKER AND MARK THE OREINTATION OF THE HALF SHAFT*
15. Then pull the half shaft out far enough to rest on the lower control arm
16. Next you will need to remove the drive shaft. *MARK WITH A PAINT MARKER AT TWO DIFFERENT SPOTS* from the drive shaft on to the pinion
17.Remove all four bolts holding the drive shaft to the pinion
18.Once the bolts are removed push the drive shaft up and tie it in place with a piece of string or zip ties
19.Next remove the sensors from both sides of the differential. One on each side
20.Next loosen the differential rear isolator nuts, leave in place for now but loosen
21.Loosen pinion cross member brace where it is connected to the sub frame. Leave brace in place
22.Now bring the jack under the car to support the weight of the differential
23.Now remove the two bolts on the pinion cross member that are connected to the differential, after this the differential should drop out
24.Make sure you remove the rear bolts that we already loosened, and take the pinion cross member out now
25.Once the differential is removed and lowered from the car place it on a work bench or clean surface
26.Remove the drain plug and drain fluids into an oil pan
27.Remove the differential pressure relief valve hose (save it)
28.Remove all 10 differential housing bolts
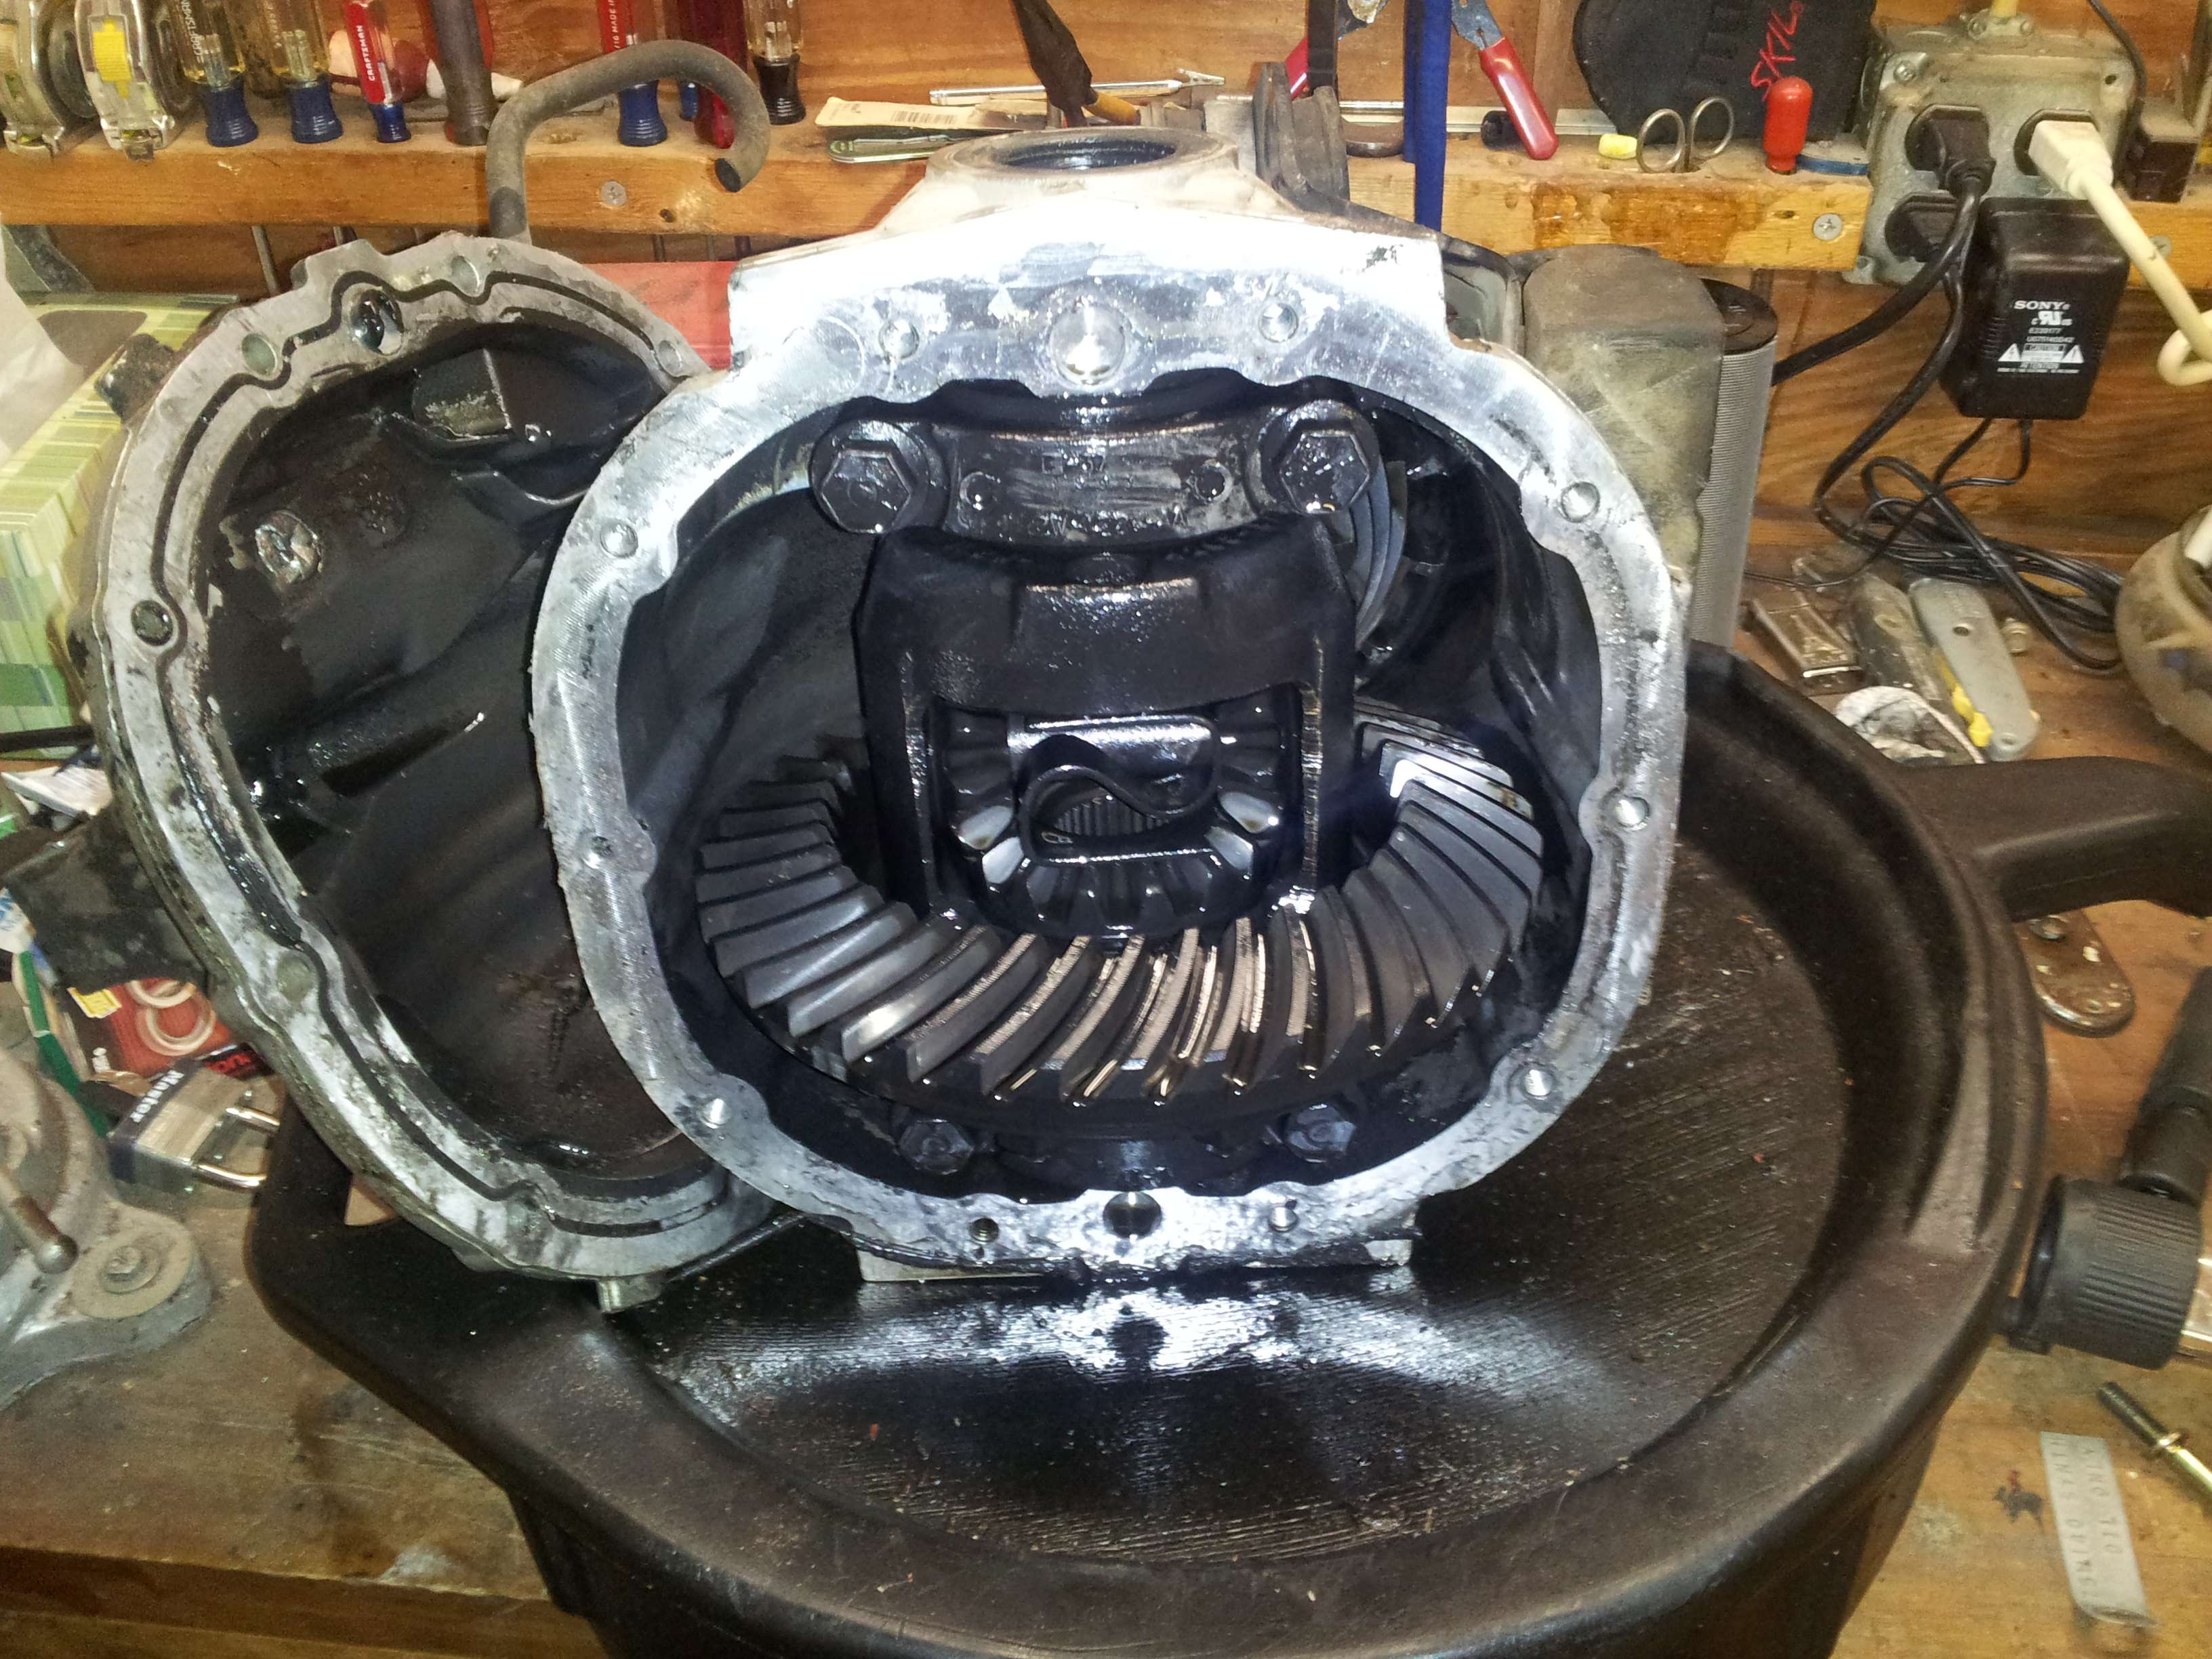
29.Stock cover should fall off now
30.Get a razor blade and a flat head screw driver and scrape away all the old gasket
31.Get some sand paper and parts cleaner and scrape way any impurities, you need a clean surface
32.Once the surface is clean and all excess fluid is drained get the grey rtv
33.Apply the grey rtv around every single bolt area to make a very healthy gasket, use allot but make sure it is even. Apply the same on the ford racing differential cover
34.Once both areas have been covered place the cover on the housing and place all ten bolts hand tight into the holes
35.After ten minutes has passed torque down to 25ft/lbs
36.Let differential sit for 24hrs before reinstalling
37.*EXTRA* since the fuel filter is such a pain to replace, replace now since there is so much room to get to it now
38.Follow all the steps in reverse in order to reinstall the diff housing
39.Torque specs need:
a.ABS bracket-to-lower arm = 17 ft-lbs
b.ABS bolt-to-diff = 5 ft-lbs
c.Brake banjo bolt = 30 ft-lbs
d.Brake caliper anchor bolts = 76 ft-lbs
e.Brake caliper bolt = 25 ft-lbs
f.Brake line-to-rear brake caliper bolt = 30 ft-lbs
g.Diff cover = 25 ft-lbs
h.Diff pinion nose crossmember-to-diff = 52 ft-lbs
i.Diff pinion nose crossmember-to-subframe = 184 ft-lbs
j.Diff rear insulator-to-axle housing bolts = 76 ft-lbs
k.Driveshaft to pinion flange = 83 ft-lbs (Blue Loctite)
l.Hub nut = 250 ft-lbs
m.Lower arm and bushing-to-subframe bolts = 184 ft-lbs
n.Lower arm and bushing-to-knuckle nut = 85 ft-lbs
o.Parking brake cable bracket-to-lower arm bushing bolt = 11 ft-lbs
p.Rear brake disc dust sheild-to-knuckle bolts = 89 in-lbs
q.Stabilizer bar bracket bolt = 41 ft-lbs
r.Stabilizer bar link nuts = 35 ft-lbs
s.Subframe-to-body bolts = 76 ft-lbs (14mm bolts = 131 ft-lbs; 9/16” bolt = 145 ft-lbs)
t.Subframe-to-rear bracket bolts = 76 ft-lbs
u.Subframe rear bracket-to-body bolts = 59 ft-lbs
v.Shock-to-lower arm and bushing bolts = 98 ft-lbs
w.Shock-to-body nuts = 30 ft-lbs
x.Toe link-to-subframe nut = 35 ft-lbs
y.Toe link-to-knuckle nut = 35 ft-lbs
z.Upper arm and bushing-to-subframe nuts = 66 ft-lbs
aa.Upper arm bushing-to-knuckle nut = 66 ft-lbs
ab.Wheel lugs = 95 ft-lbs
Before reinstalling the wheels and catback fill from the middle hole on the cover with 75w-140 royal purple differential fluid. 1.5-2 quarts is needed
Thanks for reading guys!! :rockon::rockon:
Start here:
FORD RACING DIFFERENTIAL COVER 8.8 IRS
Part #50383
Tools Needed:
Socket set, metric and standard
Sledge hammer
Puller device, pitman puller
Jack
Jack stands
Flat head screw drivers
Torque wrench, capable of 8 ft/lbs and 250 ft/lbs
Extra set of hands
Differential fluid (75w-140 1.5-2 quarts)
Place the car is your workspace, put the car in gear with the parking brake on.
1.Place the car on jack stands on all four corners; place the rear end as high up as you can
2.Remove the rear tires, 21mm deep socket
3.Remove mid pipe and cat back; 15mm deep socket
4.Removing the cat back involves taking the hangers out of the rubber holding pieces, should be three of them. Use wd-40
5.Remove both brake caliper bolts, 12mm. On both sides of the car
6.Remove brake caliper on both side of the car
7.Remove brake caliper bracket bolts, 15mm. On both side of the car. (Tie the caliper higher up so its not in your way)
8.Remove tire rod cotter pin using a pair of needle nose pliers
9.Remove tire rod nut 15mm
10.Remove tire rod using a puller device
11.Remove lower control arm from wheel hub by removing the nut, 15mm
12.Remove wheel hub center nut, 36mm deep socket. Very hard to get off
13.Sledge hammer or puller device will be needed to hit the center stud to remove the hub assembly
14. Once both sides are removed, use a crow bar or big flat head screwdriver to pop out the half-shaft from the differential *USE A PAINT MARKER AND MARK THE OREINTATION OF THE HALF SHAFT*
15. Then pull the half shaft out far enough to rest on the lower control arm
16. Next you will need to remove the drive shaft. *MARK WITH A PAINT MARKER AT TWO DIFFERENT SPOTS* from the drive shaft on to the pinion
17.Remove all four bolts holding the drive shaft to the pinion
18.Once the bolts are removed push the drive shaft up and tie it in place with a piece of string or zip ties
19.Next remove the sensors from both sides of the differential. One on each side
20.Next loosen the differential rear isolator nuts, leave in place for now but loosen
21.Loosen pinion cross member brace where it is connected to the sub frame. Leave brace in place
22.Now bring the jack under the car to support the weight of the differential
23.Now remove the two bolts on the pinion cross member that are connected to the differential, after this the differential should drop out
24.Make sure you remove the rear bolts that we already loosened, and take the pinion cross member out now
25.Once the differential is removed and lowered from the car place it on a work bench or clean surface
26.Remove the drain plug and drain fluids into an oil pan
27.Remove the differential pressure relief valve hose (save it)
28.Remove all 10 differential housing bolts
29.Stock cover should fall off now
30.Get a razor blade and a flat head screw driver and scrape away all the old gasket
31.Get some sand paper and parts cleaner and scrape way any impurities, you need a clean surface
32.Once the surface is clean and all excess fluid is drained get the grey rtv
33.Apply the grey rtv around every single bolt area to make a very healthy gasket, use allot but make sure it is even. Apply the same on the ford racing differential cover
34.Once both areas have been covered place the cover on the housing and place all ten bolts hand tight into the holes
35.After ten minutes has passed torque down to 25ft/lbs
36.Let differential sit for 24hrs before reinstalling
37.*EXTRA* since the fuel filter is such a pain to replace, replace now since there is so much room to get to it now
38.Follow all the steps in reverse in order to reinstall the diff housing
39.Torque specs need:
a.ABS bracket-to-lower arm = 17 ft-lbs
b.ABS bolt-to-diff = 5 ft-lbs
c.Brake banjo bolt = 30 ft-lbs
d.Brake caliper anchor bolts = 76 ft-lbs
e.Brake caliper bolt = 25 ft-lbs
f.Brake line-to-rear brake caliper bolt = 30 ft-lbs
g.Diff cover = 25 ft-lbs
h.Diff pinion nose crossmember-to-diff = 52 ft-lbs
i.Diff pinion nose crossmember-to-subframe = 184 ft-lbs
j.Diff rear insulator-to-axle housing bolts = 76 ft-lbs
k.Driveshaft to pinion flange = 83 ft-lbs (Blue Loctite)
l.Hub nut = 250 ft-lbs
m.Lower arm and bushing-to-subframe bolts = 184 ft-lbs
n.Lower arm and bushing-to-knuckle nut = 85 ft-lbs
o.Parking brake cable bracket-to-lower arm bushing bolt = 11 ft-lbs
p.Rear brake disc dust sheild-to-knuckle bolts = 89 in-lbs
q.Stabilizer bar bracket bolt = 41 ft-lbs
r.Stabilizer bar link nuts = 35 ft-lbs
s.Subframe-to-body bolts = 76 ft-lbs (14mm bolts = 131 ft-lbs; 9/16” bolt = 145 ft-lbs)
t.Subframe-to-rear bracket bolts = 76 ft-lbs
u.Subframe rear bracket-to-body bolts = 59 ft-lbs
v.Shock-to-lower arm and bushing bolts = 98 ft-lbs
w.Shock-to-body nuts = 30 ft-lbs
x.Toe link-to-subframe nut = 35 ft-lbs
y.Toe link-to-knuckle nut = 35 ft-lbs
z.Upper arm and bushing-to-subframe nuts = 66 ft-lbs
aa.Upper arm bushing-to-knuckle nut = 66 ft-lbs
ab.Wheel lugs = 95 ft-lbs
Before reinstalling the wheels and catback fill from the middle hole on the cover with 75w-140 royal purple differential fluid. 1.5-2 quarts is needed
Thanks for reading guys!! :rockon::rockon:


