- Joined
- Dec 21, 2016
- Messages
- 57
SHE IS HOME
That is all.
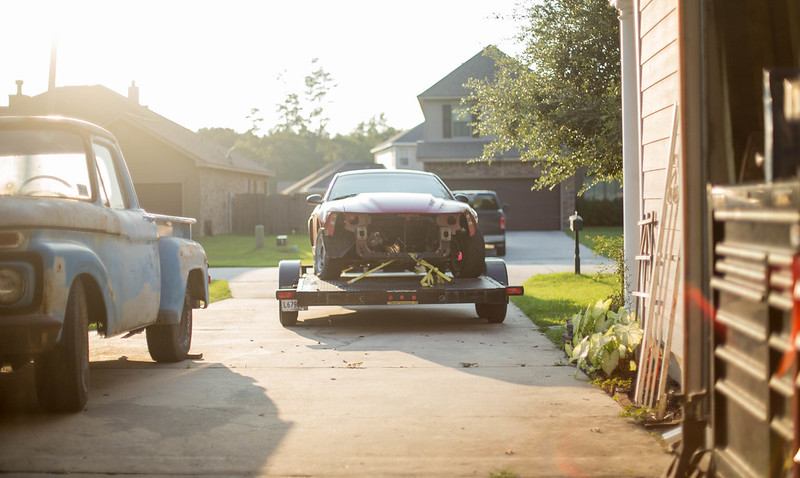 new computer (1 of 2) by lawrx, on Flickr
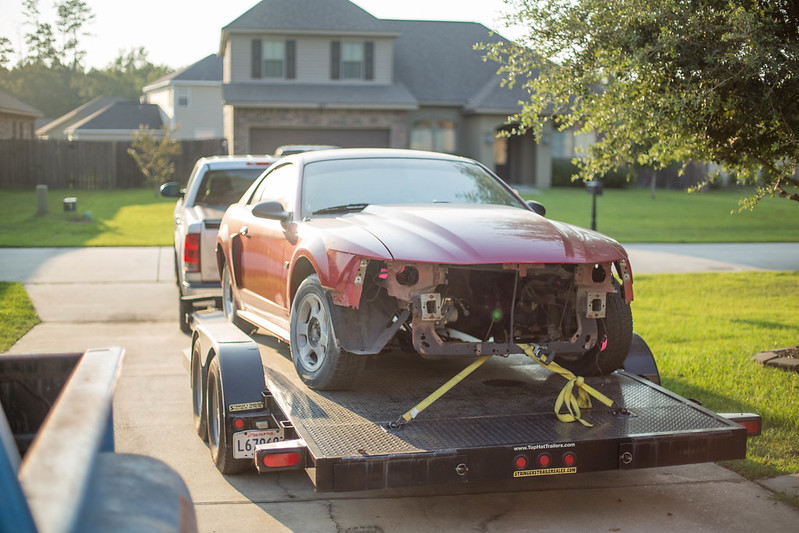 new computer (2 of 2) by lawrx, on Flickr
That is all.
new computer (1 of 2) by lawrx, on Flickr
new computer (2 of 2) by lawrx, on Flickr new computer (2 of 24)
 new computer (3 of 24)
 new computer (4 of 24)
 new computer (5 of 24)
 new computer (6 of 24)
 new computer (7 of 24)
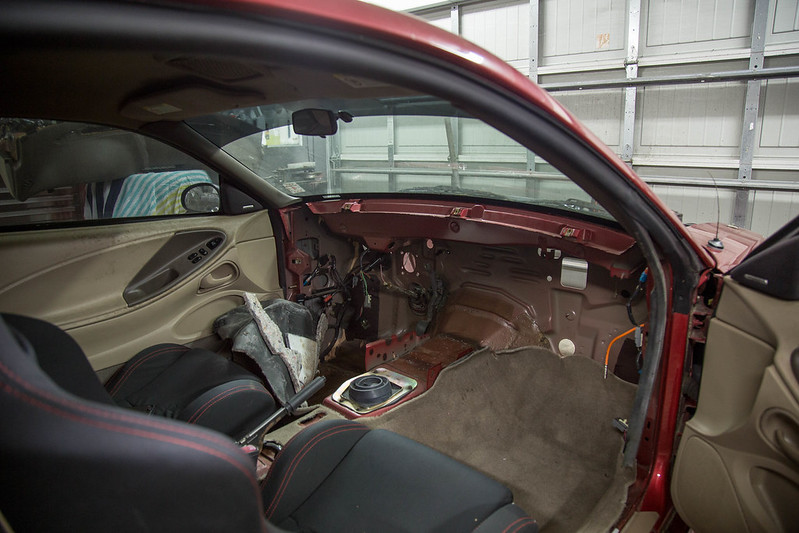 new computer (8 of 24)
 new computer (9 of 24)
 new computer (10 of 24)
 new computer (11 of 24)
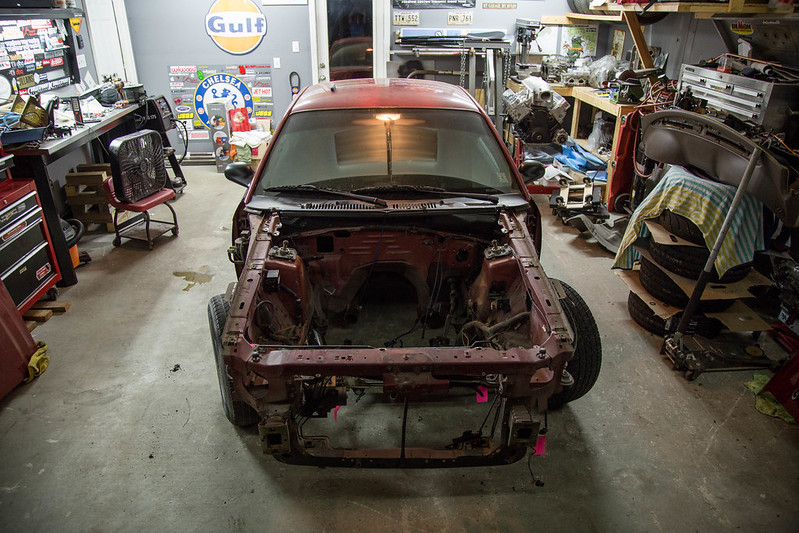 new computer (12 of 24)
 new computer (13 of 24)
 new computer (14 of 24)
 new computer (15 of 24)
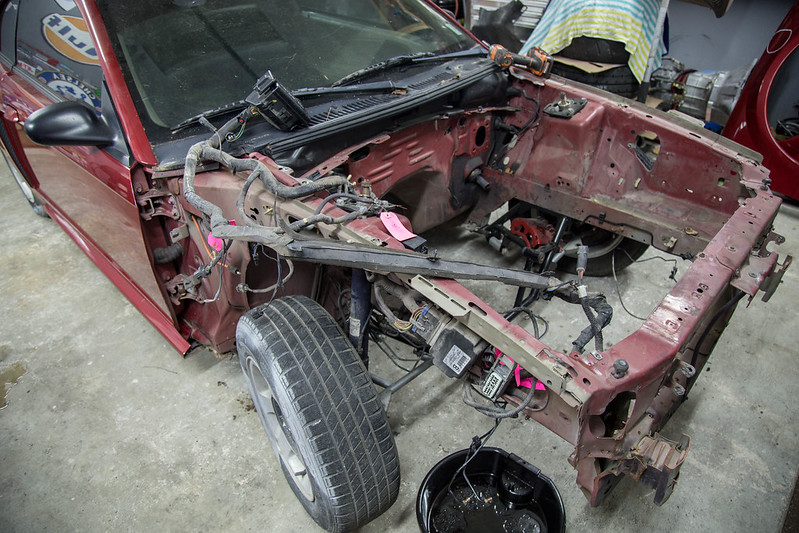 new computer (17 of 24)
 new computer (18 of 24)
 new computer (20 of 24)
 new computer (21 of 24)
 new computer (22 of 24)
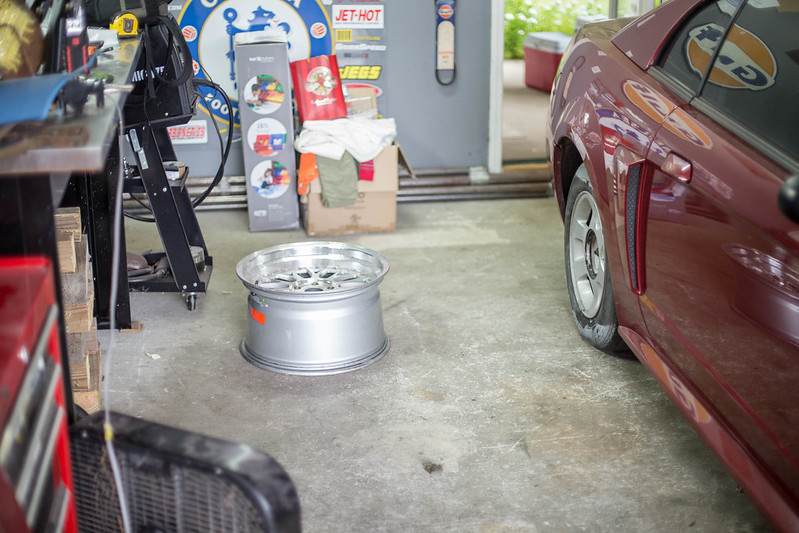 new computer (1 of 18)
 new computer (2 of 18)
 new computer (23 of 24)
 new computer (24 of 24)
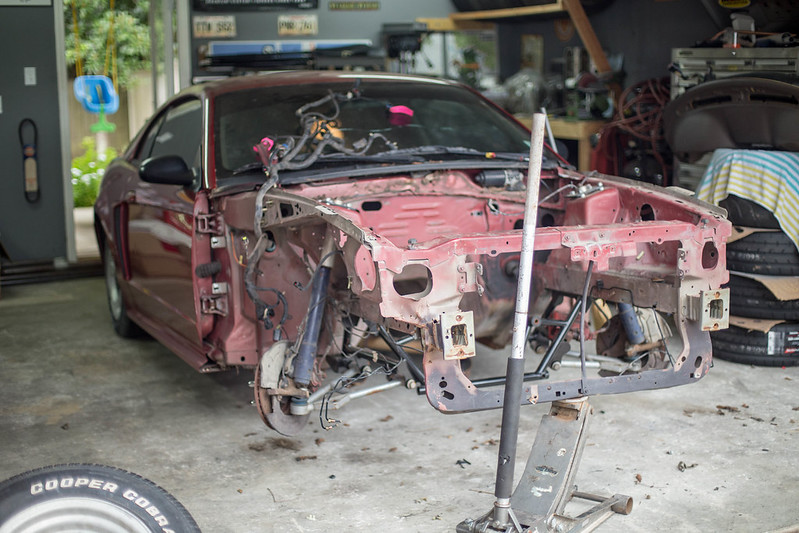 new computer (4 of 18)
 new computer (5 of 18)
 new computer (6 of 18)
 new computer (7 of 18)
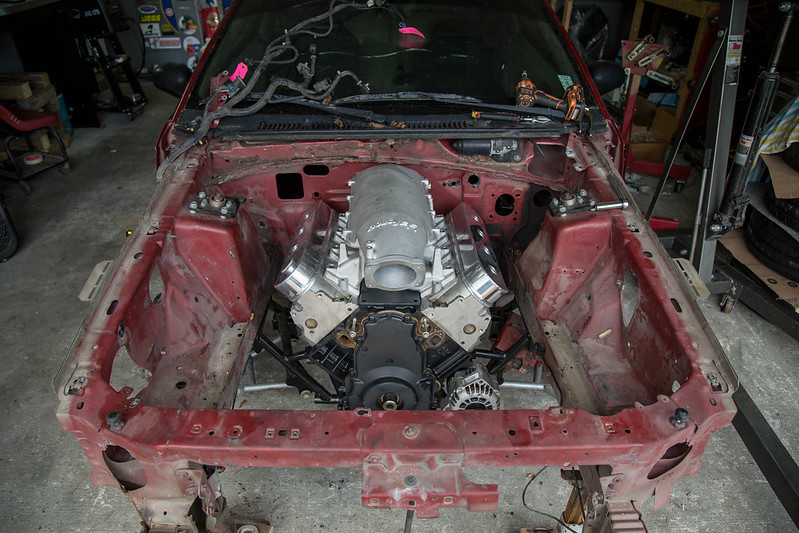 new computer (8 of 18)
 new computer (9 of 18)
 new computer (10 of 18)
 new computer (11 of 18)
 new computer (12 of 18)
 new computer (15 of 18)
 new computer (16 of 18)
 new computer (17 of 18)
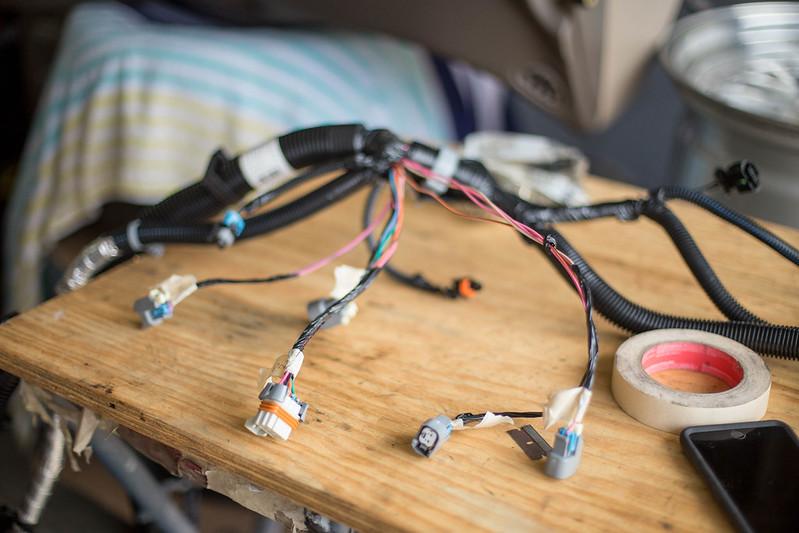 new computer (18 of 18)
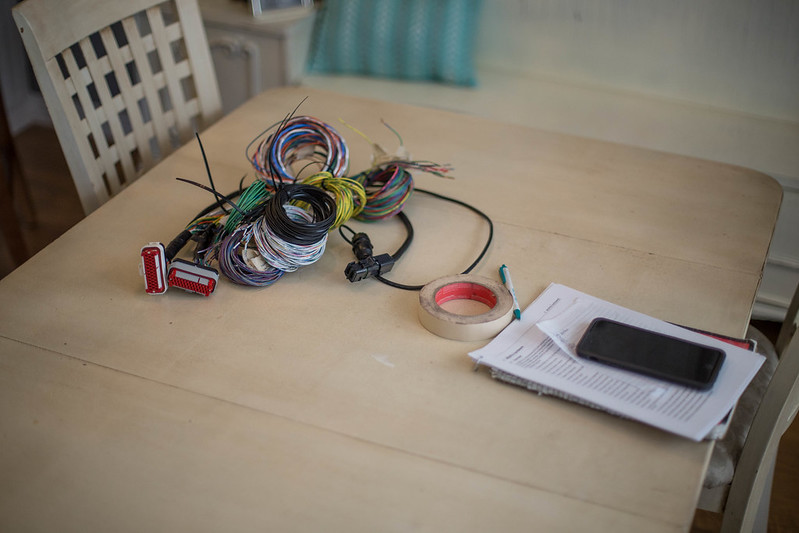 new computer (1 of 18)-2
 new computer (2 of 18)-2
 new computer (3 of 18)-2
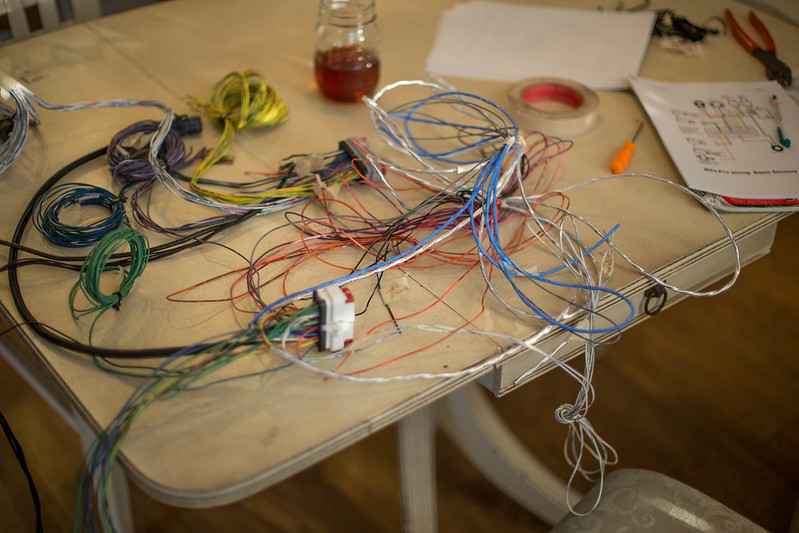 new computer (4 of 18)-2
 new computer (5 of 18)-2
 new computer (6 of 18)-2
 new computer (7 of 18)-2
 new computer (8 of 18)-2
 new computer (9 of 18)-2
 new computer (10 of 18)-2
 new computer (11 of 18)-2
 new computer (12 of 18)-2
 new computer (15 of 18)-2
 new computer (13 of 18)-2
 new computer (14 of 18)-2
 new computer (16 of 18)-2
 new computer (17 of 18)-2
 new computer (18 of 18)-2
 new computer (24 of 36)
 new computer (22 of 36)
 new computer (25 of 36)
 new computer (26 of 36)
 new computer (12 of 36)
 new computer (13 of 36)
 new computer (14 of 36)
 new computer (15 of 36)
 new computer (16 of 36)
 new computer (17 of 36)
 new computer (18 of 36)
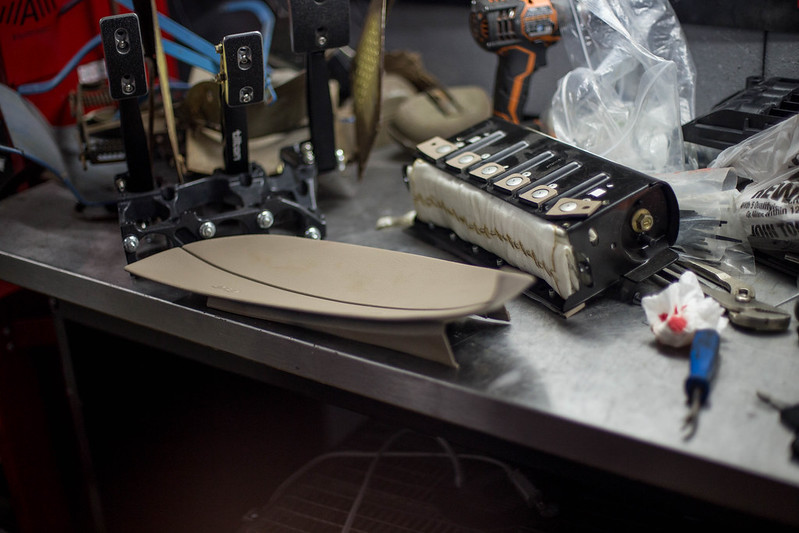 new computer (19 of 36)
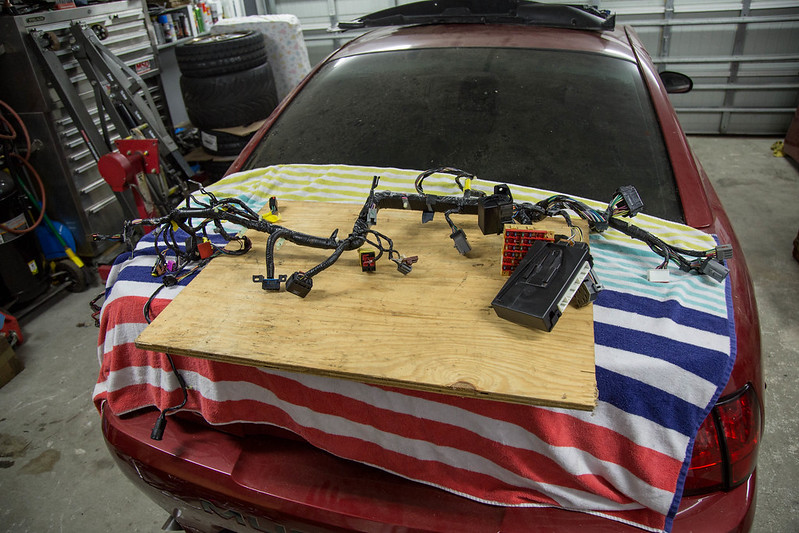 new computer (27 of 36)
 new computer (28 of 36)
 new computer (29 of 36)
 new computer (30 of 36)
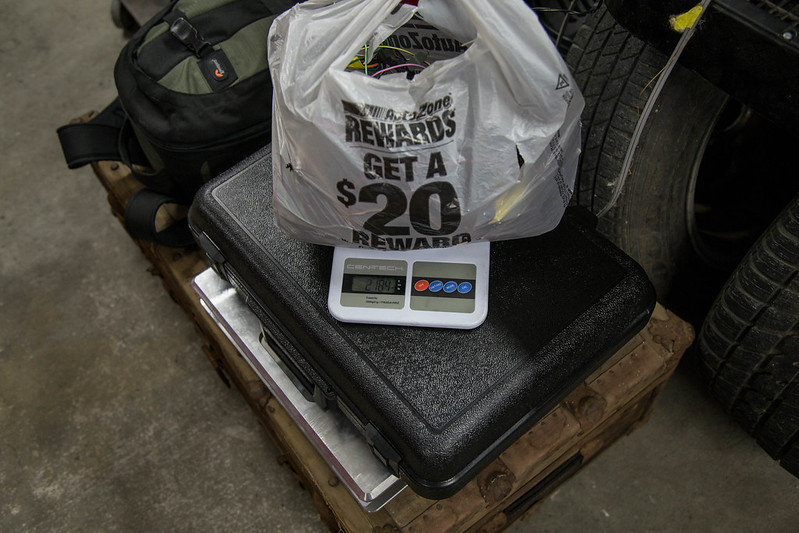 new computer (31 of 36)
 new computer (32 of 36)
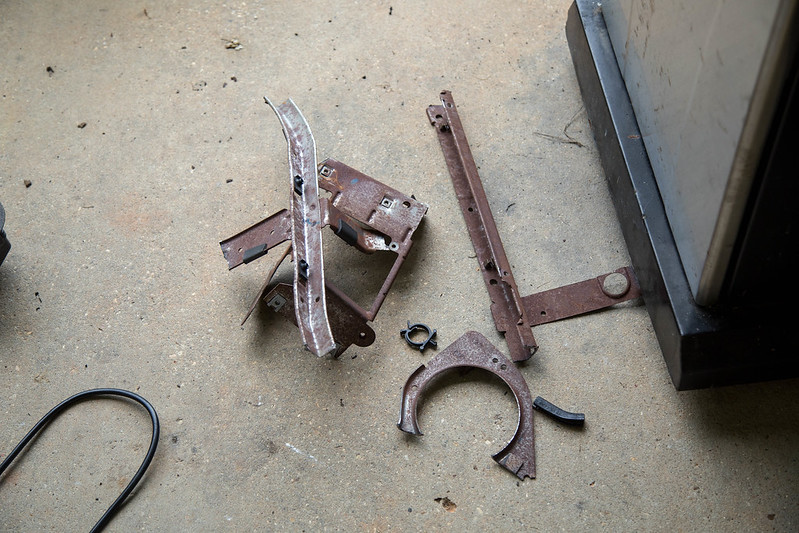 new computer (33 of 36)
 new computer (34 of 36)
 new computer (35 of 36)
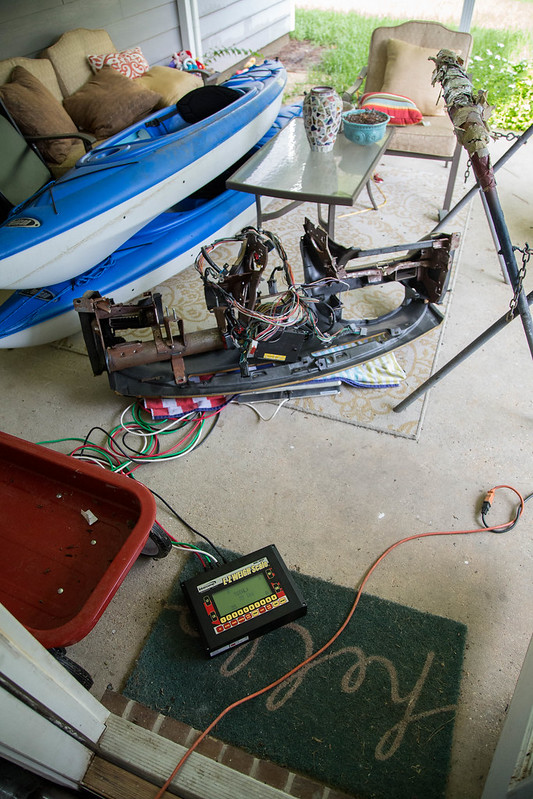 new computer (36 of 36)
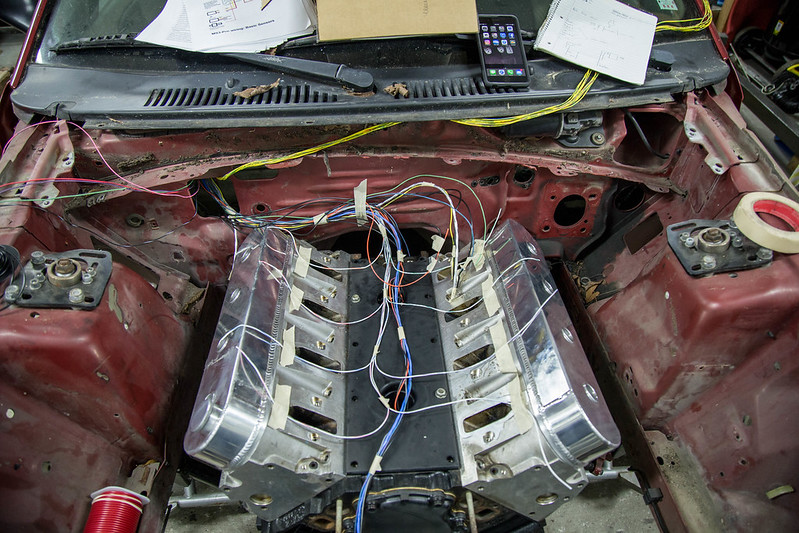 new computer (1 of 36)
 new computer (2 of 36)
 new computer (3 of 36)
 new computer (4 of 36)
 new computer (5 of 36)
 new computer (6 of 36)
 new computer (7 of 36)
 new computer (8 of 36)
 new computer (9 of 36)
 new computer (10 of 36)
 new computer (11 of 36)
 new computer (20 of 36)
 new computer (21 of 36)
 new computer (23 of 36)
 new computer (1 of 25)
 new computer (2 of 25)
 new computer (3 of 25)
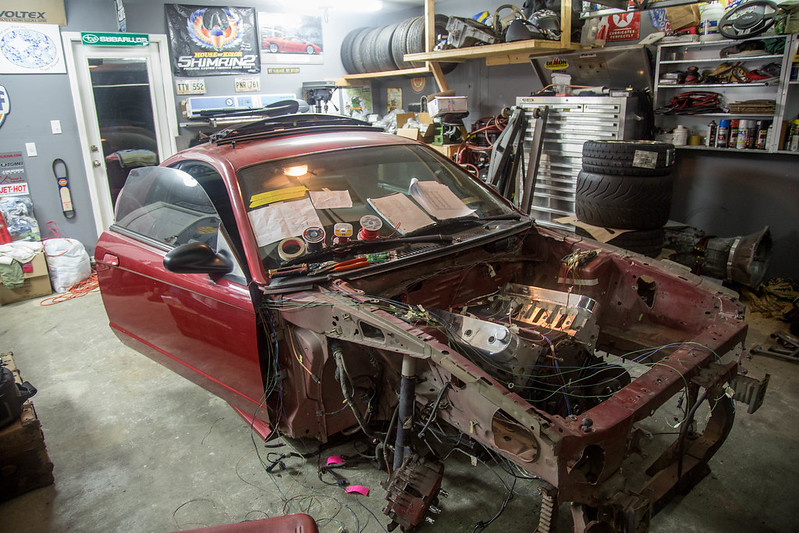 new computer (4 of 25)
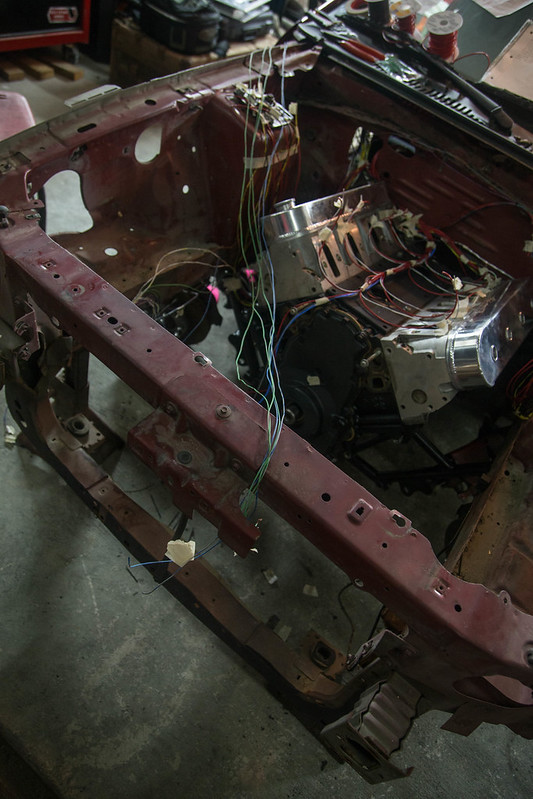 new computer (5 of 25)
 new computer (6 of 25)
 new computer (7 of 25)
 new computer (8 of 25)
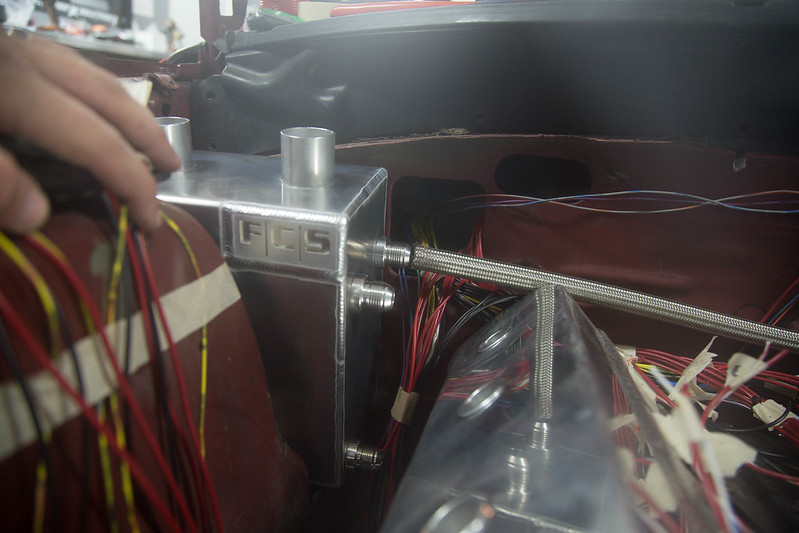 new computer (9 of 25)
 new computer (10 of 25)
 new computer (11 of 25)
 new computer (12 of 25)
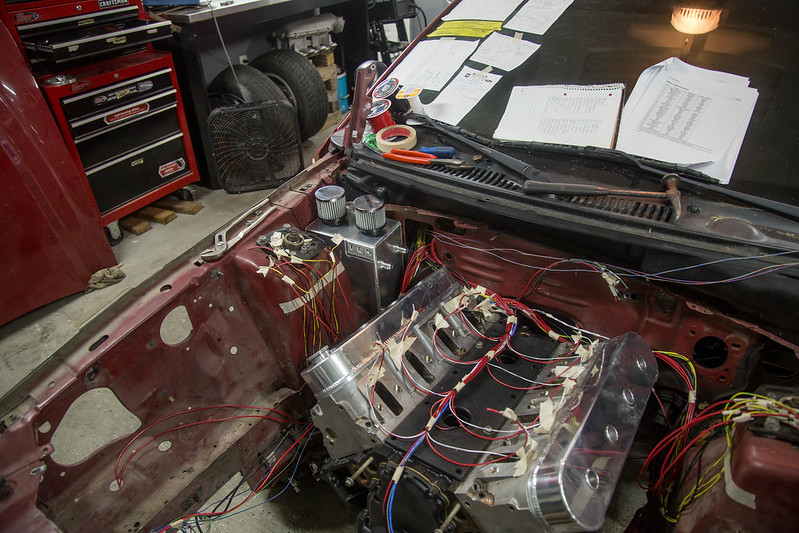 new computer (13 of 25)
 new computer (17 of 25)
 new computer (16 of 25)
 new computer (18 of 25)
 new computer (14 of 25)
 new computer (15 of 25)
 new computer (19 of 25)
 new computer (20 of 25)
 new computer (21 of 25)
 new computer (22 of 25)
 new computer (23 of 25)
 new computer (24 of 25)
 new computer (25 of 25)
 new computer (1 of 12)
 new computer (2 of 12)
 new computer (3 of 12)
 new computer (4 of 12)
 new computer (5 of 12)
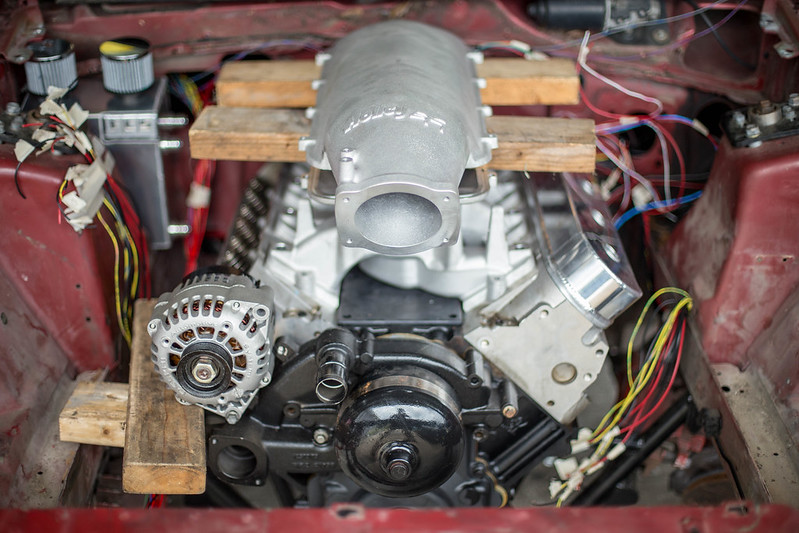 new computer (7 of 12)
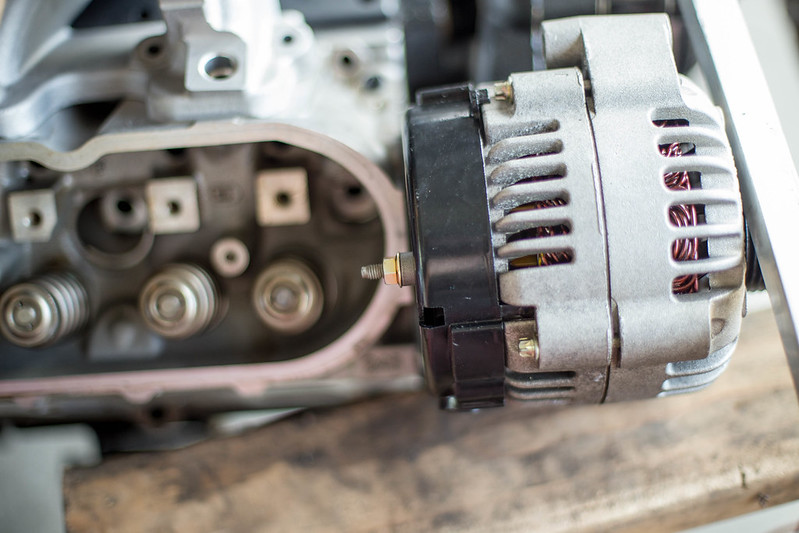 new computer (8 of 12)
 new computer (9 of 12)
 new computer (11 of 12)
 new computer (12 of 12)
 new computer (1 of 6)
 new computer (5 of 6)
 new computer (6 of 6)
