that's the supra tax at work brotha
ever priced out a Built R154?
ever priced out a Built R154?
Although the prices really cant go much higher as they are only 1700 new from Nissan.
that's the supra tax at work brotha
ever priced out a Built R154?
The question is for how much longer? The 370Z is nearly a decade old and there is no replacement on the horizon.
Once out of production prices will skyrocket just like they did for the R154.
I have not, although a stock used on isnt priced all that high. But yes, supra tax is a bitch. Id still love to own a mk4 one day.
 untitled (1 of 11) by lawrx, on Flickr
 untitled (2 of 11) by lawrx, on Flickr
 untitled (3 of 11) by lawrx, on Flickr
 untitled (4 of 11) by lawrx, on Flickr
 untitled (6 of 11) by lawrx, on Flickr
 untitled (5 of 11) by lawrx, on Flickr
 untitled (7 of 11) by lawrx, on Flickr
 untitled (8 of 11) by lawrx, on Flickr
 untitled (9 of 11) by lawrx, on Flickr
 untitled (10 of 11) by lawrx, on Flickr
The used market maybe, although factory prices i doubt will move any. Maybe go up in time with inflation, but no substantial suudden increase.
 untitled (1 of 14) by lawrx, on Flickr
 untitled (2 of 14) by lawrx, on Flickr
 untitled (3 of 14) by lawrx, on Flickr
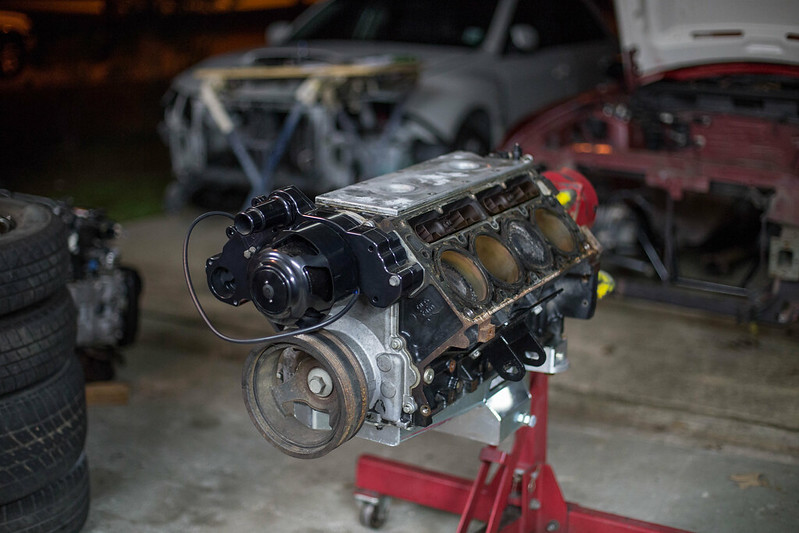 untitled (4 of 14) by lawrx, on Flickr
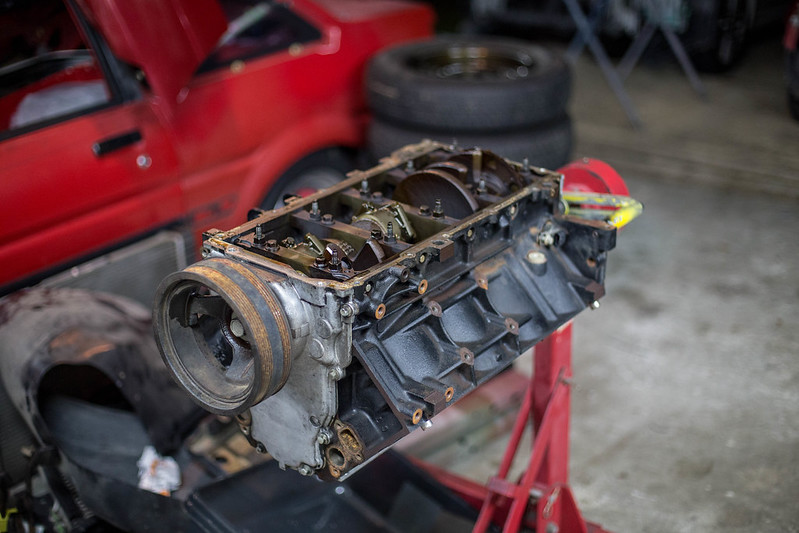 untitled (5 of 14) by lawrx, on Flickr
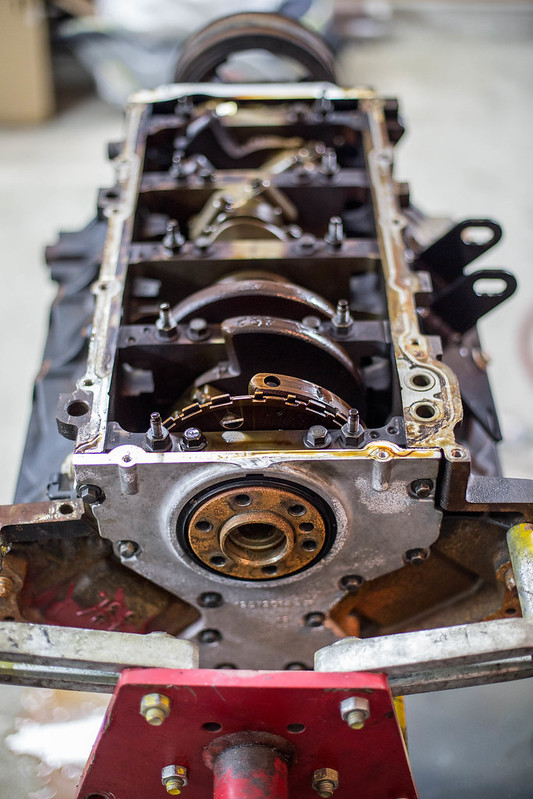 untitled (6 of 14) by lawrx, on Flickr
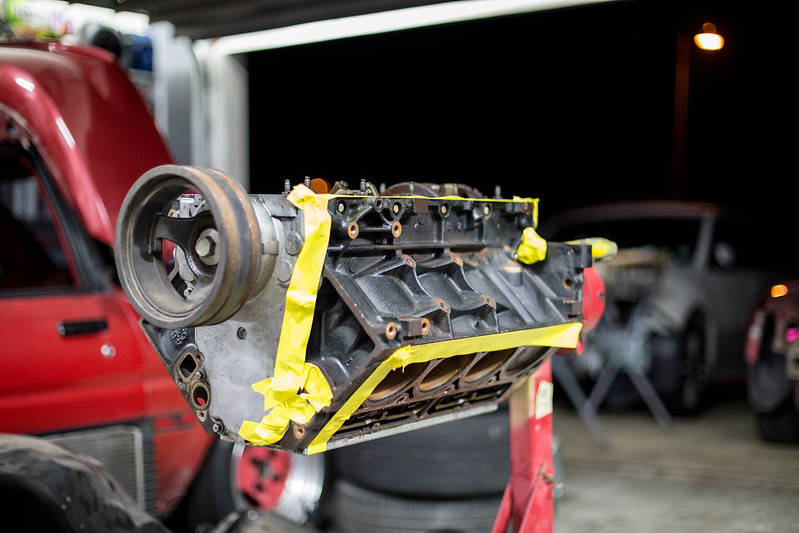 untitled (7 of 14) by lawrx, on Flickr
 untitled (8 of 14) by lawrx, on Flickr
 untitled (9 of 14) by lawrx, on Flickr
 untitled (10 of 14) by lawrx, on Flickr
 untitled (11 of 14) by lawrx, on Flickr
 untitled (12 of 14) by lawrx, on Flickr
 untitled (13 of 14) by lawrx, on Flickr
 untitled (14 of 14) by lawrx, on Flickr
 untitled (1 of 30) by lawrx, on Flickr
 untitled (2 of 30) by lawrx, on Flickr
 untitled (3 of 30) by lawrx, on Flickr
 untitled (21 of 30) by lawrx, on Flickr
 untitled (4 of 30) by lawrx, on Flickr
 untitled (5 of 30) by lawrx, on Flickr
 untitled (6 of 30) by lawrx, on Flickr
 untitled (7 of 30) by lawrx, on Flickr
 untitled (9 of 30) by lawrx, on Flickr
 untitled (11 of 30) by lawrx, on Flickr
 untitled (12 of 30) by lawrx, on Flickr
 untitled (13 of 30) by lawrx, on Flickr
 untitled (10 of 30) by lawrx, on Flickr
 untitled (6 of 7) by lawrx, on Flickr
 untitled (30 of 30) by lawrx, on Flickr
 untitled (14 of 30) by lawrx, on Flickr
 untitled (15 of 30) by lawrx, on Flickr
 untitled (16 of 30) by lawrx, on Flickr
 untitled (17 of 30) by lawrx, on Flickr
 untitled (18 of 30) by lawrx, on Flickr
 untitled (19 of 30) by lawrx, on Flickr
 untitled (20 of 30) by lawrx, on Flickr
 untitled (22 of 30) by lawrx, on Flickr
 untitled (23 of 30) by lawrx, on Flickr
 untitled (24 of 30) by lawrx, on Flickr
 untitled (25 of 30) by lawrx, on Flickr
 untitled (26 of 30) by lawrx, on Flickr
 untitled (27 of 30) by lawrx, on Flickr
 untitled (28 of 30) by lawrx, on Flickr
 untitled (29 of 30) by lawrx, on Flickr
 IMG_7690 by lawrx, on Flickr
 IMG_7691 by lawrx, on Flickr
 IMG_7693 by lawrx, on Flickr
 IMG_7694 by lawrx, on Flickr
 IMG_7696 by lawrx, on Flickr
 IMG_7698 by lawrx, on Flickr
 IMG_7702 by lawrx, on Flickr
 IMG_7703 by lawrx, on Flickr
 IMG_7704 by lawrx, on Flickr
 IMG_7706 by lawrx, on Flickr
 IMG_7707 by lawrx, on Flickr
 IMG_7709 by lawrx, on Flickr
 IMG_7712 by lawrx, on Flickr
 IMG_7714 by lawrx, on Flickr
 IMG_7715 by lawrx, on Flickr
 IMG_7718 by lawrx, on Flickr
 IMG_7719 by lawrx, on Flickr
 IMG_7721 by lawrx, on Flickr
 IMG_7722 by lawrx, on Flickr
 IMG_7723 by lawrx, on Flickr
 IMG_7724 by lawrx, on Flickr
 IMG_7725 by lawrx, on Flickr
 IMG_7726 by lawrx, on Flickr
 IMG_7727 by lawrx, on Flickr
 IMG_7728 by lawrx, on Flickr
 IMG_7731 by lawrx, on Flickr
 IMG_7737 by lawrx, on Flickr
 IMG_7735 by lawrx, on Flickr
 IMG_7740 by lawrx, on Flickr
 IMG_7744 by lawrx, on Flickr
 IMG_7749 by lawrx, on Flickr
 IMG_7750 by lawrx, on Flickr
 IMG_7752 by lawrx, on Flickr
 IMG_7753 by lawrx, on Flickr
 IMG_7742 by lawrx, on Flickr
 IMG_7754 by lawrx, on Flickr
 IMG_7756 by lawrx, on Flickr
 IMG_7758 by lawrx, on Flickr
 IMG_7760 by lawrx, on Flickr
 IMG_7761 by lawrx, on Flickr
 IMG_7762 by lawrx, on Flickr
 IMG_7763 by lawrx, on Flickr
 IMG_7764 by lawrx, on Flickr
 IMG_7766 by lawrx, on Flickr
 IMG_7770 by lawrx, on Flickr
 IMG_7772 by lawrx, on Flickr
 IMG_7769 by lawrx, on Flickr
 IMG_7775 by lawrx, on Flickr
 IMG_7777 by lawrx, on Flickr
 IMG_7781 by lawrx, on Flickr
 IMG_7783 by lawrx, on Flickr
 IMG_7784 by lawrx, on Flickr
 IMG_7785 by lawrx, on Flickr
 IMG_7787 by lawrx, on Flickr
 IMG_7950 by lawrx, on Flickr
 IMG_7951 by lawrx, on Flickr
 IMG_7954 by lawrx, on Flickr
 IMG_7955 by lawrx, on Flickr
 IMG_7958 by lawrx, on Flickr
 IMG_7962 by lawrx, on Flickr
 IMG_7964 by lawrx, on Flickr
 IMG_7970 by lawrx, on Flickr
 IMG_7963 by lawrx, on Flickr
 IMG_7971 by lawrx, on Flickr
IMG_7964 by lawrx, on Flickr
IMG_7971 by lawrx, on Flickr
IMG_7964 by lawrx, on Flickr IMG_7967 by lawrx, on Flickr
 IMG_7968 by lawrx, on Flickr
 IMG_7972 by lawrx, on Flickr
 IMG_7976 by lawrx, on Flickr
 IMG_7978 by lawrx, on Flickr
