You'll find the build below the finished product.
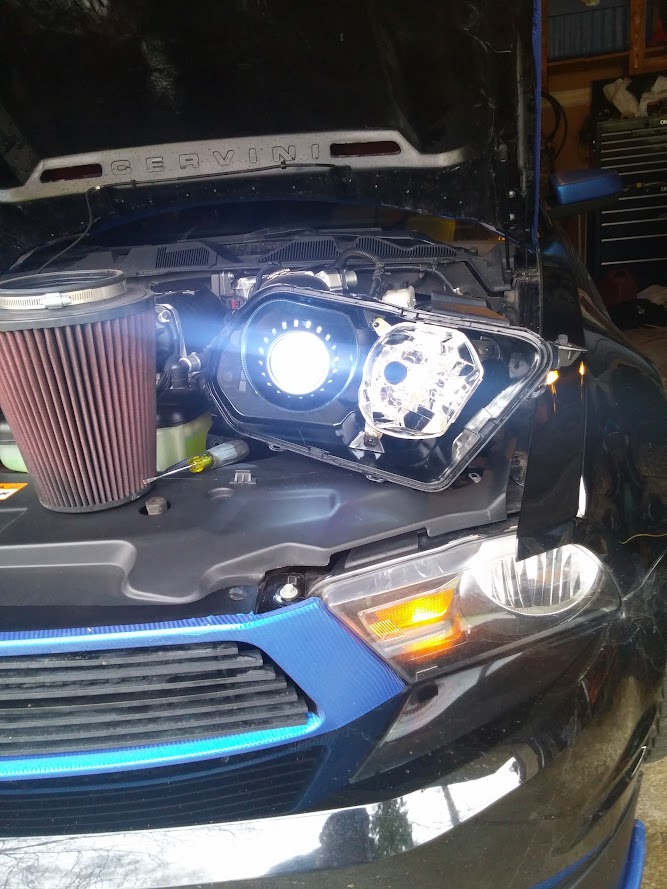
alright so finished everything today... only snag is one of the demon eyes wouldn't come on, and i tested both so either something is wired wrong orrr i some how fried it which would suck because now its stuck in the housing. Ill tinker with that another day.
Either way, got the housings sealed and installed and ITS ALL DONE and i think it looks AWESOMEEEEE..
here is what the stocks looked like before the Project.
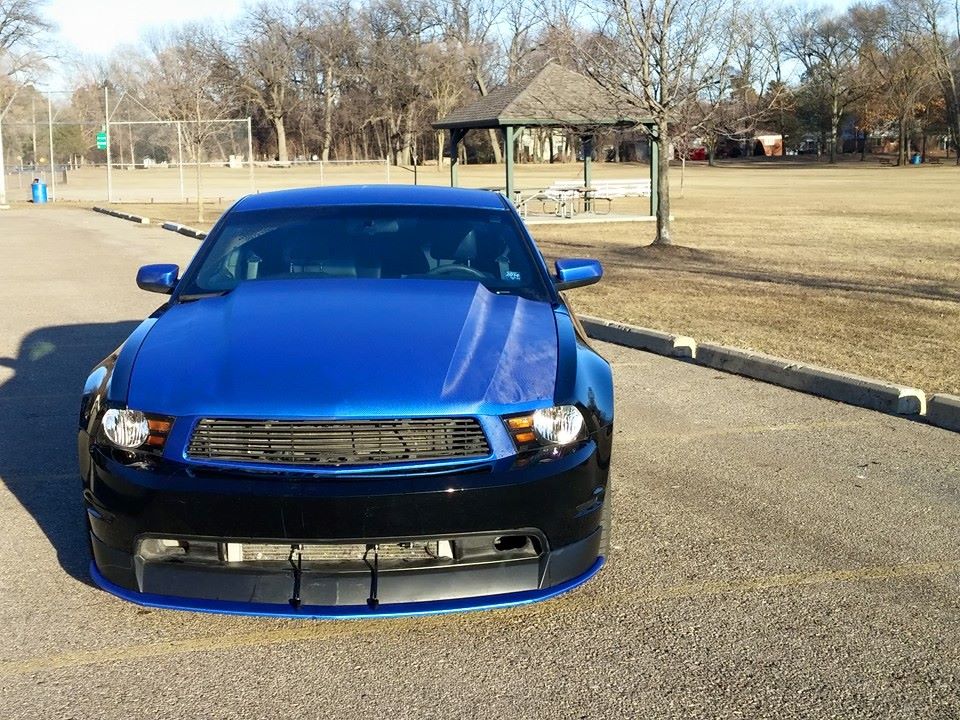
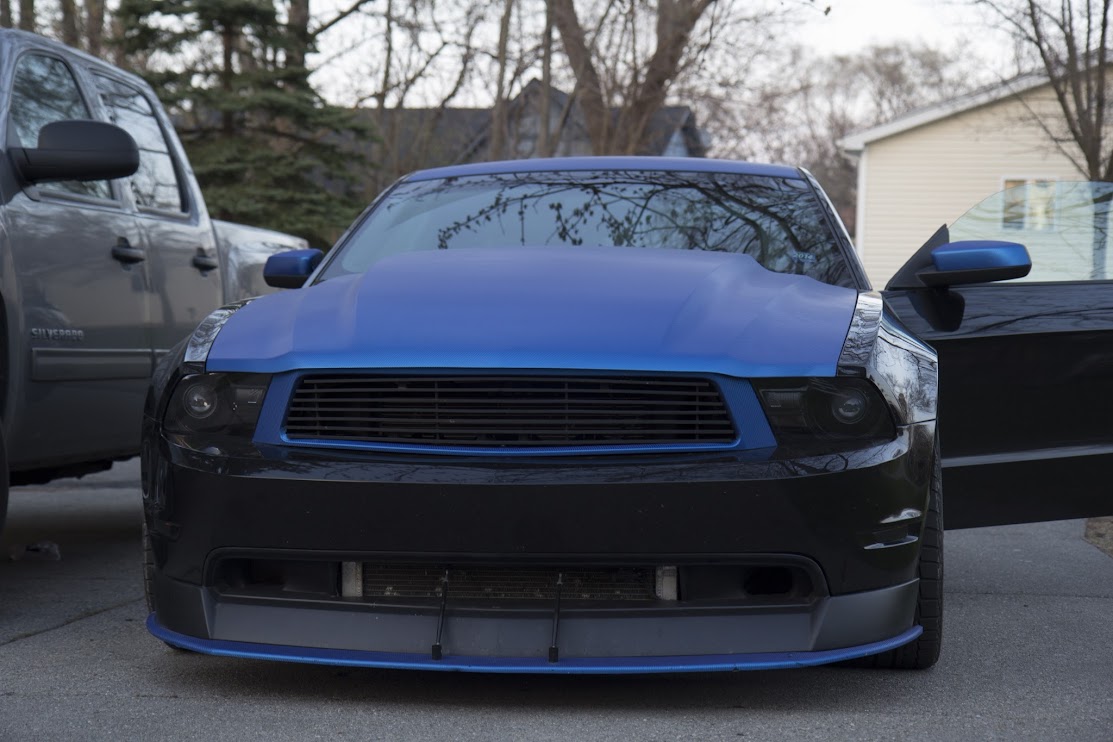
and now
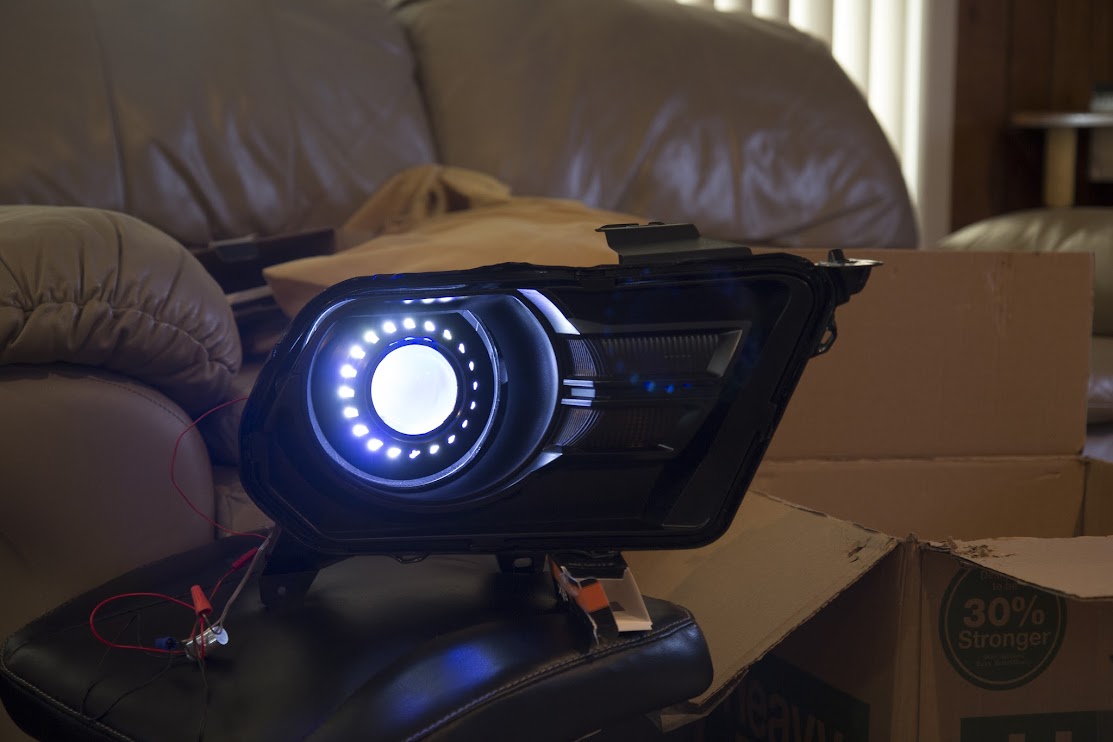
Hidden halo which is on is own switch.

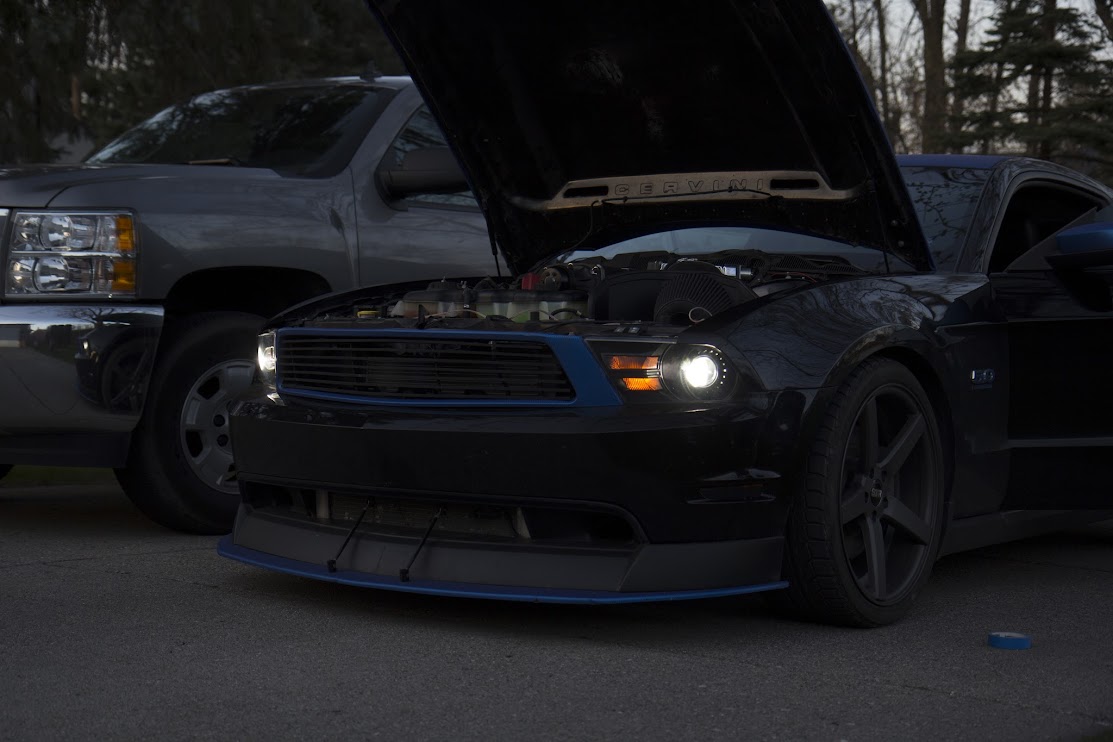
lights on
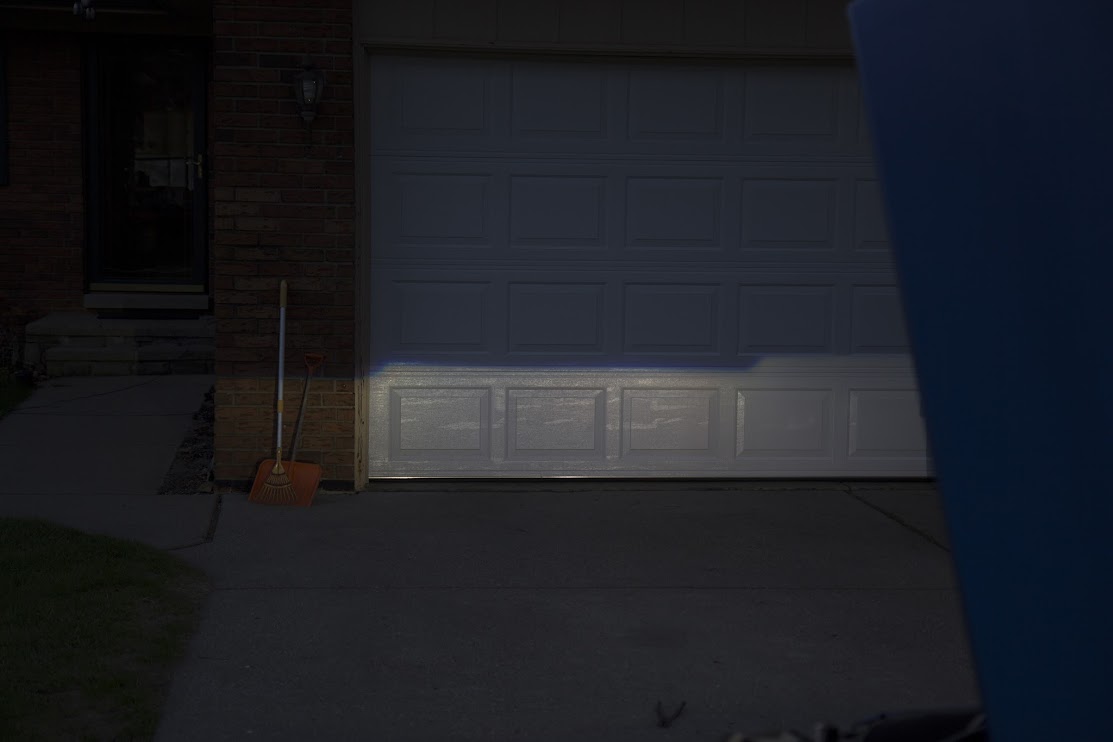
beam pattern
Part of my cars makeover was going to be the headlights, some of the prices for the sweet projector ones are pretty steep so i thought i would give it a shot myself.
I didn't want to experiment on the only headlights i have so i bought some halogen ones off ebay, 80$ for the pair, in pretty good condition.
From what i've read the "glue" that they use isn't the standard so heating it in an oven was out of the question because the housing would start melting before the epoxy crap. From what i was reading people were using a dremel...well that was going to be my last resort. Picked up my own heat gun today, i figured i would have better luck using the heat gun directly on the seems.
Gave it a shot today and well it worked out pretty well. Basically just used the heat gun where the two joints met to the point where it was just a bit mailable.
Got both the housings a part with no issue thought did break one of the tabs that hold the light to the car, gotta figure out a way to fix that.
Ordered the retro fit kit for 360$ with the HID's and all. so 440$, i would say this could work out well.
I will be painting the chrome reflector and the trim piece black.


----------update---------------
Ok recieved all the goodies from theretrofitsource yesterday. Didn't get THAT much accomplished. because i was trying to figure out how everything was going to fit into the headlight.
One step that really isn't in any sort of instructions is you have to grind down the rear of the reflector where the old bulbs would mount, see picture. In order to do that, the best idea is to remove the reflector from the housing which is a bit of a pain.
Here you see the rear of the housing, basically you have to trim all that stuff to the edge of the actual reflector, i used a dremel with a cut off wheel which made quick work of it. I will take more pics today of what it looks cut down.

I assume you should be able to somehow cut that without taking the reflector out but i did to make it easier.
There are three mounting points for the reflector. one is the adjuster, which your first step to do should be to back the adjuster out, clock wise. Then you should be able to remove the adjust from the headlight. All it takes is a bit of clockwise movement and it should rotate out.
the reflector is held to these mounting points with a plastic...uh well i dunno how to describe it but here's a picture.

you can see the two nubs in the middle of that washer thing. those have to be depressed outward because they seat around a nub that is attatched to the housing. See picture.

This is what was a pain because the way its designed its almost impossible to depress them outward to get them off the nub. What i did was start with the outer most one, the one thats by itself. You get the most room to work, you have to basically wedge a small flat head in the side and try to pry the tab out. Once i did that i got it off. then went on to the adjuster one which is easy to see the tab and remove. Then the last which is almost hidden out of view but you should be able to find an angle to get a flat head underneath and depress the tab.
One i got the reflectors off i was able to grind down the back then i painted them. After that i stopped working on it to let the paint sit. Going to be working on it more today but probably slow progress, i want to take my time so i don't mess it up.
Here is the outside trim. I painted them with a high temp black. I also gave the amber covers a quick dusting to "tint" them a bit.

----------update------------
update also updated the first thread.
update time.
got my new bigger halos in that will fit the shroud. The E46 R shrouds need drilling to get the look that i have but its easy. Then mounted the halo's inside the shroud with some wire nice and snug.
Mounted the blue demon eyes as well, with both the halo's and demon eyes going the halo over powers it and you can barely see them, they just arn't super bright guess thats what i get for buying them from ebay haha. But without the halo it would be a nice night time feature when parked so i might throw one of them on a switch.
Also drilled a whole through the blacked out reflector to feed the wires through out the back. Have to wait for a new rubber "nub" for the back of the housing to keep the moister out.
I like the look so far, these are going to be great i think.


alright so finished everything today... only snag is one of the demon eyes wouldn't come on, and i tested both so either something is wired wrong orrr i some how fried it which would suck because now its stuck in the housing. Ill tinker with that another day.
Either way, got the housings sealed and installed and ITS ALL DONE and i think it looks AWESOMEEEEE..
here is what the stocks looked like before the Project.
and now
Hidden halo which is on is own switch.
lights on
beam pattern
Part of my cars makeover was going to be the headlights, some of the prices for the sweet projector ones are pretty steep so i thought i would give it a shot myself.
I didn't want to experiment on the only headlights i have so i bought some halogen ones off ebay, 80$ for the pair, in pretty good condition.
From what i've read the "glue" that they use isn't the standard so heating it in an oven was out of the question because the housing would start melting before the epoxy crap. From what i was reading people were using a dremel...well that was going to be my last resort. Picked up my own heat gun today, i figured i would have better luck using the heat gun directly on the seems.
Gave it a shot today and well it worked out pretty well. Basically just used the heat gun where the two joints met to the point where it was just a bit mailable.
Got both the housings a part with no issue thought did break one of the tabs that hold the light to the car, gotta figure out a way to fix that.
Ordered the retro fit kit for 360$ with the HID's and all. so 440$, i would say this could work out well.
I will be painting the chrome reflector and the trim piece black.
----------update---------------
Ok recieved all the goodies from theretrofitsource yesterday. Didn't get THAT much accomplished. because i was trying to figure out how everything was going to fit into the headlight.
One step that really isn't in any sort of instructions is you have to grind down the rear of the reflector where the old bulbs would mount, see picture. In order to do that, the best idea is to remove the reflector from the housing which is a bit of a pain.
Here you see the rear of the housing, basically you have to trim all that stuff to the edge of the actual reflector, i used a dremel with a cut off wheel which made quick work of it. I will take more pics today of what it looks cut down.
I assume you should be able to somehow cut that without taking the reflector out but i did to make it easier.
There are three mounting points for the reflector. one is the adjuster, which your first step to do should be to back the adjuster out, clock wise. Then you should be able to remove the adjust from the headlight. All it takes is a bit of clockwise movement and it should rotate out.
the reflector is held to these mounting points with a plastic...uh well i dunno how to describe it but here's a picture.
you can see the two nubs in the middle of that washer thing. those have to be depressed outward because they seat around a nub that is attatched to the housing. See picture.
This is what was a pain because the way its designed its almost impossible to depress them outward to get them off the nub. What i did was start with the outer most one, the one thats by itself. You get the most room to work, you have to basically wedge a small flat head in the side and try to pry the tab out. Once i did that i got it off. then went on to the adjuster one which is easy to see the tab and remove. Then the last which is almost hidden out of view but you should be able to find an angle to get a flat head underneath and depress the tab.
One i got the reflectors off i was able to grind down the back then i painted them. After that i stopped working on it to let the paint sit. Going to be working on it more today but probably slow progress, i want to take my time so i don't mess it up.
Here is the outside trim. I painted them with a high temp black. I also gave the amber covers a quick dusting to "tint" them a bit.
----------update------------
update also updated the first thread.
update time.
got my new bigger halos in that will fit the shroud. The E46 R shrouds need drilling to get the look that i have but its easy. Then mounted the halo's inside the shroud with some wire nice and snug.
Mounted the blue demon eyes as well, with both the halo's and demon eyes going the halo over powers it and you can barely see them, they just arn't super bright guess thats what i get for buying them from ebay haha. But without the halo it would be a nice night time feature when parked so i might throw one of them on a switch.
Also drilled a whole through the blacked out reflector to feed the wires through out the back. Have to wait for a new rubber "nub" for the back of the housing to keep the moister out.
I like the look so far, these are going to be great i think.
Last edited: