Nice work!
I need a Bronco now...
I need a Bronco now...
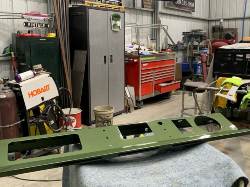
Thanks and yes I do work full time. Up until a couple months ago we were working on this on the weekends and now I have a body/paint guy and a fab guy working on it so the progress has sped up. My Dad and I did all of the tear-down ourselves and have been very active in the entire build. So much so that I need to be there when it goes back together because the 2 guys we hired are clueless on the 30+ bags and 10 boxes of parts we will be bringing over to finish it up! I labeled everything but a lot of it is in my head still. Who needs a manual!Coming along very nicely!!
Do you have a job?? Besides working on the Bronco? lol How in the world do you get so much work done so quickly?
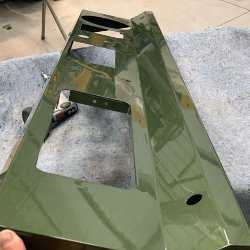
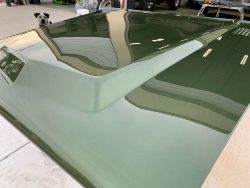
Impressive level of detail you're going to with all of the work. Can't wait to see it finished!